Have you ever wanted to learn how to preserve meat? Well, making pemmican is a wonderful and traditional method for preserving meat that we can still use today.
On top of this, pemmican is the ultimate survival food too. For centuries it has been treasured for its ability to keep people alive, healthy, and well-sustained during times when regular food was scarce.
It’s perfect for travelers, preppers, explorers, and adventure seekers alike. In our quest to become more resilient and self-reliant, learning how to make pemmican is an essential skill we can all harness.
Let’s learn how to make it.
The Origins of Pemmican
Pemmican is a type of preserved food that can be made from the lean meat of caribou, moose, elk, deer (venison), bison, or lamb, but is nowadays most often made from beef.
The Native American and first nations people heavily relied upon pemmican as a primary food source. This high-calorie and nutrient-rich food sustained them through long winters, long hunting expeditions, and extended travels.
Early pioneers and traders, having learned about this preserving method from the Native Americans, also began utilizing pemmican. The word “pemmican” is believed to be derived from the Cree Indians, as it is their word for rendered fat. In the Sioux tribe, pemmican is called “wasna”.
Pemmican infused with dried berries also helped people prevent scurvy when fresh fruit was scarce or unavailable, as the berries used for making pemmican are high in vitamin C.
The Benefits of Pemmican
Knowing how to preserve meat in this way is a great skill to have in your self-reliance arsenal. Not only is pemmican relatively easy to prepare, but its presence in your pantry makes your store of food more robust and diverse.
Pemmican is a Superfood
This long-lasting treat offers the perfect balance of fat, protein, and carbs. It is loaded with B vitamins, iron, zinc, phytonutrients, beneficial fatty acids, and antioxidants.
The native Americans were able to survive solely on pemmican for months at a time. Not only that, but its high-calorie content helped them survive the severe winters of the North American wilderness.
Pemmican Is the Ultimate Pack Companion
It is an excellent sidekick to camping, hiking, hunting, and other types of travel adventure away from home. Pemmican takes up significantly less room than other forms of food, making it an ideal addition to your packed gear.
With about 4,500 calories per pound, pemmican is very filling, even in small amounts. This is why it is ideal as a travel food.
Combine pemmican with other long-term travel foods like hardtack, to have even more food options while out on the road to adventure.
How To Make Pemmican
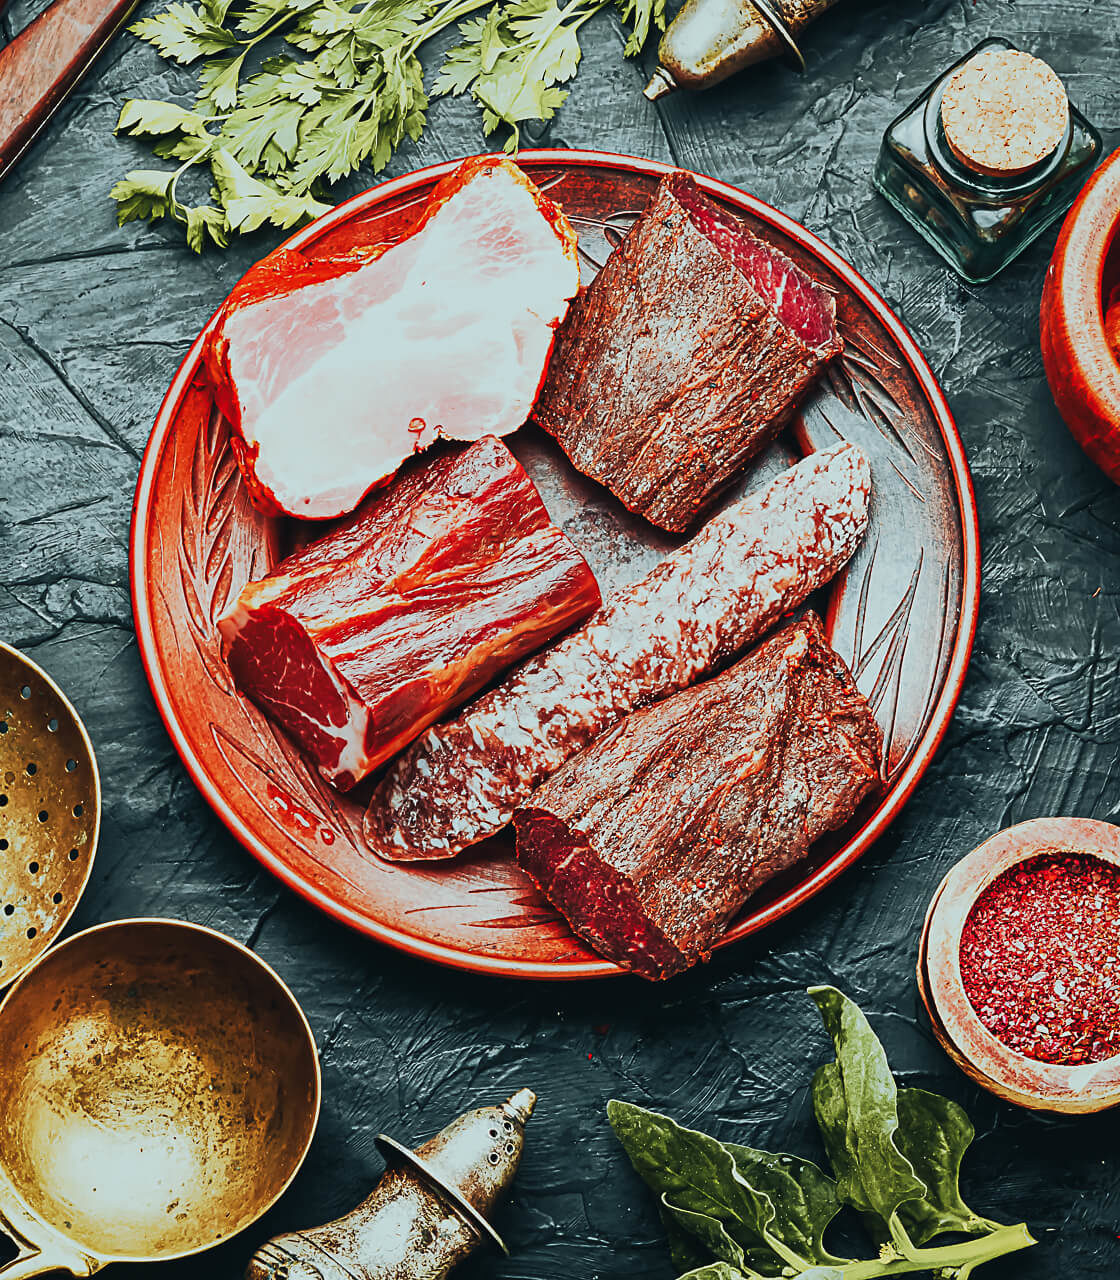
For the purpose of this instructional article, we’ll be using beef, but feel free to use the meat of your choice. Before we begin, you’ll want to gather and pull out a few supplies.
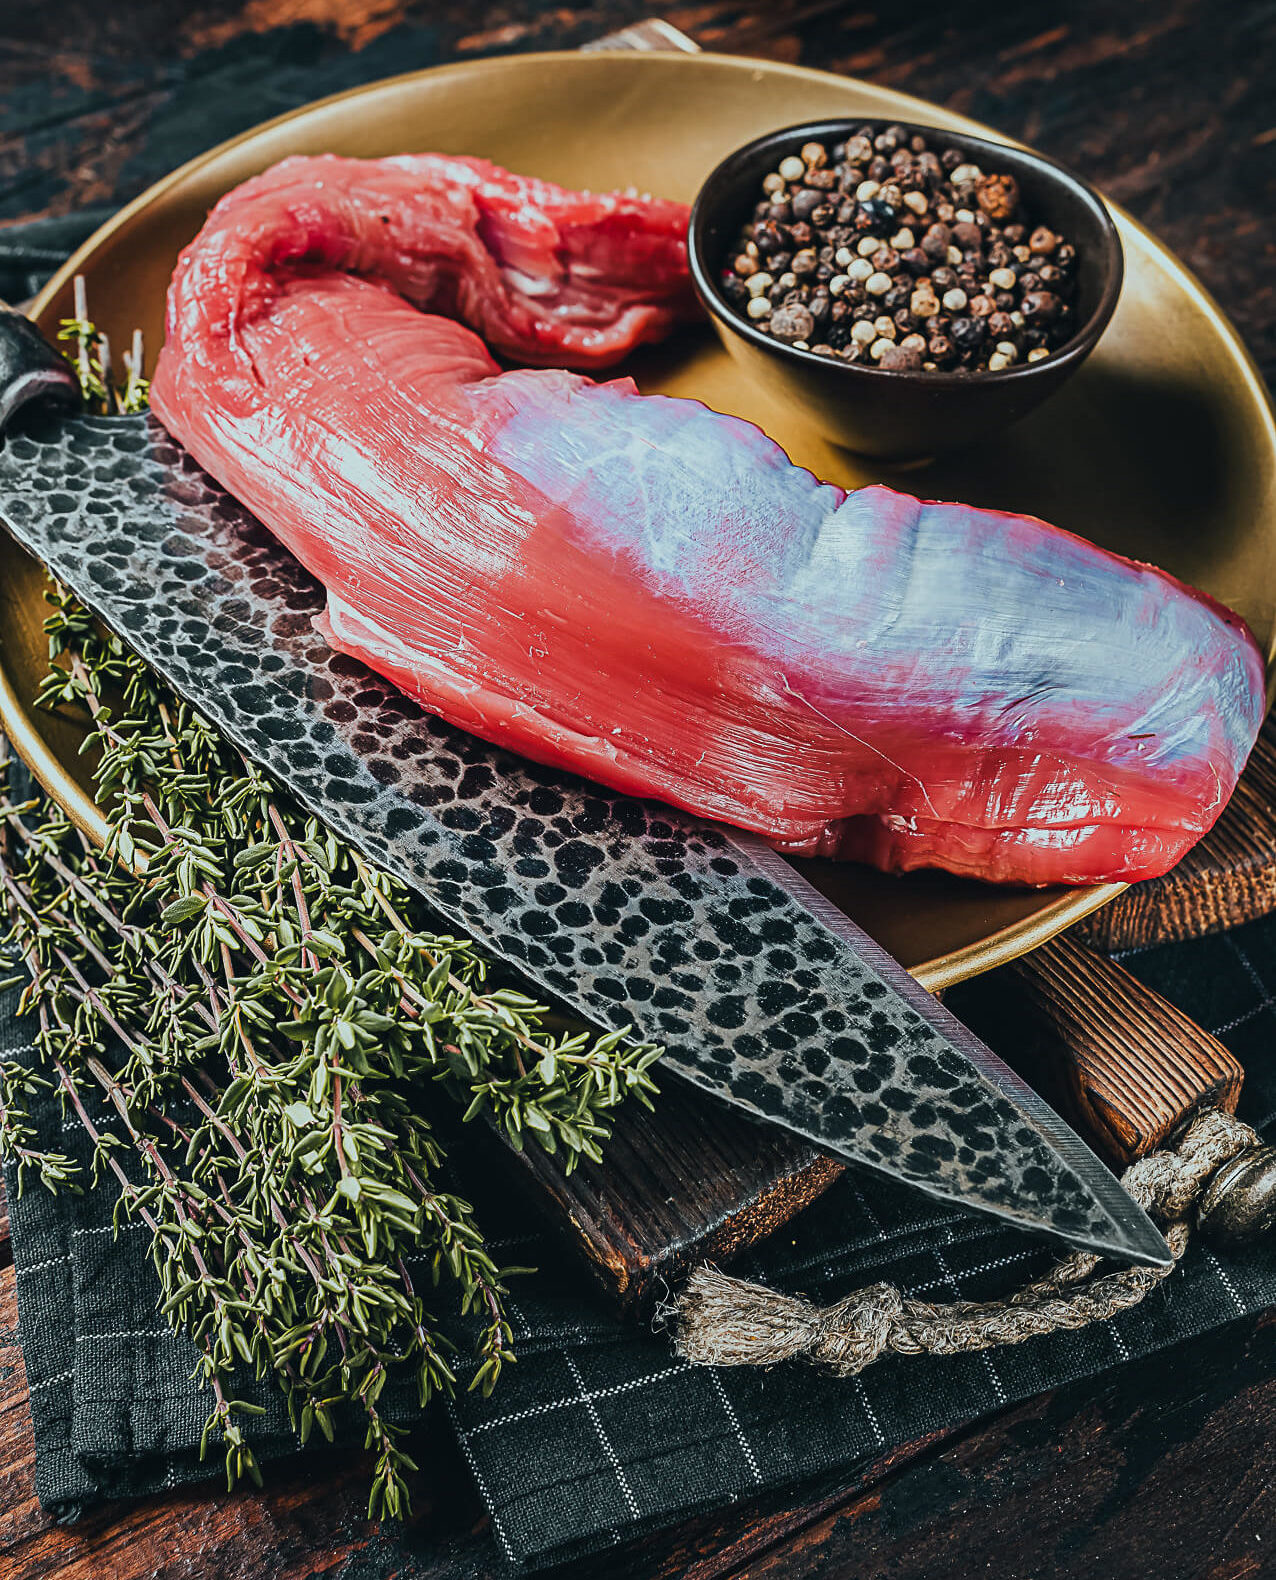
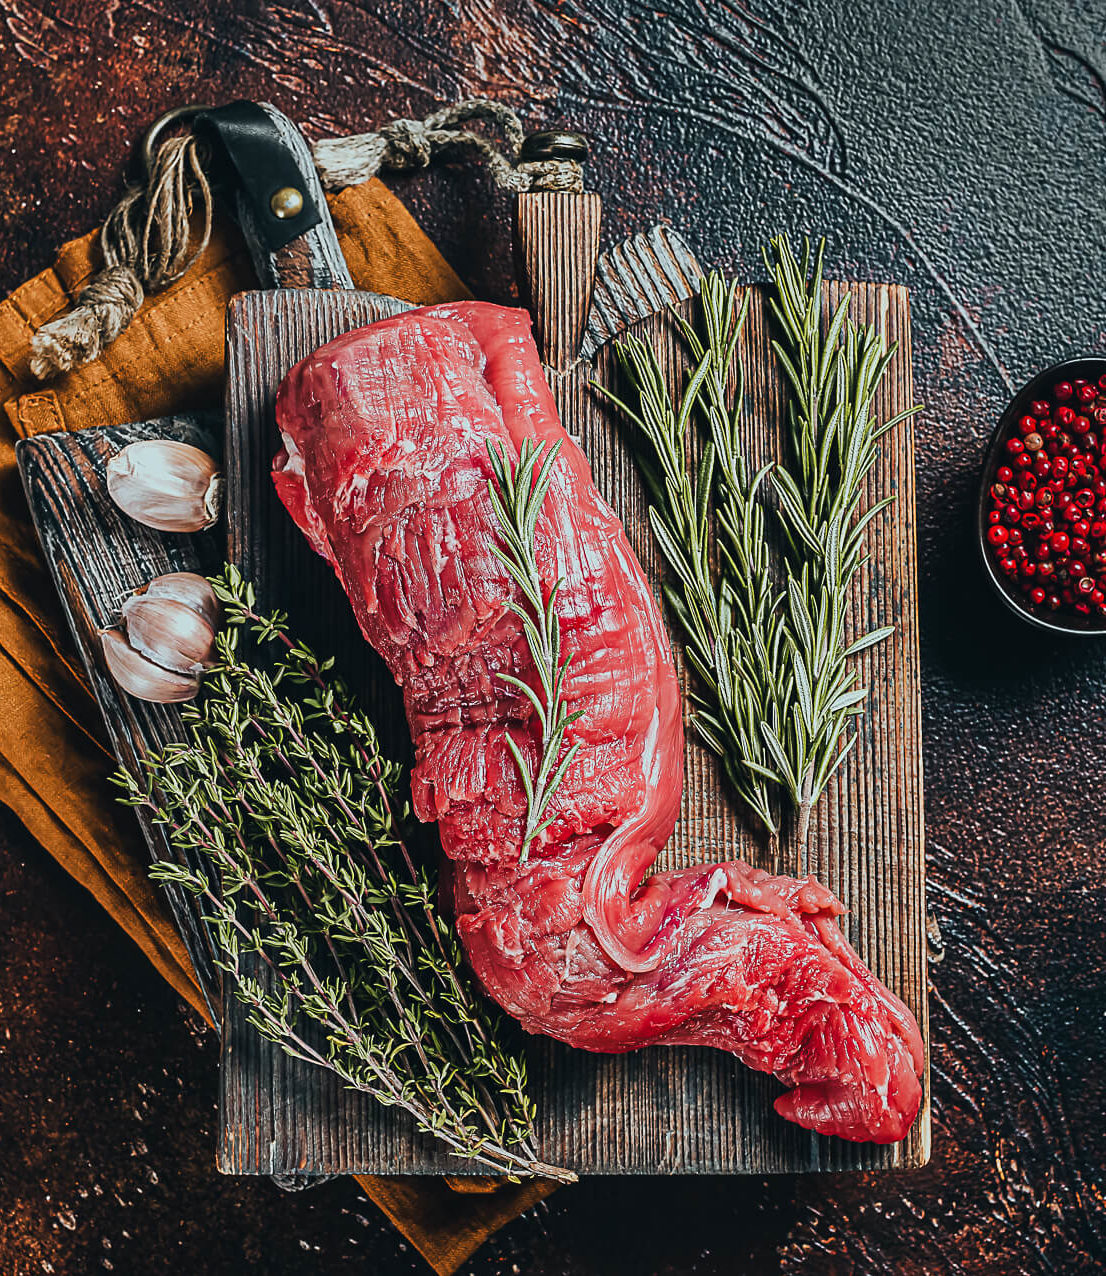
Select a lean and low-fat portion of beef. In other words, avoid meat that has a lot of fat marbling. Beef tenderloin is a good example of what you can pick.
To decide how much meat to prepare, consider that many people do a 1:1 or 1:3 ratio of fat to meat. Alternatively, if adding fruit, a good ratio is 3:5:1 of fat, meat, and fruit. Basically, you want to make sure you have just enough fat to bind everything together, without it being overpowering.
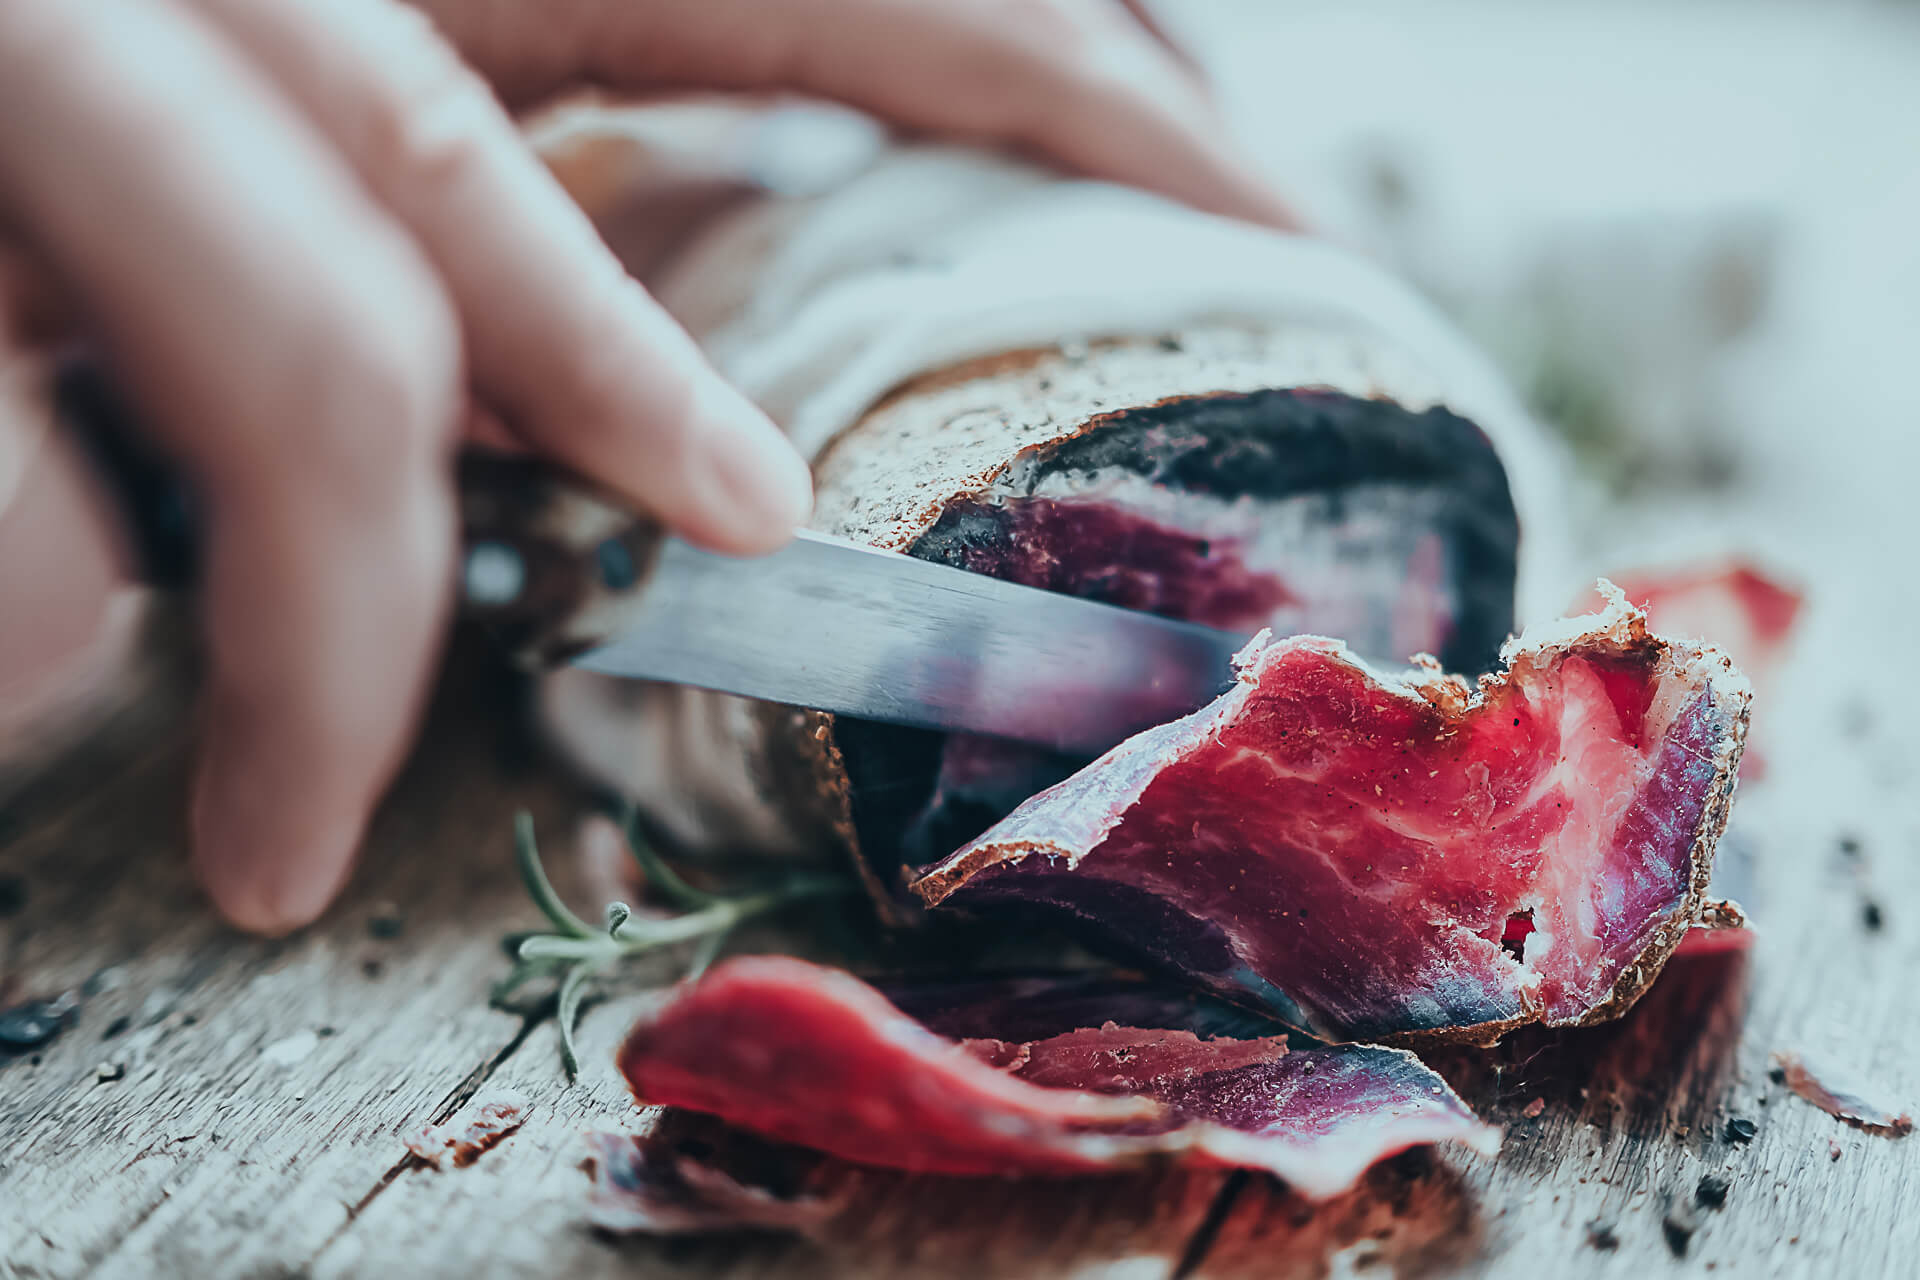
Before cutting up your meat, it’s a good idea to slightly freeze your beef portion to facilitate easier slicing. You’ll want to slice your beef as thinly as possible. Aim for paper thin. This will help it dry out faster and more evenly. In fact, the thinner the slices, the faster the drying process will go.
Be sure to use a well-sharpened knife. Also, trim off the excess fat and set it aside for the compost pile, or perhaps as a tasty treat for your pets.
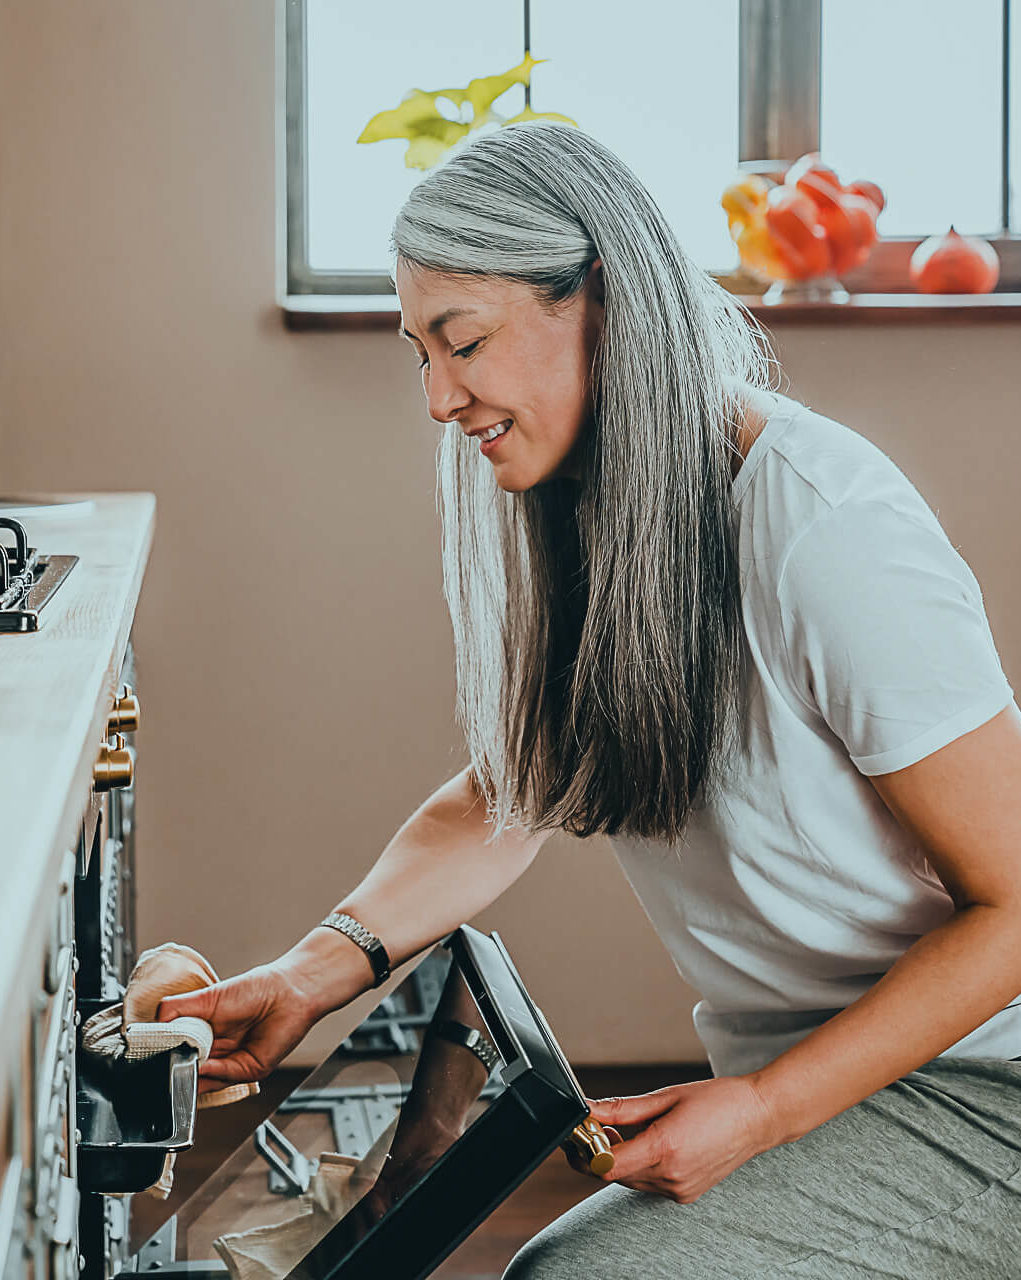
Dry Your Thinly Sliced Beef Strips
While you arrange your beef strips onto your oven drying rack, set your oven to its lowest setting, somewhere around 38 °C – 46 °C (100 °F to 115 °F) as this is the ideal temperature for preserving the nutritional value of your meat.
Temperatures above 49 °C (120 °F) are too high for making pemmican and will cook the meat. If your oven’s lowest temperature is too high, an option is to leave the oven door cracked open to facilitate proper ventilation and to maintain an optimal temperature.
Generously salt your meat before placing it in the oven, as this will flavor it and help preserve it. Also, be sure to put in a drip pan or aluminum foil on the bottom rack of your oven for easy cleanup later.
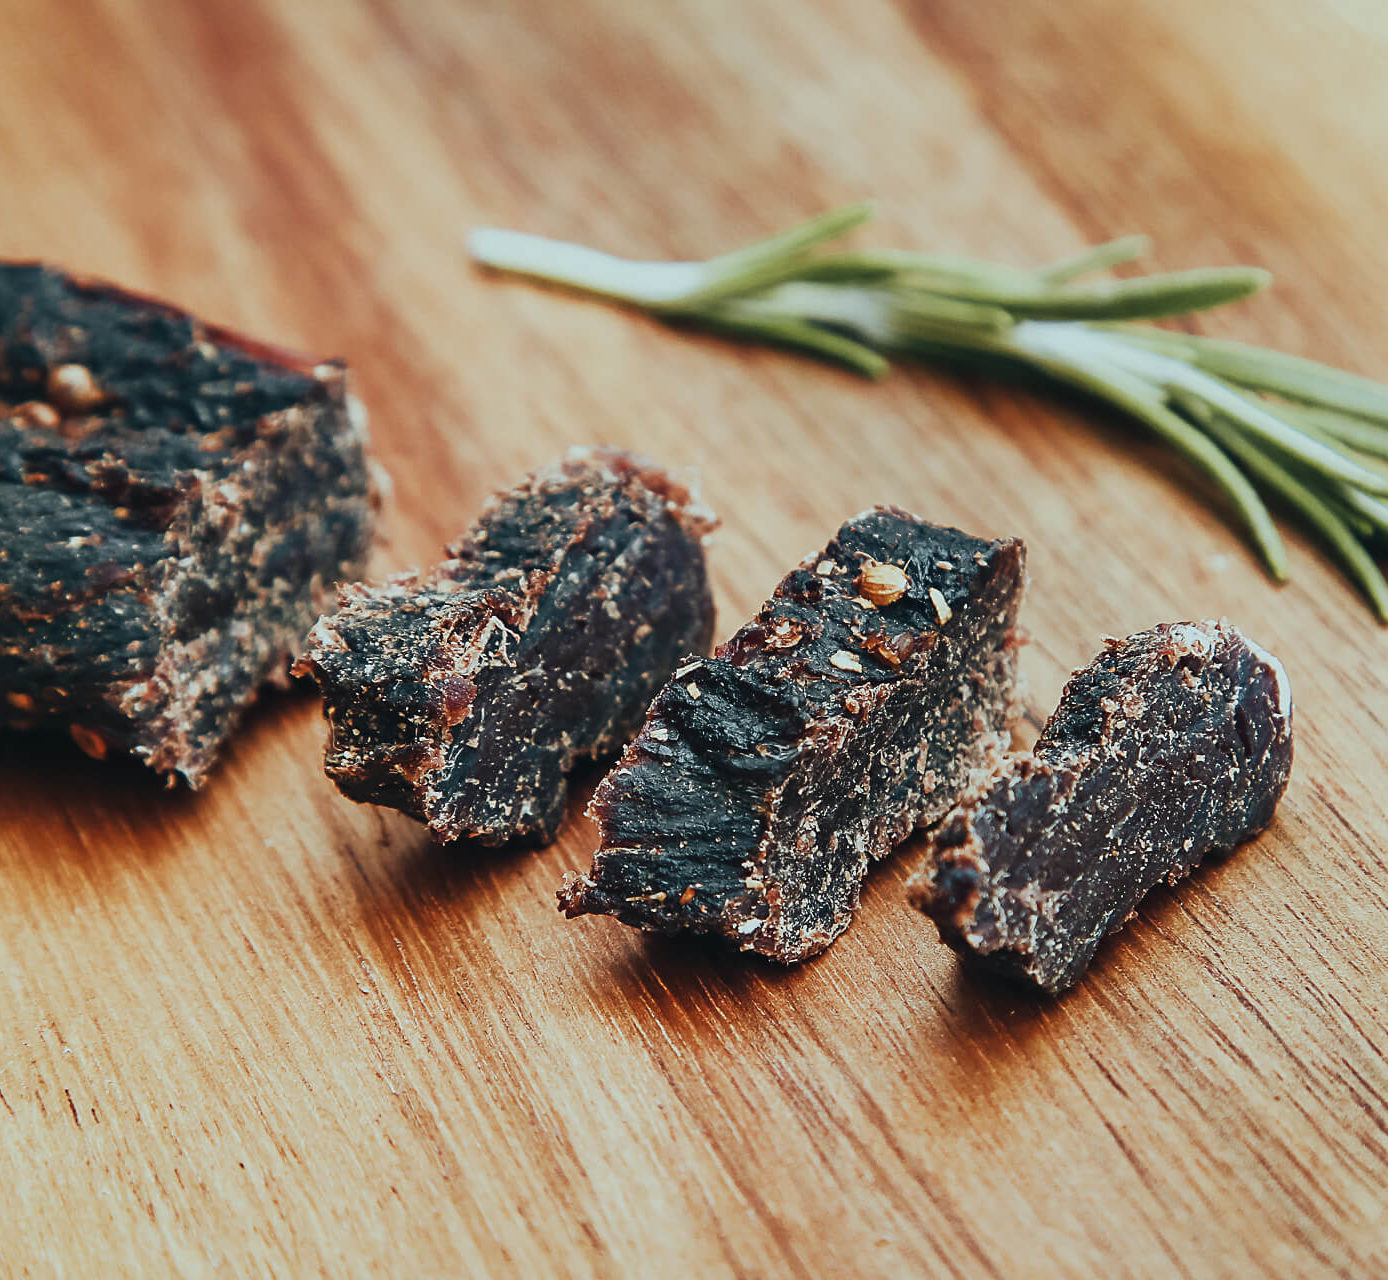
The drying process can take between 8 to 9 hours to complete. You’ll know that the strips are ready when they crack upon bending and are brittle. On its own, this dried beef would last a long time, but to make it last even longer, we want to eventually combine it with rendered beef tallow to make pemmican.
You’ll notice that the chunks of fat will reduce in size and take on a light golden hue. Small bubbles will also begin to form. Allow this process to continue until you have a clear liquid and the bubbles have completely disappeared.
To complete this step, we need to strain and separate the leftover fat chunks from the clear, rendered fat liquid. Use a large bowl or large measuring cup, and a fine mesh strainer to filter out the remaining chunks of fat.
These leftover crispy chunks are called cracklins. You can set these cracklins or crunchy fat chunks aside for use in another recipe or to top salads. They are very tasty even when eaten on their own. As for the strained clear liquid, you will use this rendered fat once the beef strips are fully dried and pulverized.
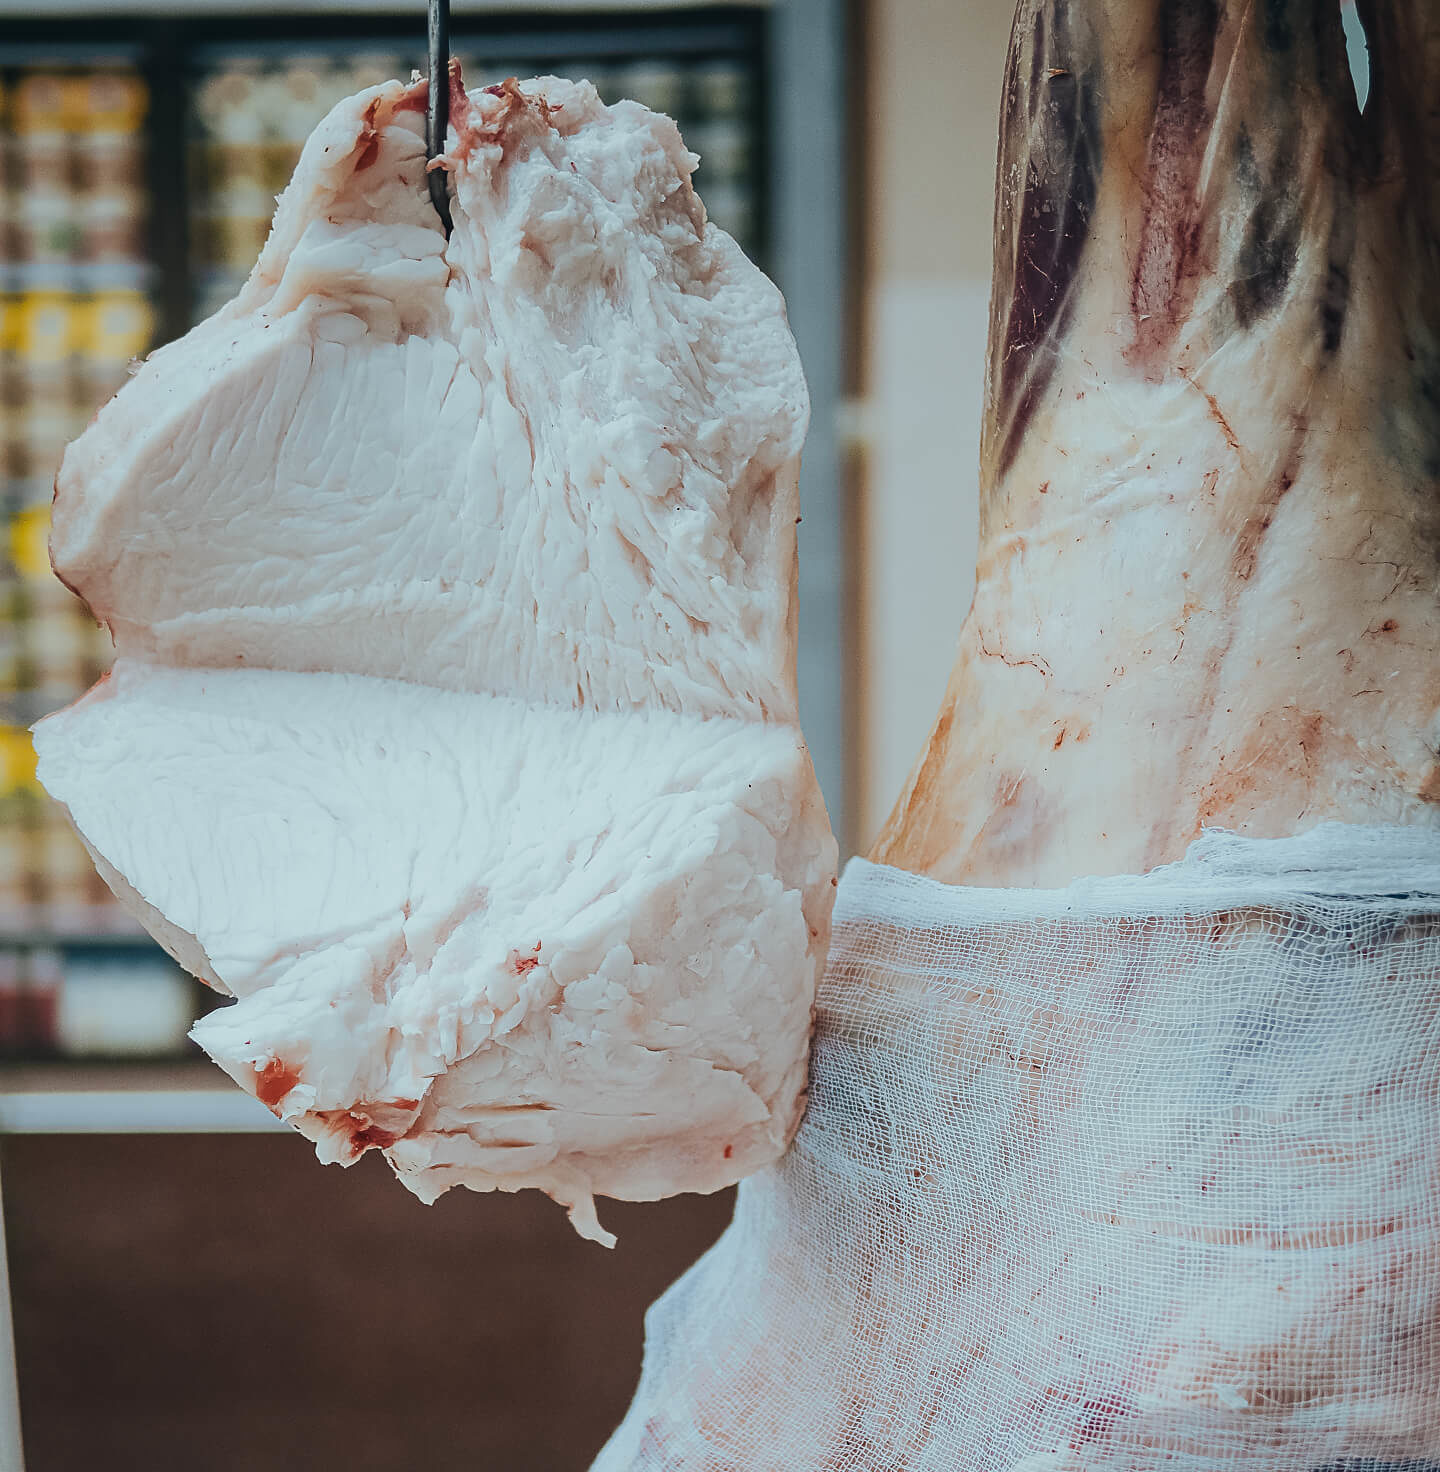
Prepare Your Beef Tallow
Using tallow is a great way to preserve food. Also known as beef suet, tallow is essentially raw beef fat. Specifically, you want the fat that surrounds the kidneys, as it is the best fat for rendering. It can easily be purchased from your local butcher.
Now, while your beef strips are drying in the oven, you can begin to render your fat. To do this, crumble your beef tallow, and then finely chop it with your chef’s knife. Add the fine pieces of tallow to your cast iron skillet. Once you have crumbled and chopped your tallow, turn the stovetop burner on low. The ideal simmering temperature is around 93 °C – 116 °C (200 °F – 240 °F) in order to boil off the water and facilitate the rendering of the fat.
Stir your tallow often, being sure not to let it burn. This is especially important at the beginning of the process. If it burns, the entire batch will be lost. As your tallow simmers on low it will begin to render the fat.
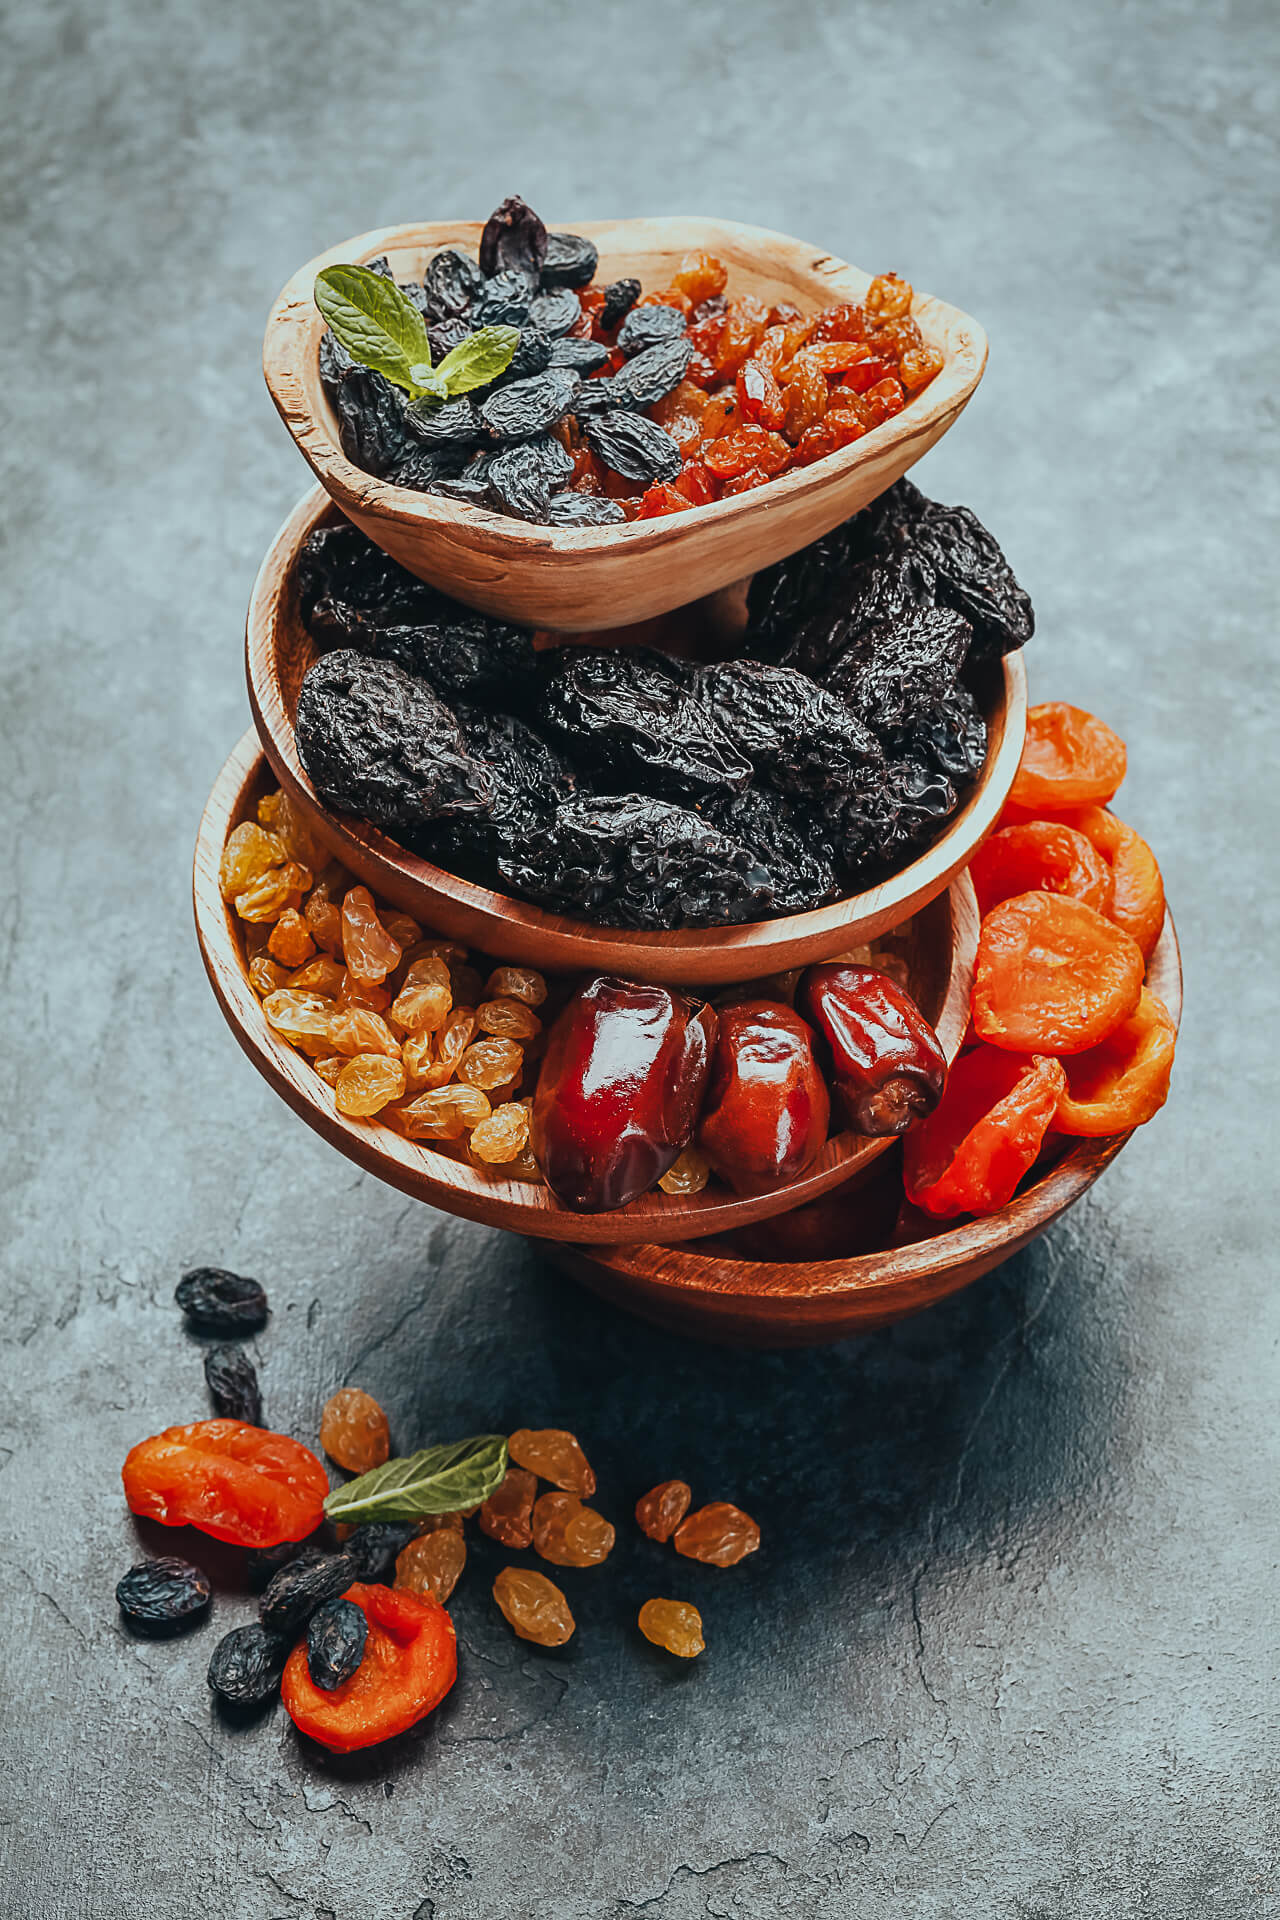
Prepare Your Dried Fruit (Optional)
Dried fruit like blueberries, chokecherries (Prunus virginiana), cranberries, raisins, currants, cherries, and/or chokeberries (Aronia melanocarpa) make a great addition to the pemmican mixture.
Berries are a great source of vitamin C and fiber, as well as other nutritive elements. Adding dried fruits like these to your pemmican mixture will not only make it healthier for you, but it will taste delicious too. This fruit admixture should not exceed more than 5% of the total batch amount.
I’d like to make a special mention about the lesser-known aronia berry. It is celebrated as a superfood by herbalists and natural practitioners, plus this berry is known to potentially treat a number of health conditions.
In addition to fruit, some people even add nuts, greens, honey, or other healthy food ingredients. The possibilities are literally endless. So, if you decide to add fruit or nuts to your pemmican, finely chop them ahead of time and then set them aside for the next step.
Moreover, for those wanting to add regular honey or maple syrup, this will reduce the shelf life of the end product. If you decide to use these sweeteners, be sure to use the powdered version instead. Sugar can also be used.
Grind Up Your Dried Beef
Using a food processor or Bullet blender, pulverize your dried beef. The final texture of the meat should look like finely ground sawdust.
If you are adding blueberries or other similar fruit, you can combine them with your meat at this time. The proper ratio of beef to fruit should be about 5:1.
Similarly, if you are adding spices and herbs, you’ll want to mix them in. Dried herbs like sage, rosemary, cumin, pepper, and garlic powder can make your pemmican even more flavorful.
Combine Your Fully Dried Beef with the Freshly Rendered Tallow
Now that both your beef and rendered fat are prepared, it’s time to combine them.
In a large bowl, very slowly add your rendered warm tallow to your ground-up beef mixture. Combine thoroughly by hand before adding more rendered fat and be sure not to add too much. You want to simply moisten or rehydrate the dried meat with the rendered fat.
Once the meat mixture sticks together and can be formed into balls, you have reached the right consistency. You can either prepare the meat into balls or you can press it into a baking dish to harden. After that, you can also place your pemmican in the fridge to expedite the hardening process.
Storing Your Pemmican
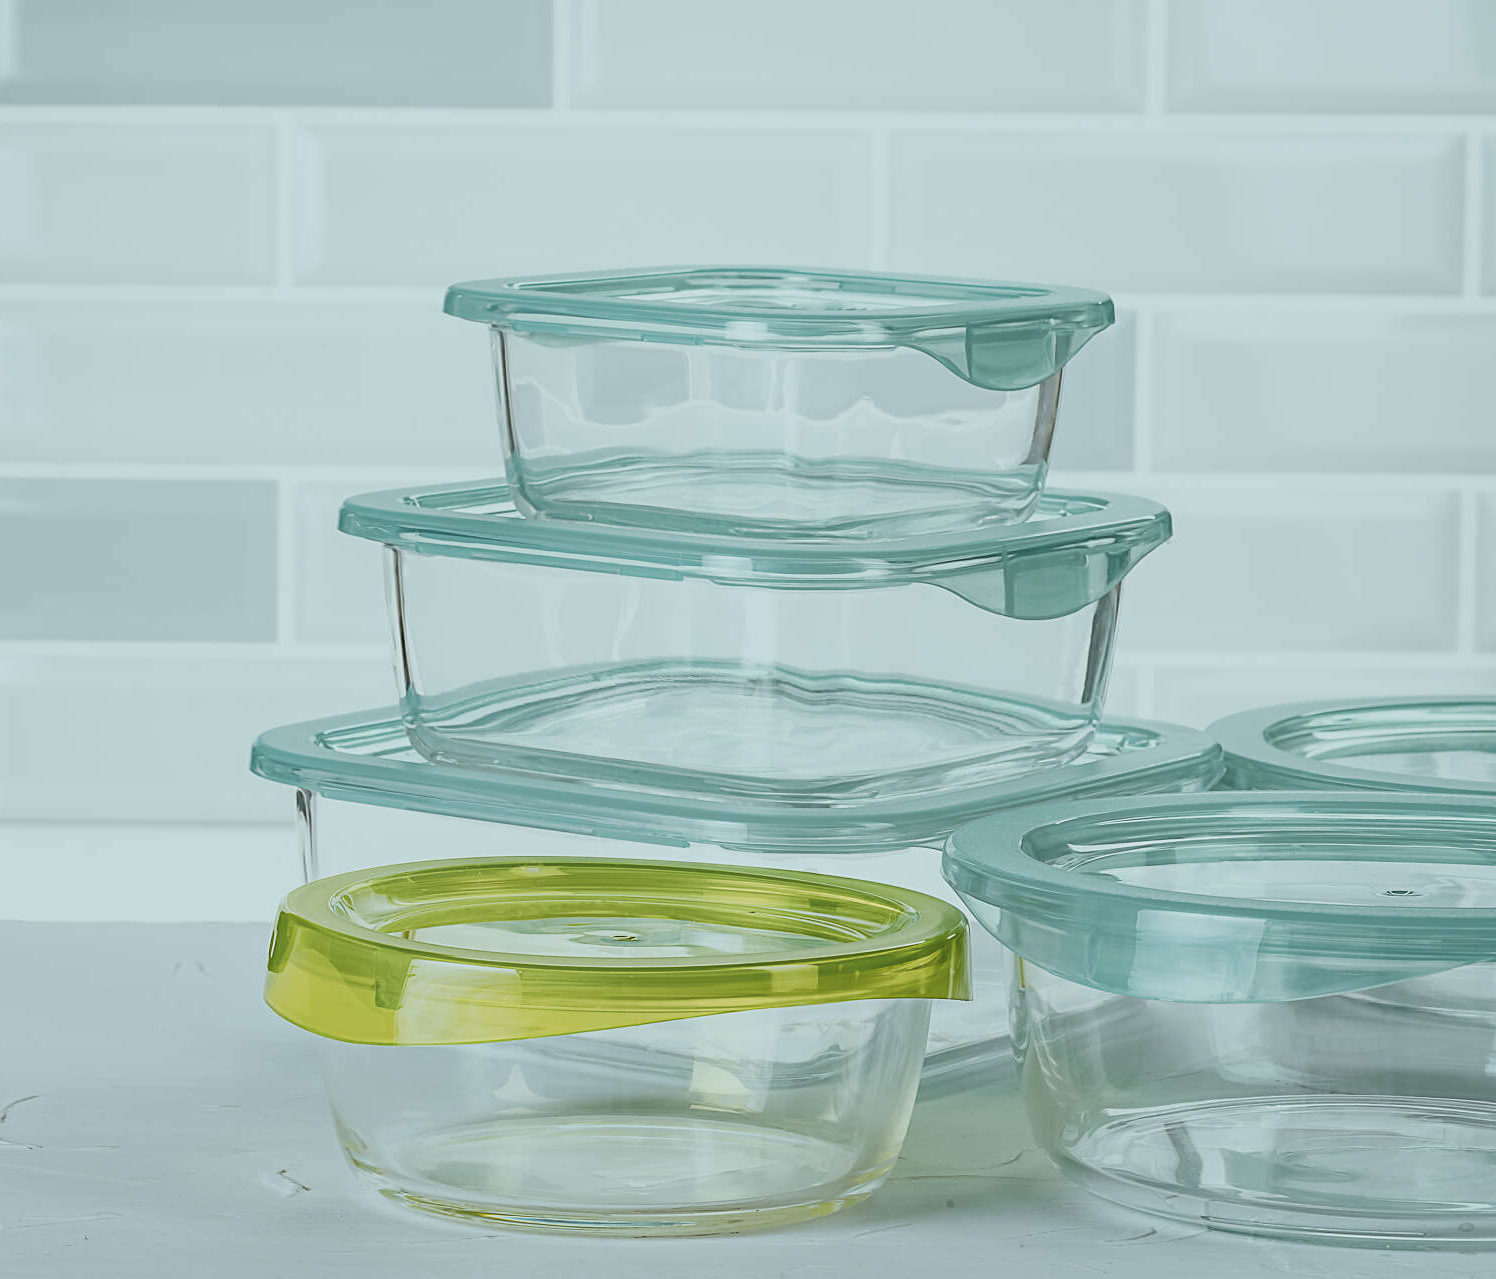
Store your pemmican in an airtight container, tucked away in a cool place away from direct sunlight. Your pemmican can be stored in the fridge, in your pantry, or even in the freezer.
To make your pemmican last even longer, you can vacuum seal it. It should be kept in the pantry for many months. Alternatively, pemmican in the freezer can last years…even up to 5 years or more, according to some sources.
Pemmican is a wonderful way to preserve meat. As we’ve learned, it provides essential calories, protein, and fat. It is ideal for survival during the winter or any long-term expedition. Best of all, it lasts a long time. With all this in mind, adding pemmican to your long-term food security plan is a smart move.
Thanks so much for learning how to make pemmican with us. Let us know how your batches have turned out and feel free to ask us any questions you may have about the process.
Summary
Pemmican is a type of preserved food that can be made from lean meat of caribou, moose, elk, deer (venison), bison, or lamb. It has been treasured for its ability to keep people alive, healthy, and well-sustained during times when regular food was scarce.
It is a superfood that offers the perfect balance of fat, protein, and carbs, and is loaded with B vitamins, iron, zinc, phytonutrients, beneficial fatty acids, and antioxidants. It is also an excellent pack companion for camping, hiking, hunting, and other types of travel adventure away from home. Pemmican is an ideal travel food with 4,500 calories per pound.
To make it, you will need a wooden cutting board, sharpened chef’s knife, strainer, mixing bowl, oven drying rack, salt, spices and herbs, cast iron pan, and food processor.
To prepare the beef, you will need to select a lean and low-fat portion of beef and slightly freeze it. To dry the beef strips, set the oven to its lowest setting, around 38 °C – 46 °C (100 °F to 115 °F). If the oven’s lowest temperature is too high, an option is to leave the oven door cracked open to facilitate proper ventilation and to maintain an optimal temperature. Salt the meat before placing it in the oven and put a drip pan or aluminum foil on the bottom rack.
The drying process can take 8-9 hours and the strips should be ready when they crack upon bending and are brittle. To render the fat, crumble and chop the beef tallow and add it to a cast iron skillet. Turn the stovetop burner on low and stir often. As the tallow simmers, the chunks of fat will reduce in size and take on a light golden hue. Strain and separate the leftover chunks of fat, called cracklins, from the rendered fat liquid.
These cracklins can be used in other recipes or to top salads. The most important details in this recipe are the preparation of dried fruit, nuts, greens, honey, or other healthy food ingredients, the grinding up of dried beef, the combination of the beef with the rendered fat, and the addition of the rendered fat to the ground-up beef mixture.
All of these ingredients should be finely chopped ahead of time and set aside for the next step. Finally, the rendered fat should be slowly added to the ground-up beef mixture to moisten or rehydrate the dried meat. Pemmican is a great way to preserve meat, providing essential calories, protein, and fat.
It can be stored in an airtight container, tucked away in a cool place away from direct sunlight, or vacuum sealed. It is ideal for survival during the winter or any long-term expedition and lasts a long time. Let us know how your batches have turned out and ask any questions.
Thanks for joining us and coming along on this journey of discovery.
To learn more about sustainable living and farming, please check back often for new articles.