Preserve your harvest: a guide to fruit preservation
Sustainable Living
Have you ever wanted to make your own fruit preserves? Well now is a great time to learn. Not only will preserving your own food save you money, but you’ll appreciate the enhanced quality of your food as well.
Now as tempting as it may be to eat all your orchard fruit as it ripens, it’s a smart idea to set some aside for later enjoyment. There is nothing quite like freshly opened fruit preserves in the dead of winter, especially when you could really use a little bit of captured sunshine to lift your spirits.
Today, let’s learn how to get started with the art of food preservation. We’ll discuss drying, freezing, fermenting, and canning. If you prefer one method over another, feel free to skip ahead to that section.
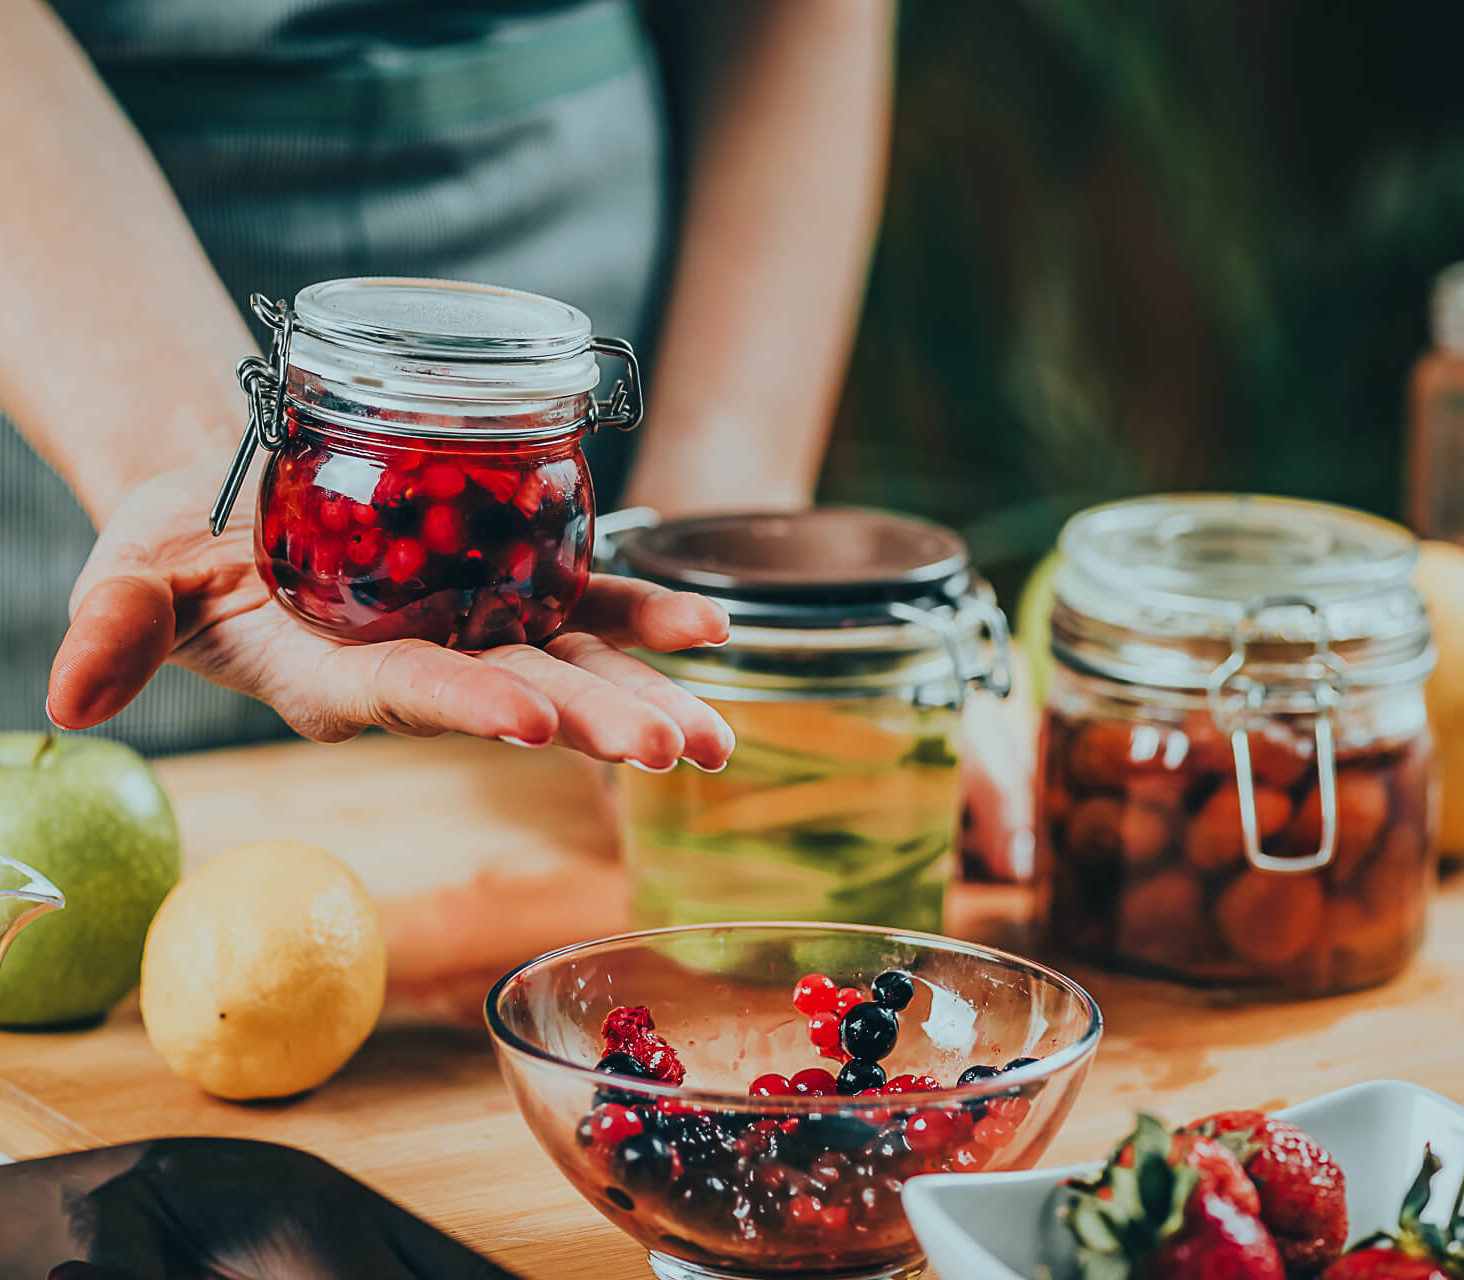
Prepare Your Fruit and Containers
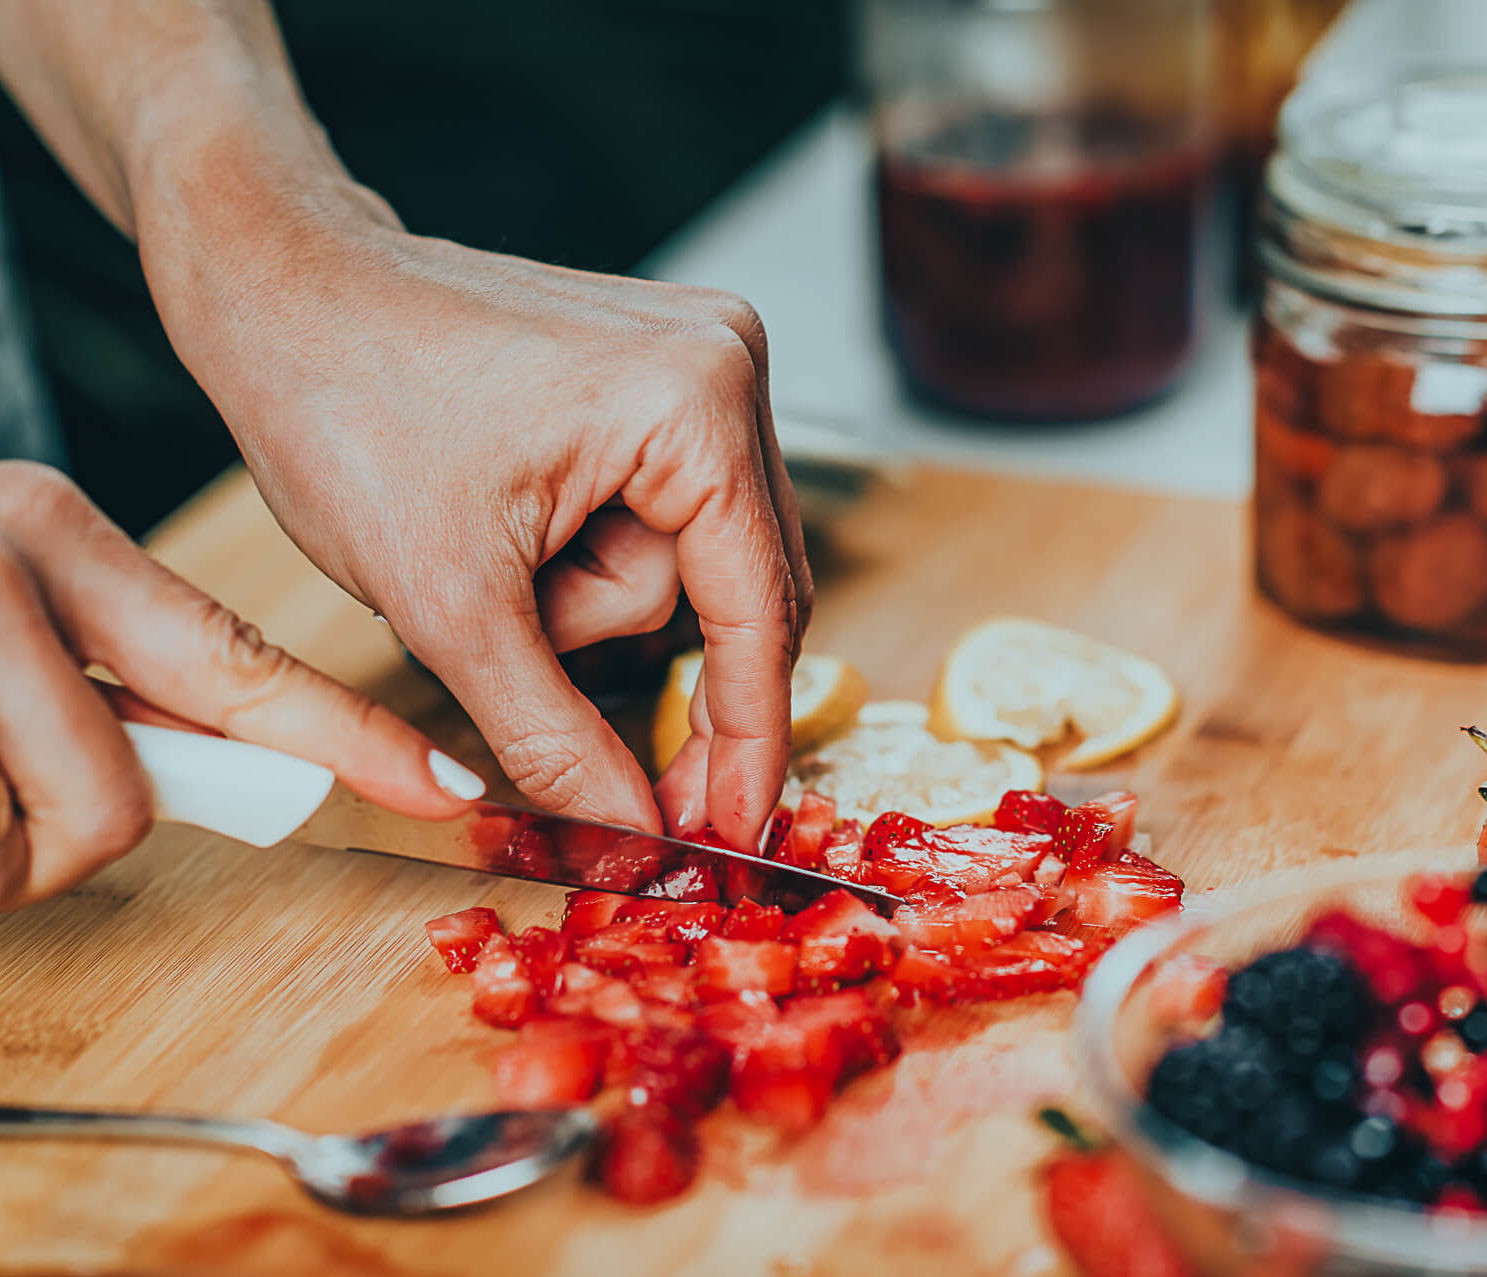
Regardless of the method you want to use, there are a few things you’ll want to do to prepare your fruit for the preservation process.
thoroughly clean your fruit to wash away any dirt or debris. Be sure to cut out problem spots like blemishes or damaged areas. Also, remove any seeds, stems, or pits.
prepare your containers, jars, and lids. These items should be placed in boiling water for at least 10 minutes to completely sterilize them.
Drying Fruit from Your Own Orchard Trees
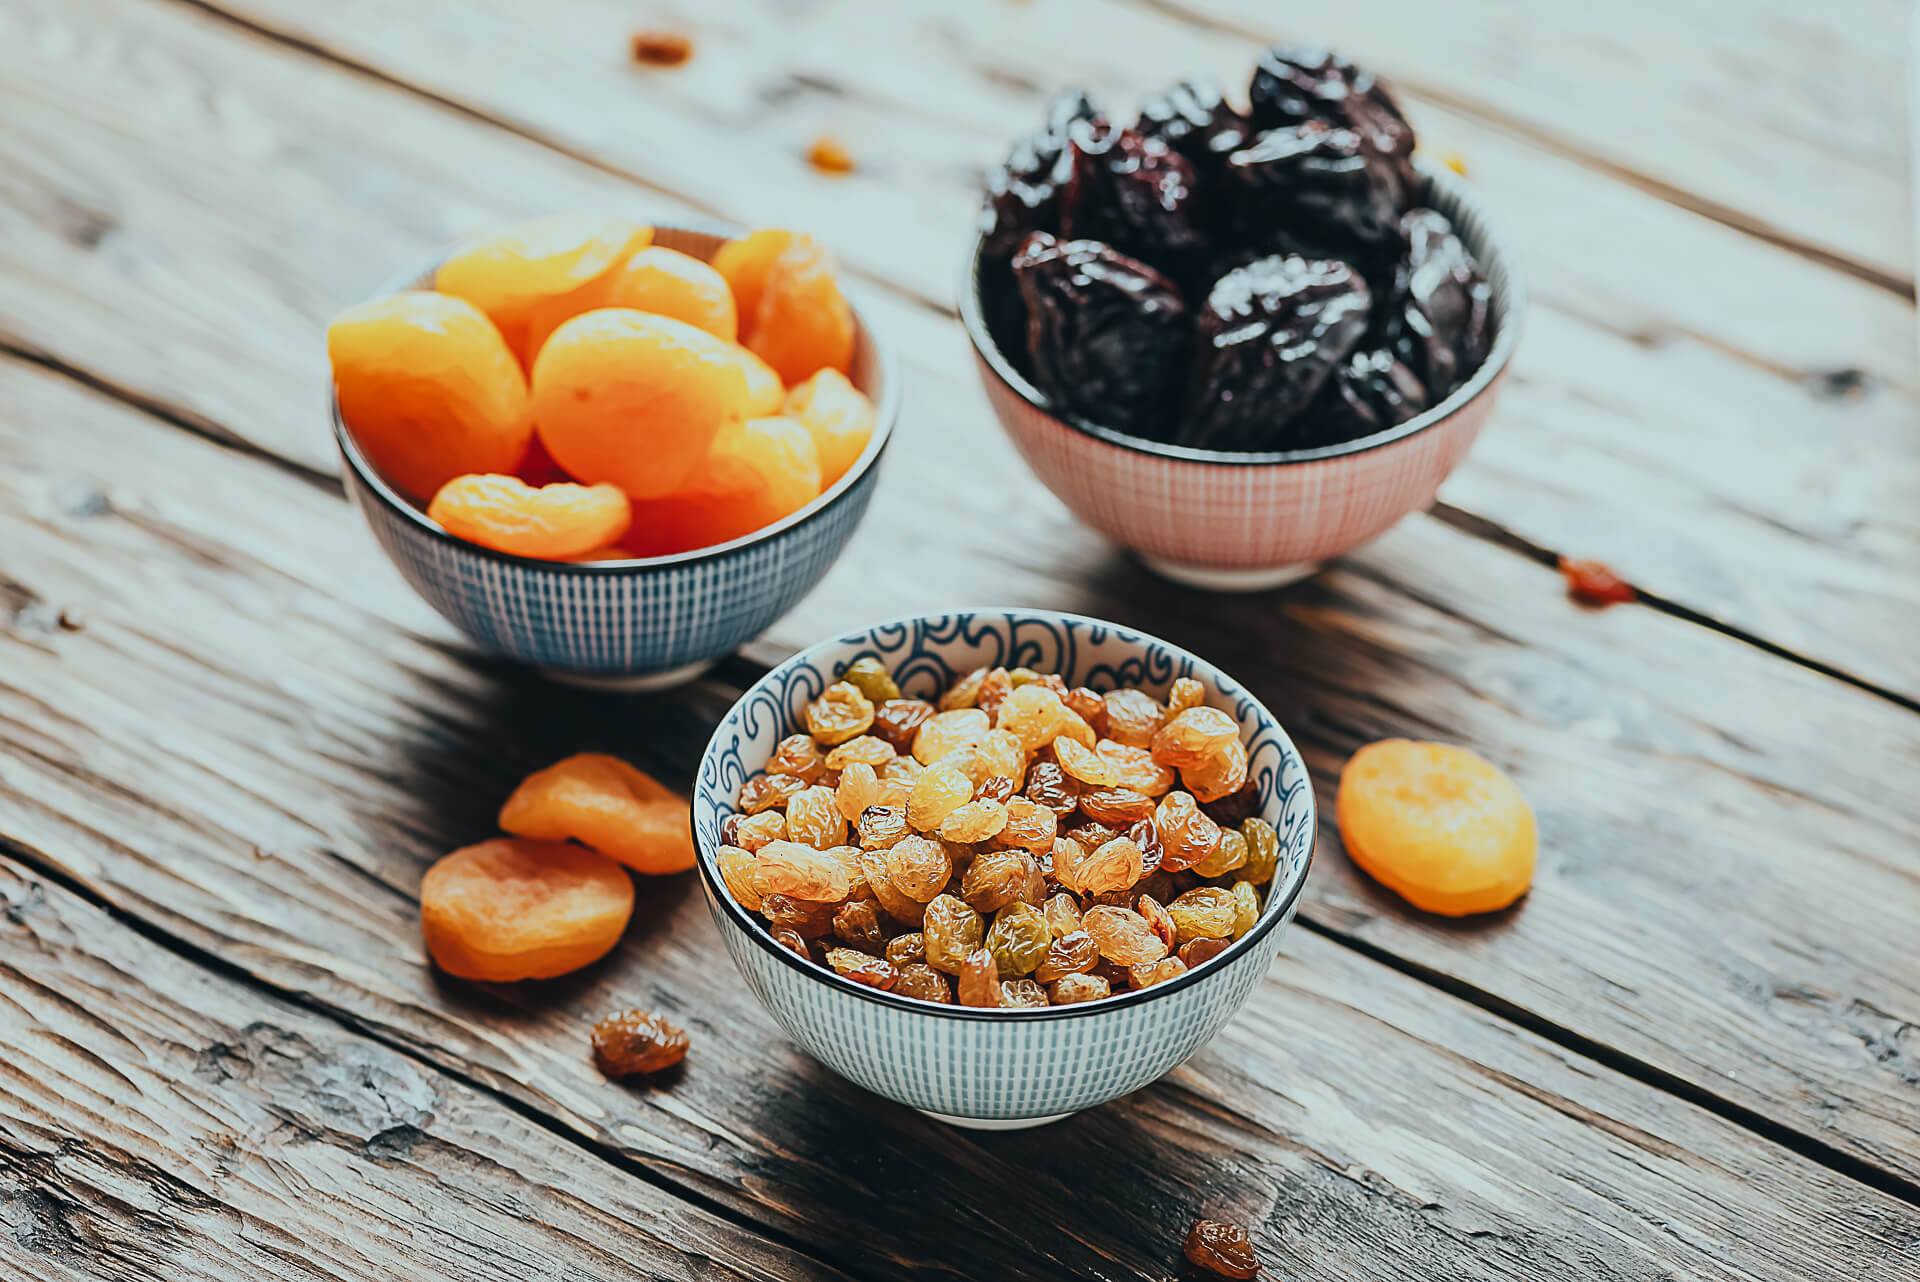
This method of preserving involves the removal of moisture from food. This can be accomplished by using a dehydrator, oven, or even the sun. This process is a great way to preserve fruits like apples, pears, plums, and bananas. Here are some great visual examples.
After Prepping, Here’s How to Finish the Drying Process:
Cut the fruit into slices or pieces, making sure they are all of a similar thickness to ensure even drying. If the type of fruit you’re using tends to darken quickly, you may want to dip it in a solution of water and lemon juice to prevent discoloration.
Now the fruit can be arranged on a dehydrator tray or baking sheet. The pieces should not touch one another and should form a single layer. This allows for even air circulation while drying.
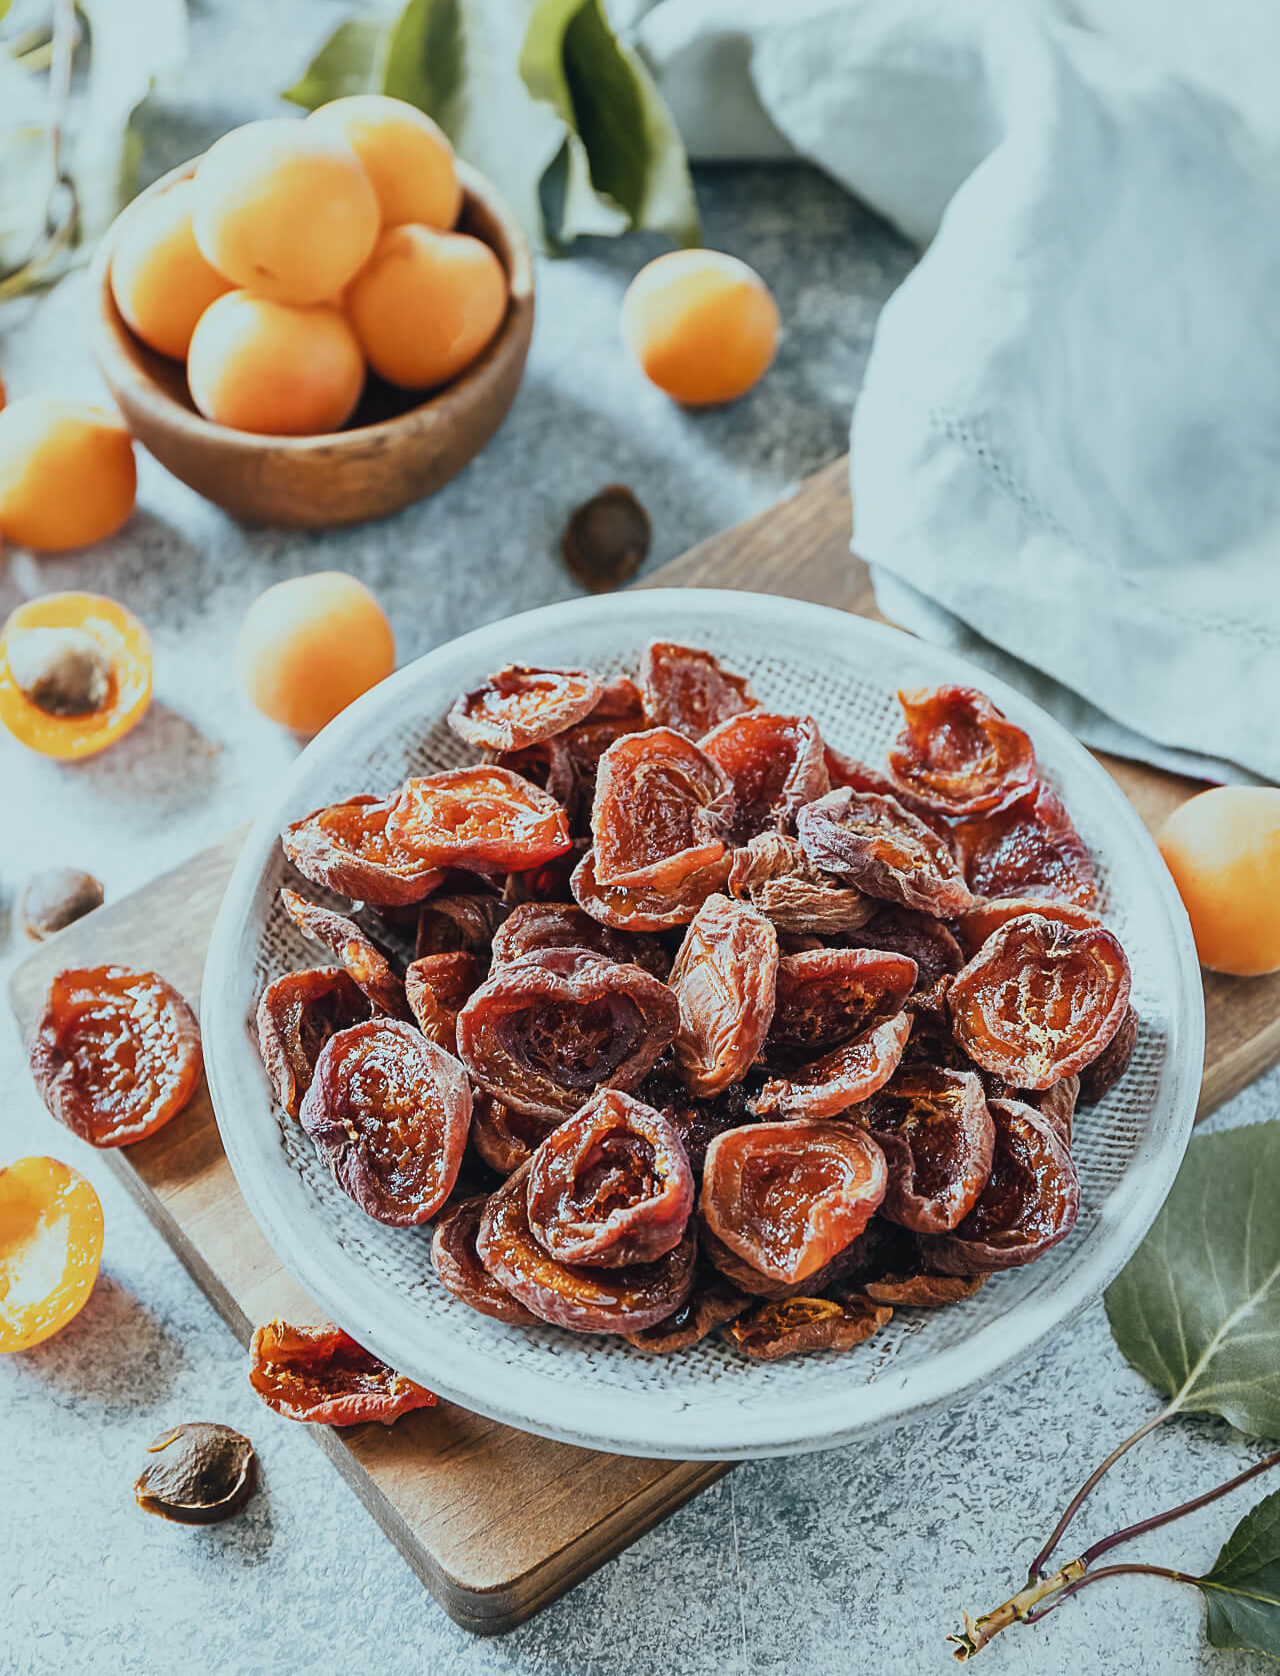
Next, place the trays in a dehydrator or oven. The ideal temperature for drying fruit is around 125°F (52°C). Allow the fruit to dehydrate until it is dry and leathery.
Alternatively, you can string up your fruit and hang it to air dry. Place it in a warm, dry, and well-ventilated area. The air-dry method can take days or even a few weeks, depending upon the type of fruit and its moisture content. Also note, not all fruit is suitable for open air drying.
Once your fruit is completely dry, it can be stored in airtight containers. Label your containers with the name of the fruit and the date. Store your containers in a cool and dry place away from direct sunlight. Additionally, dried fruit can be stored for several months and makes a delicious, nutrient-dense snack.
Freezing
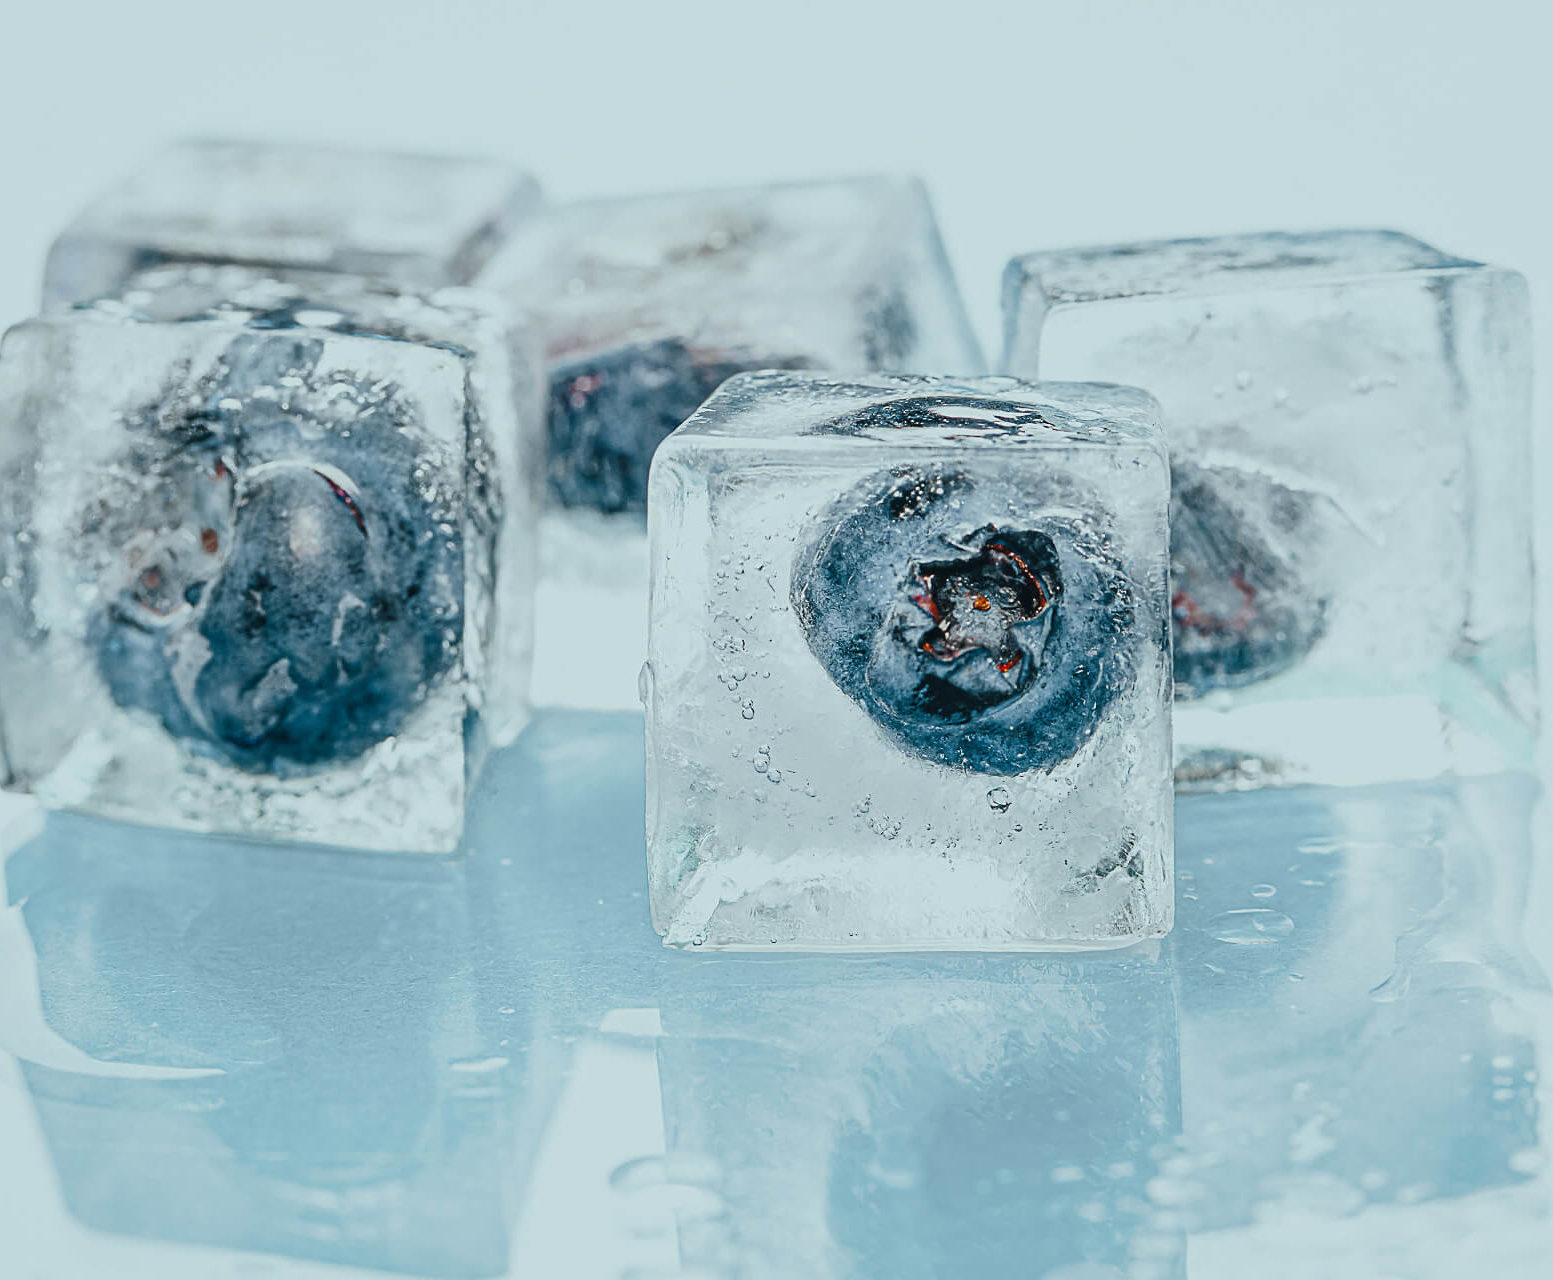
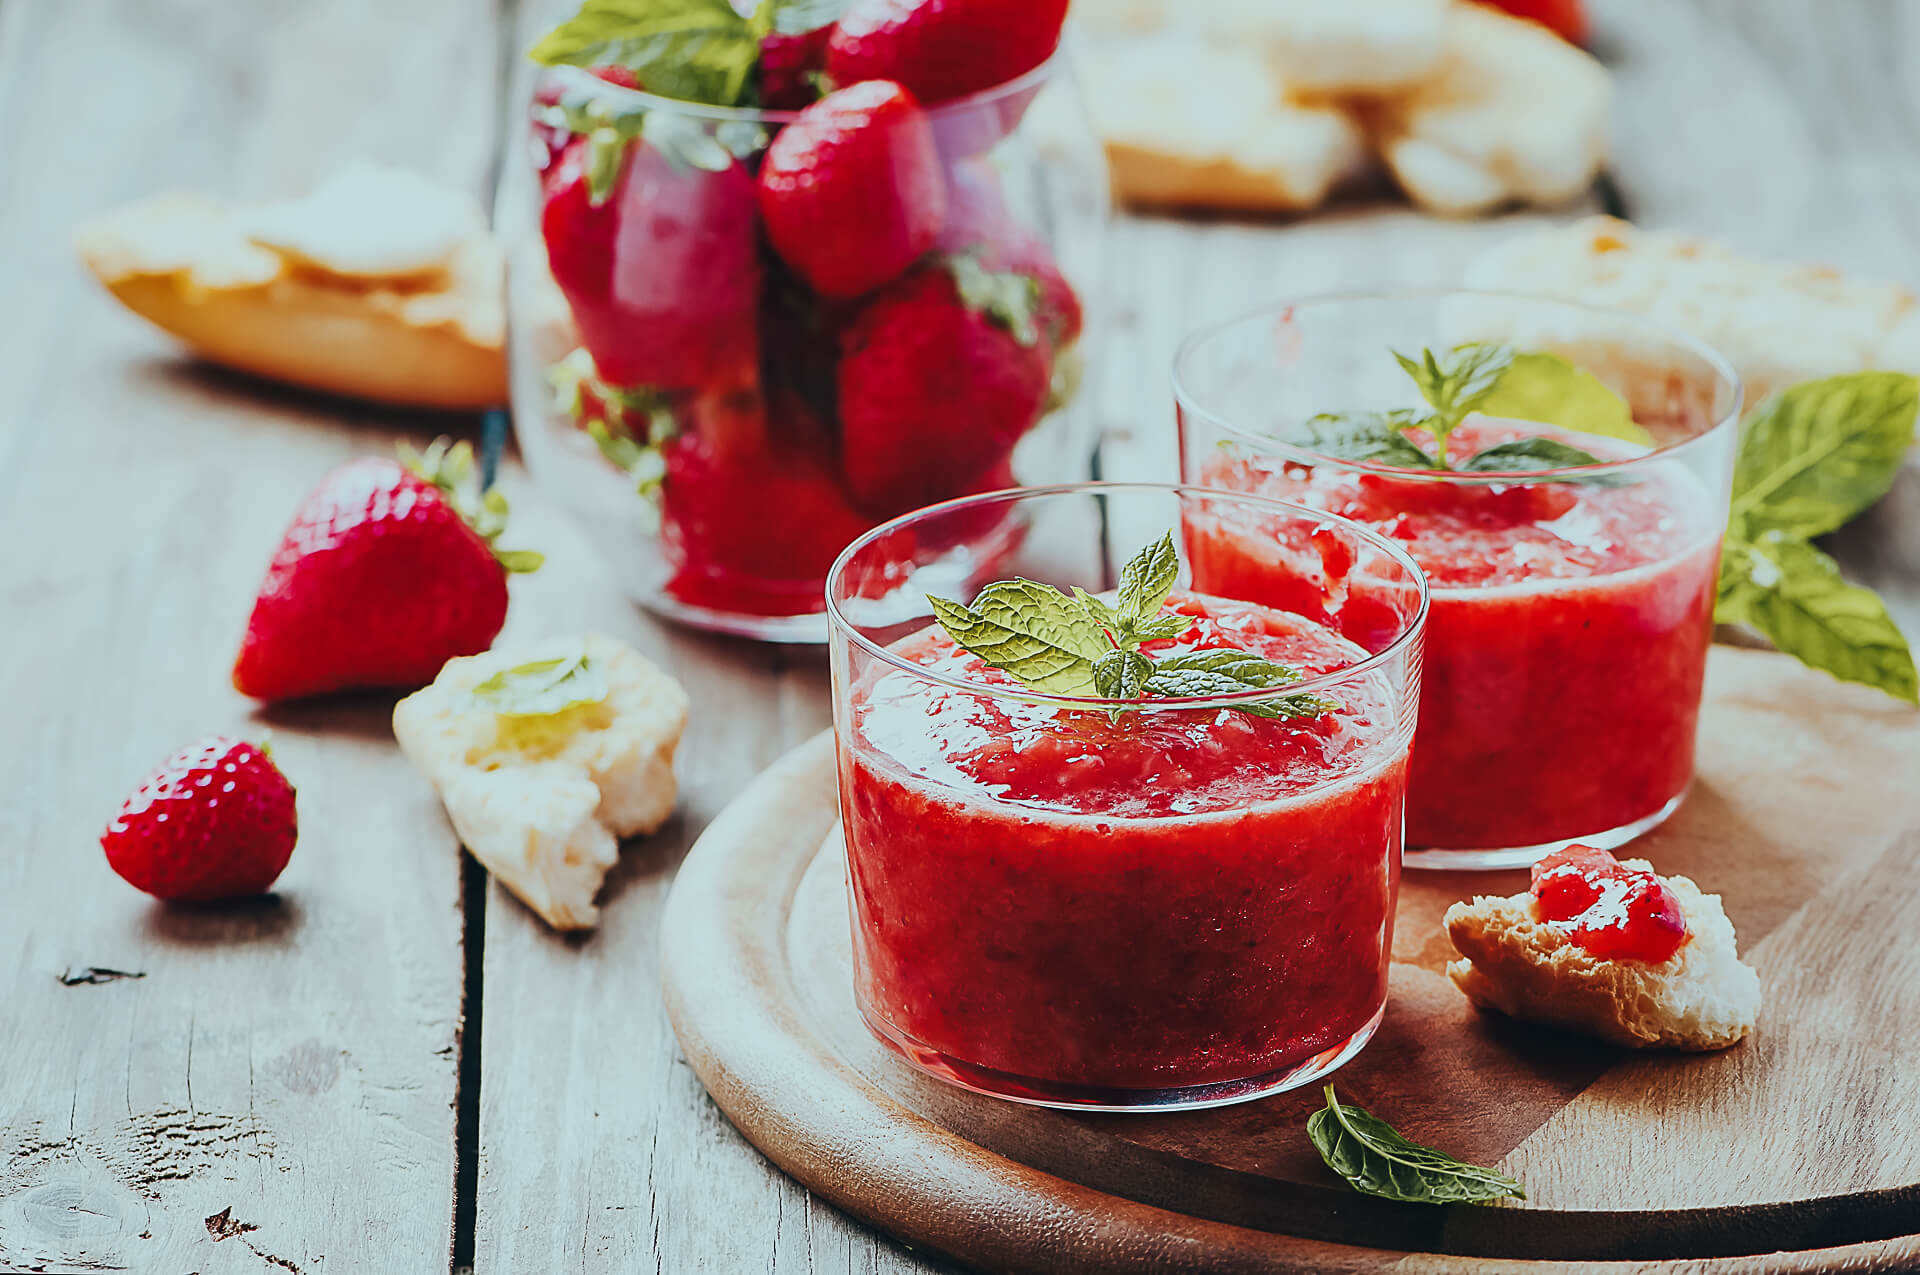
Simply storing your fruit in the freezer can be an excellent alternative to canning and other long-term preserving methods. Popular fruits for freezing include peaches, melons, and berries.
This preservation method is ideal for people who like to frequently make smoothies, ice cream, or baked goods.
Here Are a Few Steps You Can Take to Freeze Your Produce:
With this procedure, pat your fruit pieces dry after washing. Then arrange the prepared fruit on a baking sheet in a single layer, making sure that the pieces don’t touch each other. You may also want to use a wax paper liner for the pan, so your fruit pieces can be removed easily later. Place the baking sheet in the freezer until your fruit is firm. This step typically takes about 2-3 hours. While your fruit is firming up on trays, get your freezer bags ready by labeling them with the date and the name of your produce. Once your fruit is firm, transfer it to the airtight Ziplock bags you’ve prepared. Filled bags can then be stacked in the freezer. Frozen fruit should last 6 to 12 months in the freezer.
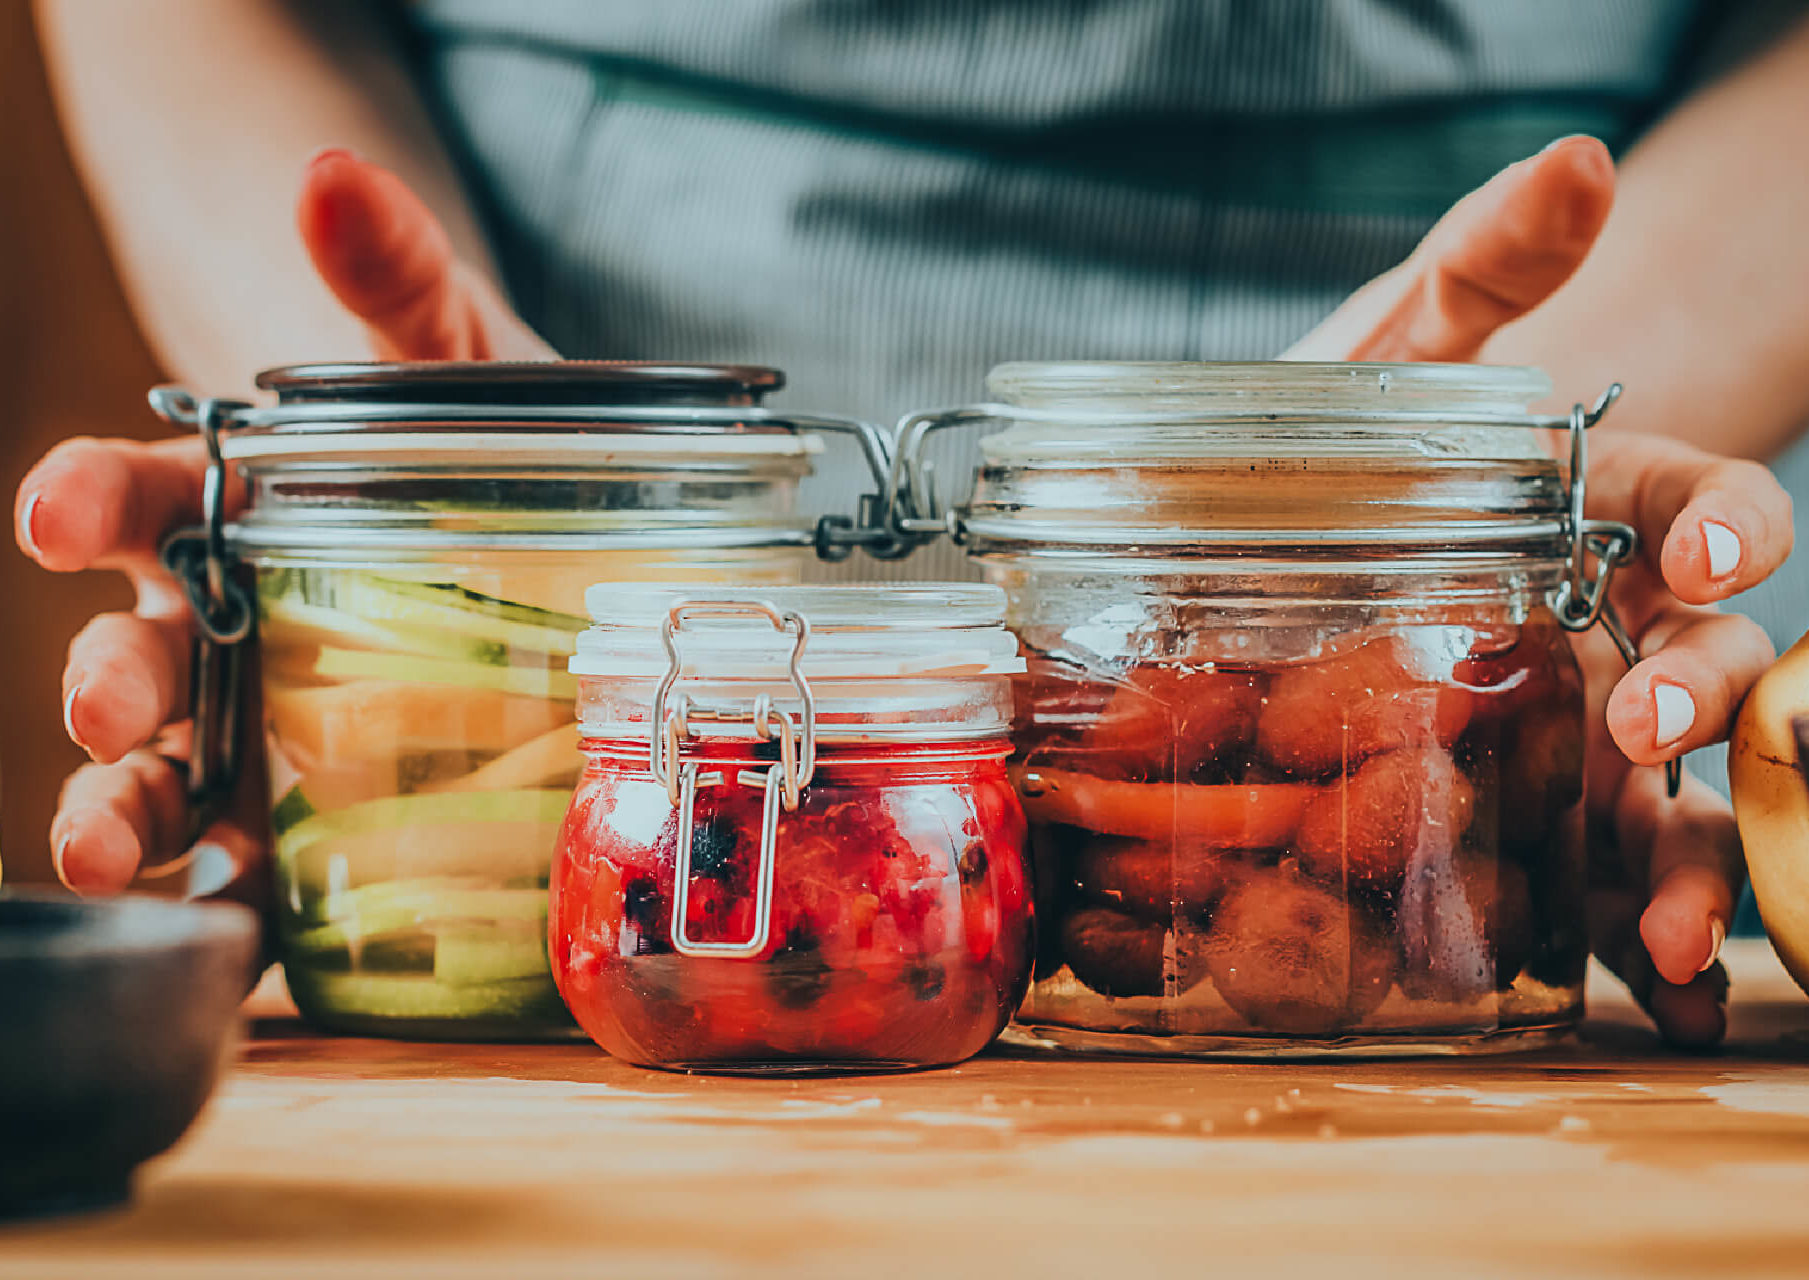
Fermenting
Fermenting is probably one of the oldest methods of preserving food, second only to drying. Our ancestors were masters at preserving fruit. It’s how we have brandy, cider, and wine today.
Some popular fruits for fermentation include apples, grapes, and berries. However, you can experiment with other types of fruit as well.
It’s important to note that fermentation can be a complex process and if not done properly can lead to food spoilage or harmful bacterial growth. Always follow safe fermentation practices, use trusted recipes, and pay close attention to your food as it undergoes the fermentation process.
Here Are a Few Ways You Can Ferment Your Own Fruit
This process involves converting the sugar found in fruit into lactic acid. This is achieved by creating a low-oxygen environment, which helps facilitate the growth of beneficial bacteria. Furthermore, most kinds of fruit already have lactobacillus present on their skin.
Place the fruit in a bowl and mix it with the appropriate ratio of salt, sugar, and/or honey, as listed in your recipe. This will help kick-start the fermentation process by providing food for desirable microorganisms to grow.
To expedite the fermentation process, you can also use a starter culture, this will ensure that the right microorganisms are present within your batch. For fruit, you can use commercial yeast or whey, depending on the type of fermentation you want to achieve. Alternatively, you can also use wild yeast by leaving the fruit uncovered for a few hours to collect yeast from the air.
Now place the fruit mixture in a fermenting crock, like this one or this one. The great thing about a fermenting crock is that it blocks oxygen while also enabling carbon dioxide gas to escape.
Next, add distilled water or the brine solution outlined in your recipe. Then weigh down your fruit to keep your fruit submerged under the liquid you’ve added. Cover and leave the mixture at room temperature for several days, stirring and burping it daily. The length of fermentation time will depend on the type of fruit used and the type of fermentation desired.
This is the last stage of fermentation and renders the fruit into vinegar.
Once the fruit has fermented to your preferred stage, you can store it in the refrigerator or in a similarly cool and dark place. Use the fermented fruit within a few weeks to ensure that it has the best flavor and texture.
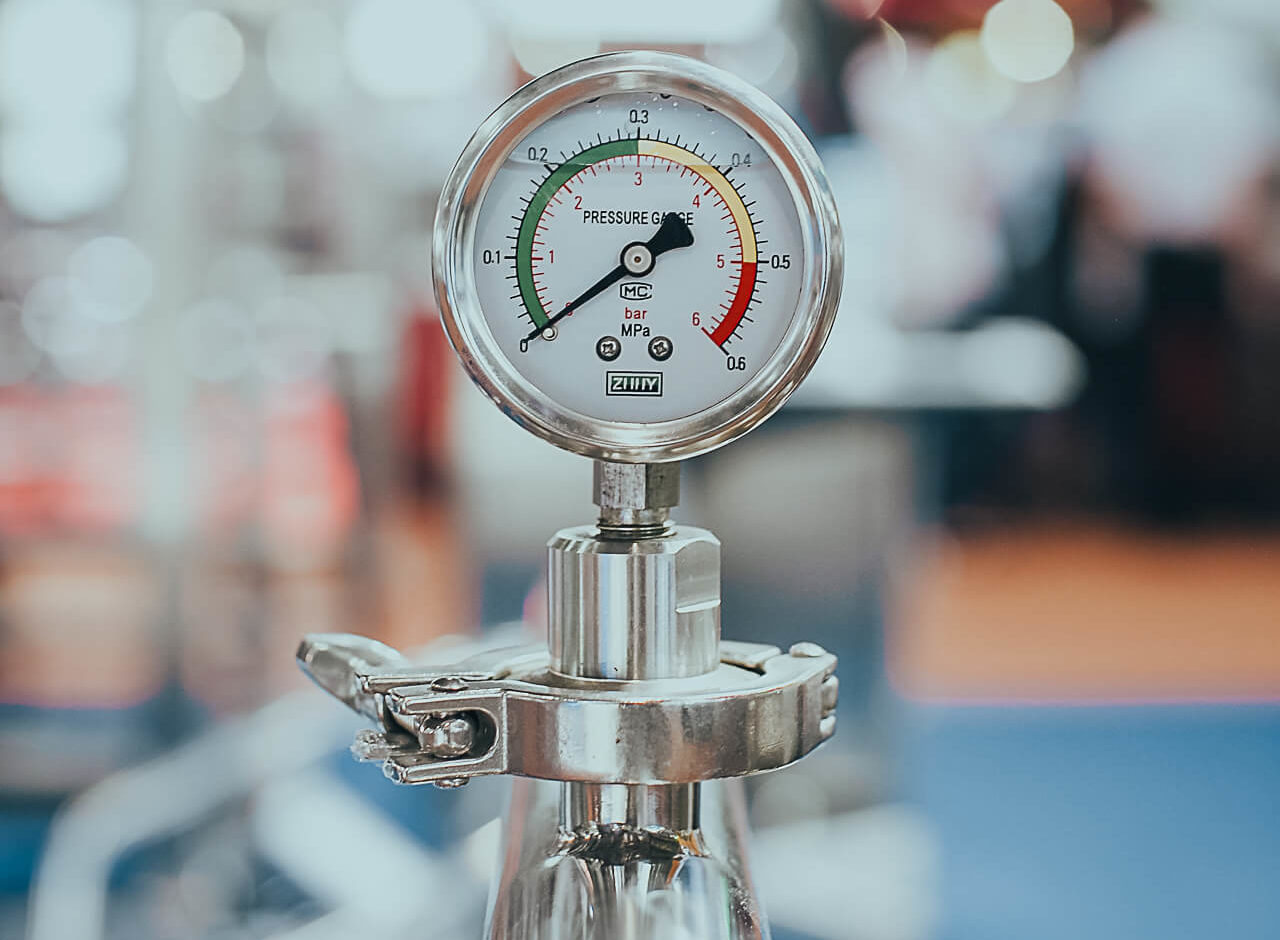
With pressure canning, your jars are processed at a higher pressure and temperature, which may need to be adjusted based upon the altitude of your location. The high pressure allows the temperature inside the jars to reach 250°F (121°C), which is the minimum temperature needed to kill the spores of Clostridium botulinum, the bacterium responsible for botulism. On this note, anything that contains garlic should be pressure canned, as it can develop botulism over time. Always be sure to use proper canning techniques to ensure safety.
The higher temperatures and pressures of a pressure cooker are ideal for use with low-acid fruits like papaya, okra, figs, olives, zucchini, pumpkins, and peppers, which can harbor harmful bacteria that thrive in low-acid environments.
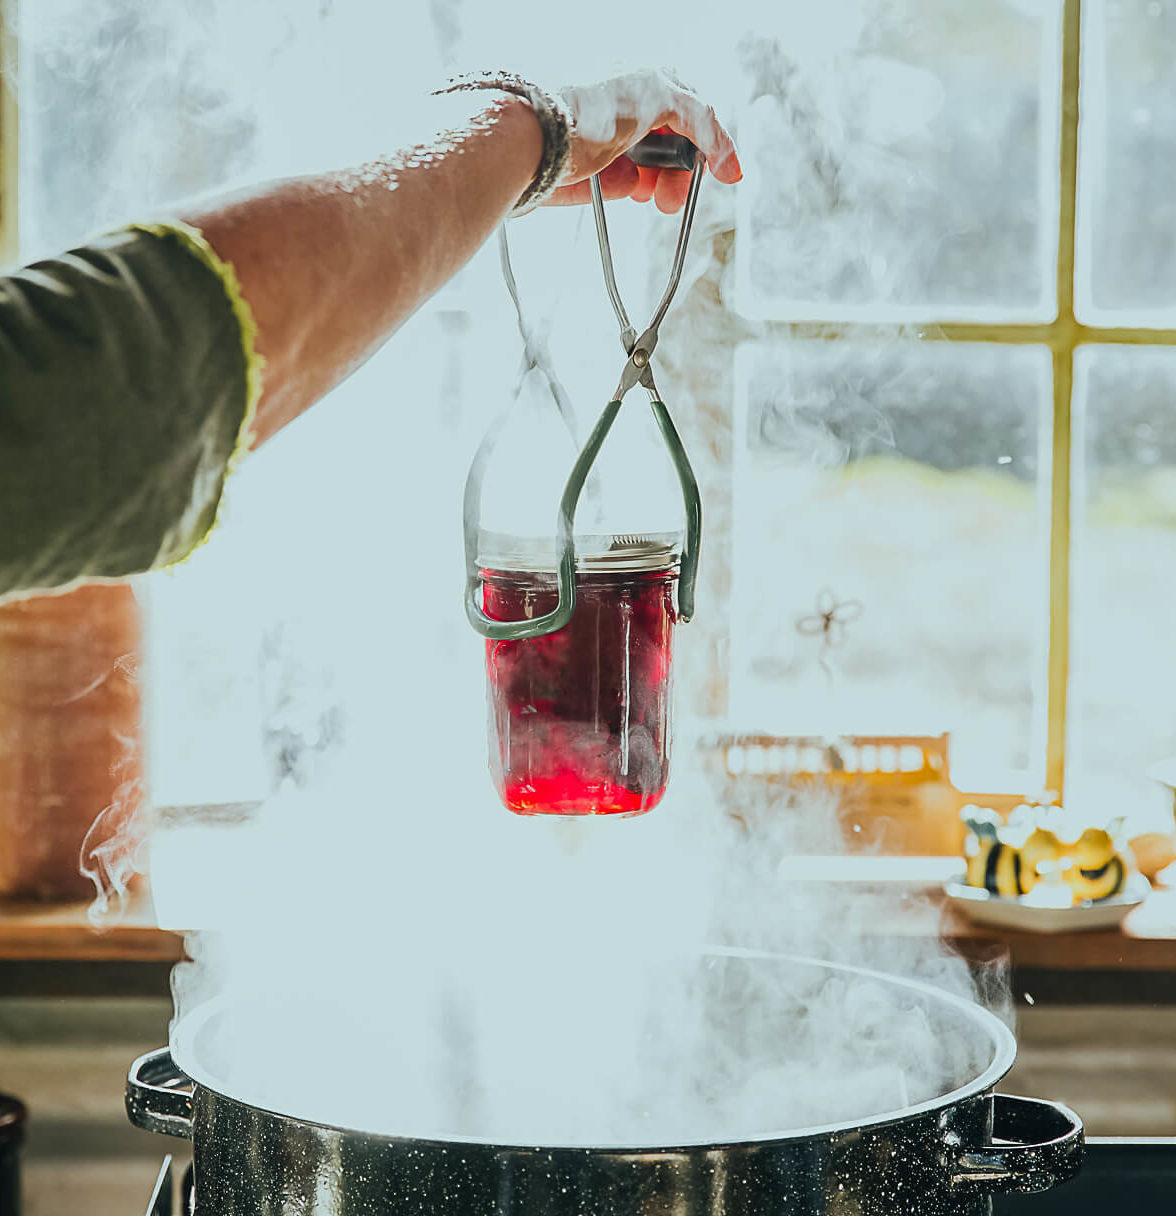
Canning: Water Bath and Pressure Methods
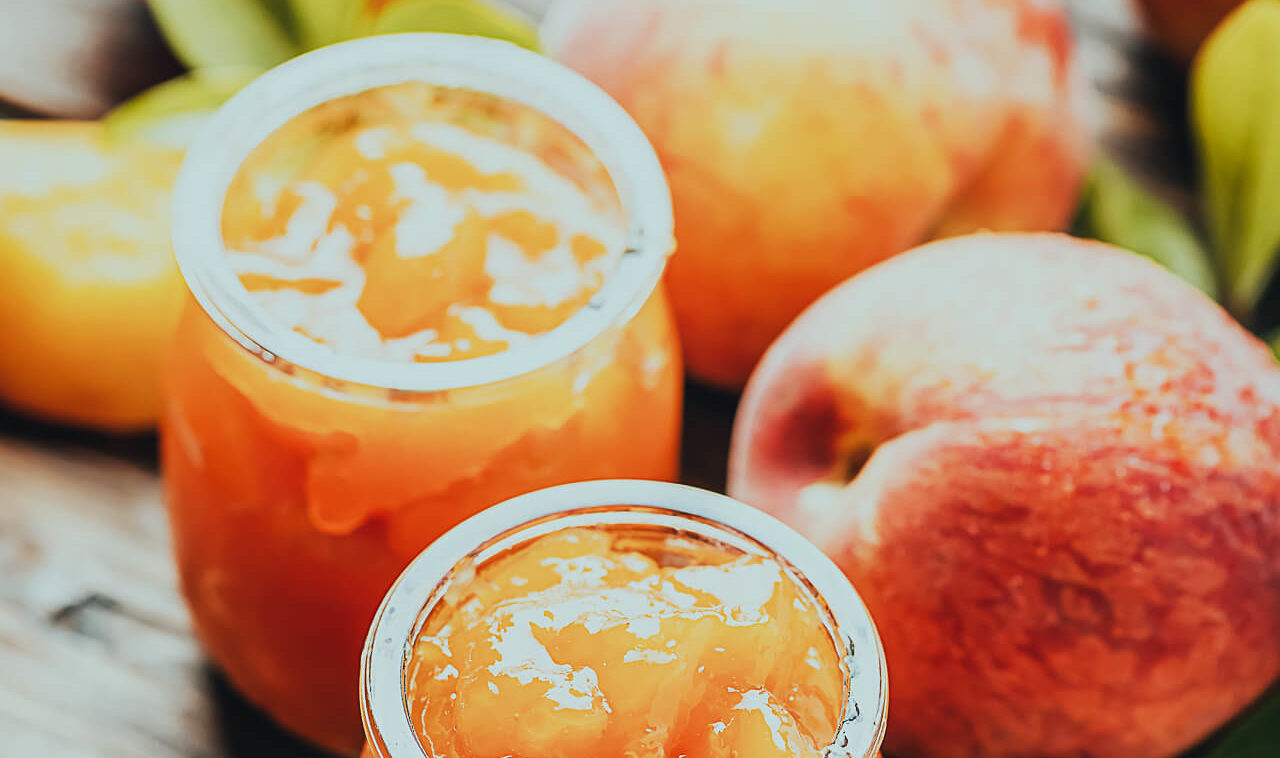
Canning fruit is a great way to preserve your harvest and enjoy your favorite fruits year-round. Let’s discuss the two kinds of canning, the water bath method, and the pressure cooker method.
Water bath canning is different from pressure canning, in that it uses boiling water to seal your jars, rather than high pressure. This method works well for highly acidic foods, as the acidity helps to inhibit the growth of harmful bacteria.
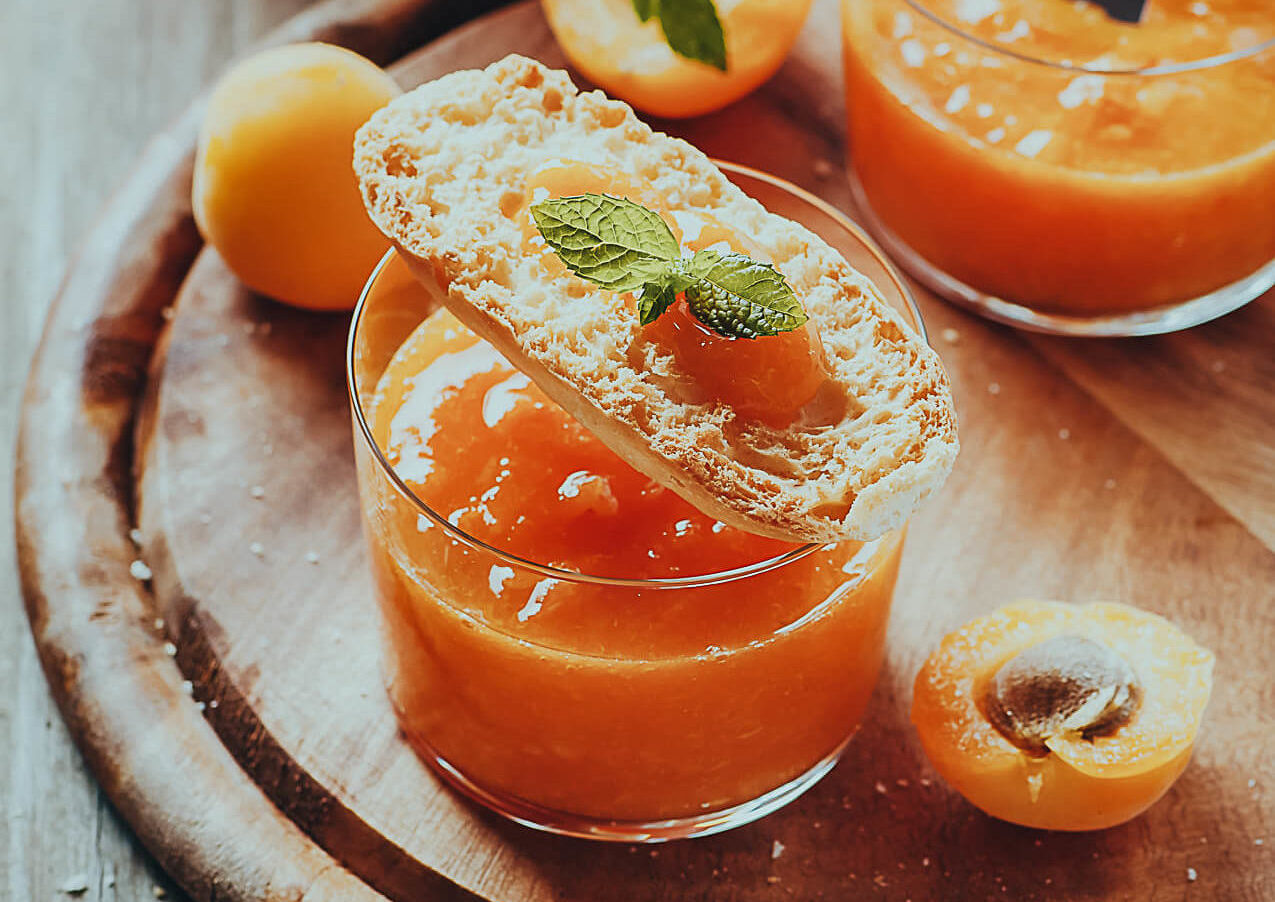
Furthermore, water bath canning is suitable for foods with a pH of 4.6 or lower, while pressure canning is necessary for low-acid foods with a pH greater than 4.6. With this in mind, fruits like tomatoes, pickles, apples, cherries, blueberries, strawberries, and all citrus fruits are good candidates for water bath canning.
Conclusion
No matter which way you prefer to preserve your orchard fruit, knowing the skills we’ve discussed in this article will ensure that you will get to “enjoy the fruits of your labor”, long into the colder months.
One of my favorite books on this topic is ‘Preserving’ by Oded Schwartz. It goes into detail about how to preserve different kinds of foods and has a plethora of delicious recipes for you to try.
Summary
Preserving your own food is a great way to save money and enjoy the enhanced quality of your food. To prepare your fruit and containers, harvest ripe fruit at the height of the season, thoroughly clean it, peel or slice the fruit, add spices and flavorings, and sterilize containers, jars, and lids in boiling water for at least 10 minutes. Drying Fruit from Your Own Orchard Trees involves the removal of moisture from food, which can be accomplished by using a dehydrator, oven, or even the sun. After Prepping, Here’s How to Finish the Drying Process. Cut the fruit into slices or pieces and arrange them on a dehydrator tray or baking sheet.
Place the trays in a dehydrator or oven at 125°F (52°C) and allow the fruit to dehydrate until it is dry and leathery. If the fruit is suitable for open air drying, it can be stored in airtight containers and labeled with the name of the fruit and the date. Freezing is an excellent alternative to canning and other long-term preserving methods. Pat the fruit pieces dry after washing and arrange them on a baking sheet in a single layer. Place the baking sheet in the freezer until the fruit is firm.
Label the airtight Ziplock bags and store them in the freezer. Frozen fruit should last 6 to 12 months in the freezer.
Thanks for joining us and coming along on this journey of discovery.
To learn more about sustainable living and farming, please check back often for new articles.