Preserving Garden Bounty: 4 methods for drying
- Sustainable Living
Have you ever wanted to learn how to can your own food? Drying is an ancient preservation method that involves removing moisture from food. For centuries, it has been used to extend the shelf life of both garden produce and animal-based foods.
This method of preservation has also been used to ensure a consistent food supply during long voyages, during times of scarcity, and when growing food is not an option. People can enjoy the sunshine of the warmer months long into the colder ones by using the drying method, allowing them to survive the harsh weather conditions that occur during winter.
Let’s look at the best methods for preserving fresh garden produce using the drying method today.
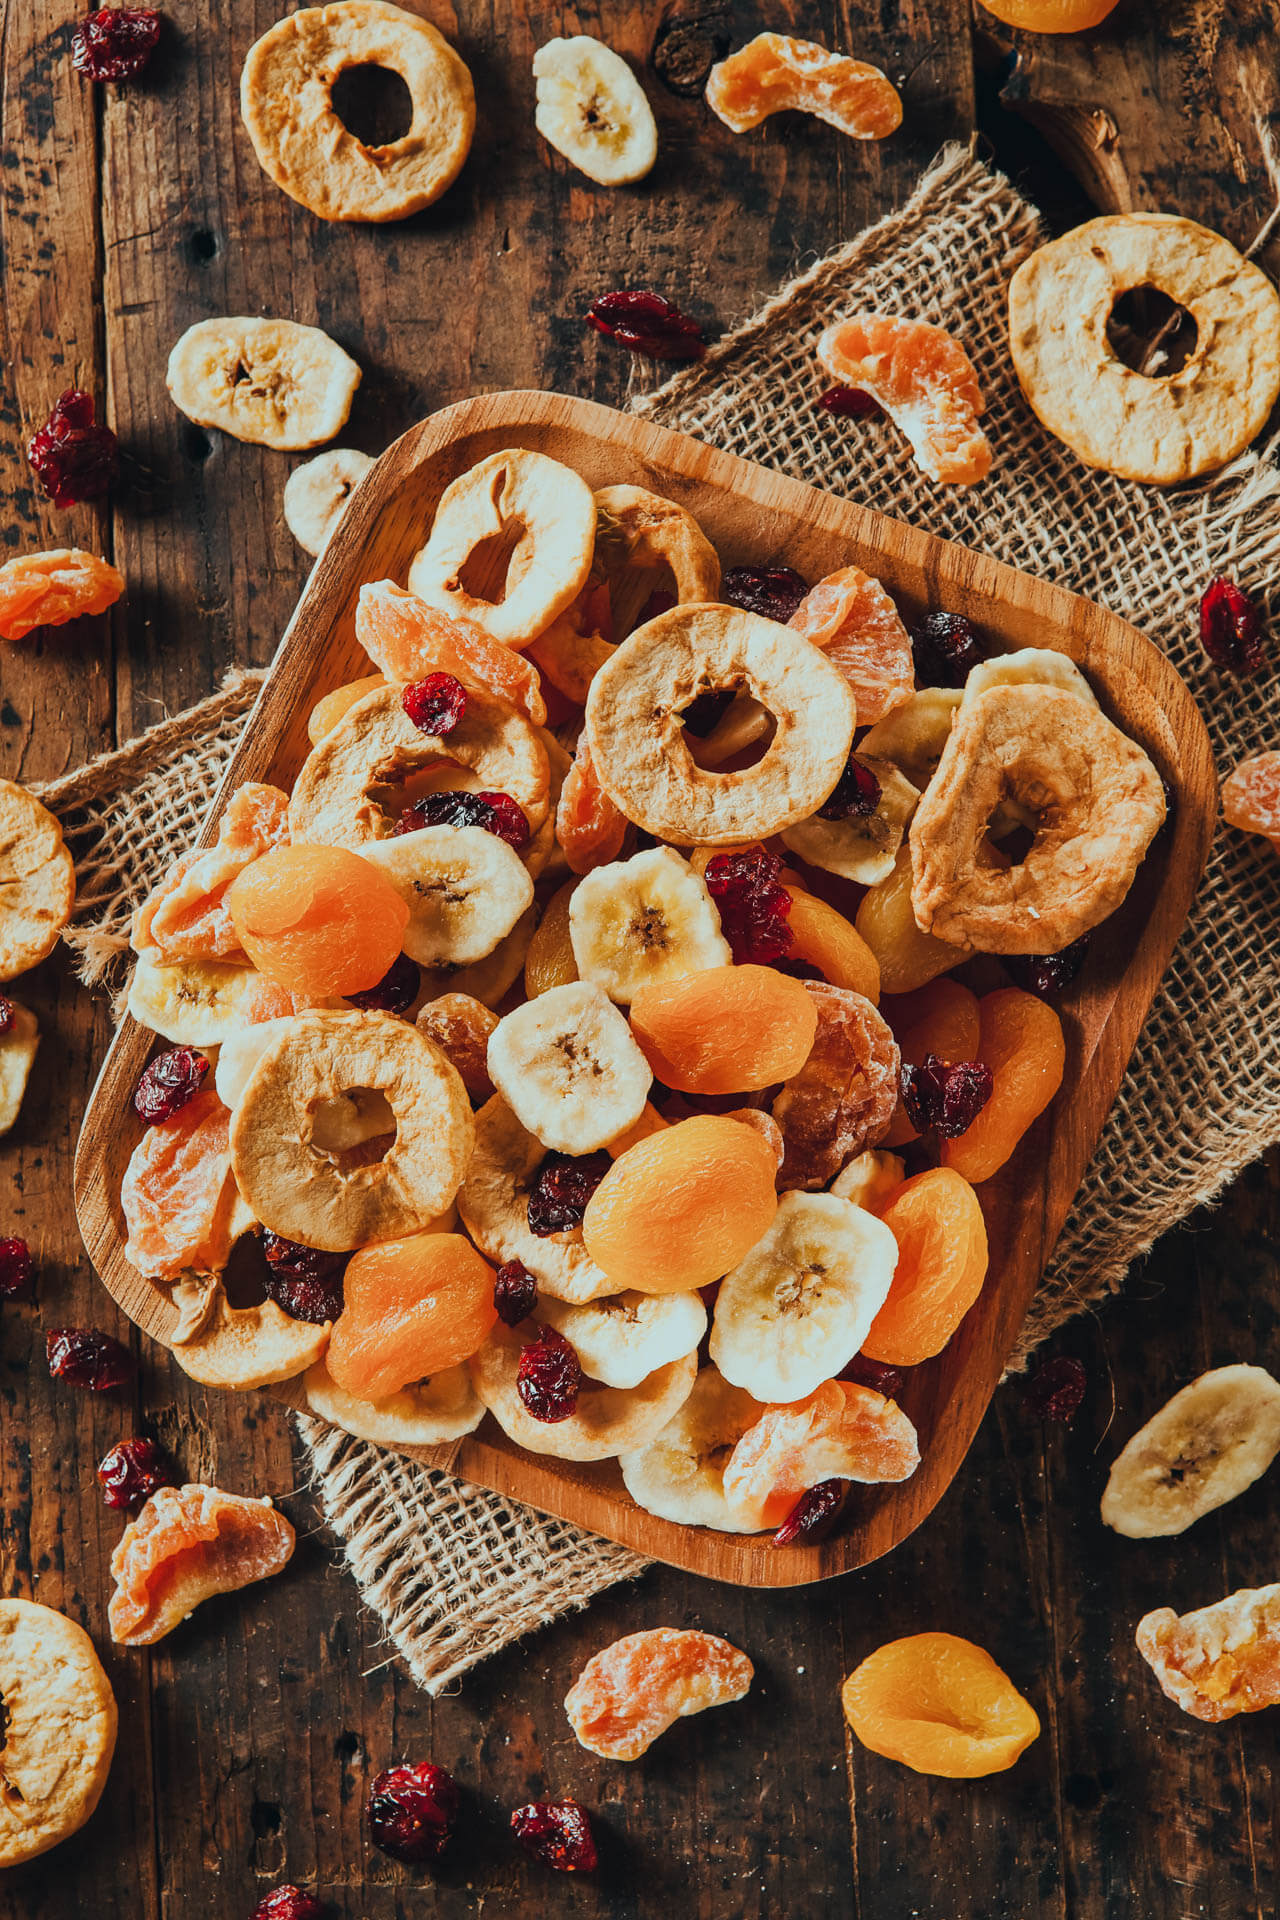
The Four Drying Methods
There is a drying method available to you today, no matter where you live. By the end of this article, I’m confident you’ll want to try all four options, as each has its own advantages.
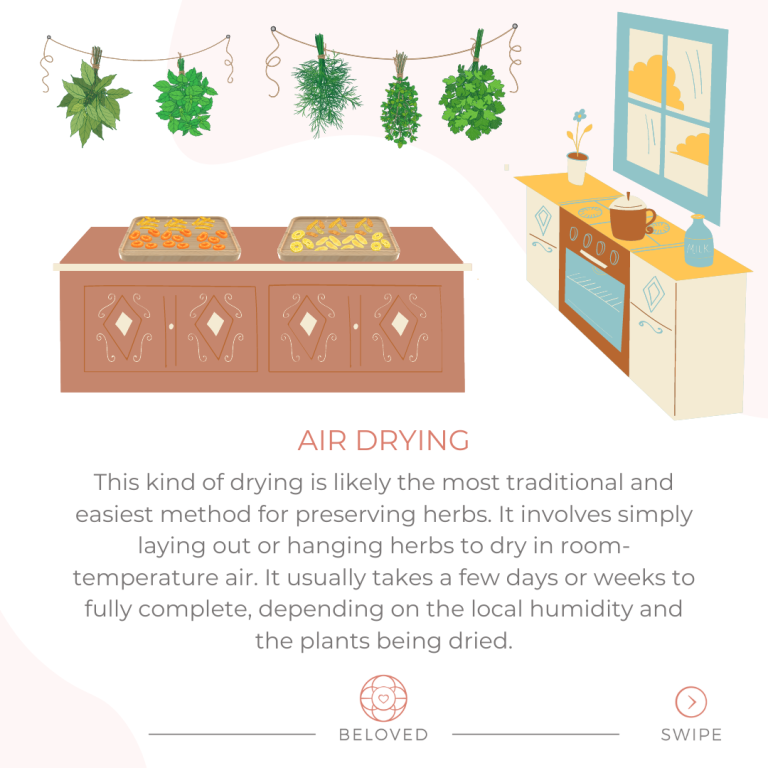
This is most likely the most traditional and simple method of preserving herbs. It simply entails spreading or hanging herbs to dry in room-temperature air. It usually takes a few days or weeks to complete, depending on the humidity in the area and the plants being dried.
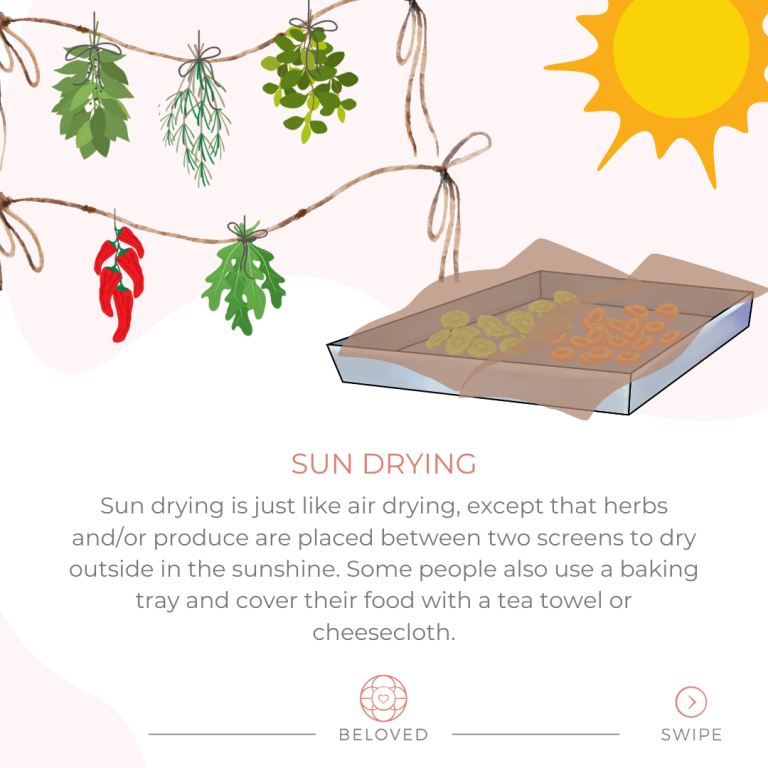
Despite the fact that this process can take several days, I prefer it because it does not require any electricity or special equipment. Sun drying is similar to air drying in that herbs and/or produce are placed between two screens and dried outside in the sun. Some people also use a baking tray and a tea towel or cheesecloth to cover their food. Simply weigh down your cloth so it doesn’t blow away and expose your food. To prevent rehydration, bring the items you are drying inside at night or when it is raining.
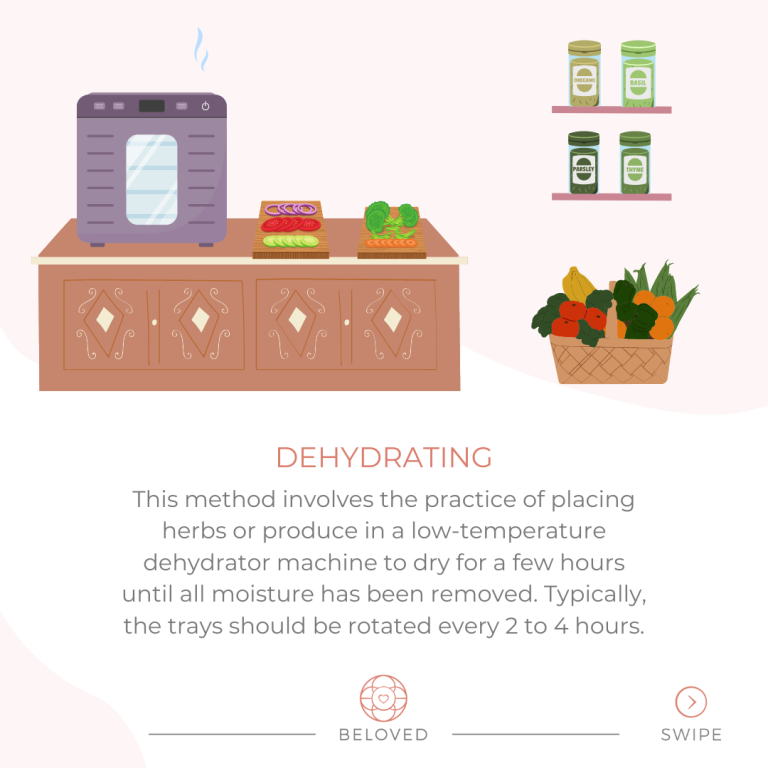
This method entails drying herbs or produce in a low-temperature dehydrator machine for a few hours until all moisture is removed. The trays should typically be rotated every 2 to 4 hours.
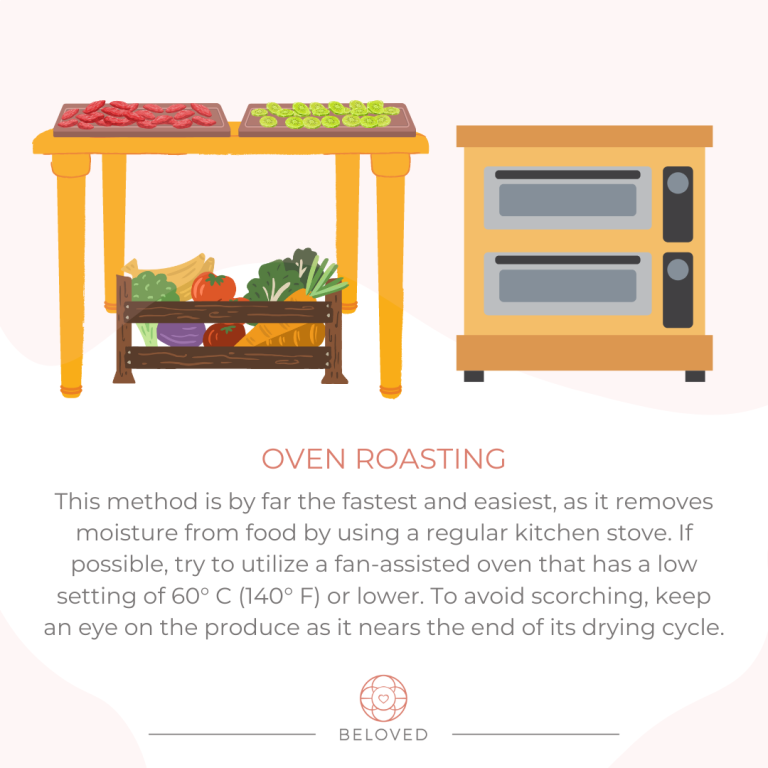
This method, which uses a regular kitchen stove to remove moisture from food, is by far the quickest and easiest. If at all possible, use a fan-assisted oven with a low setting of 60° C (140° F) or lower. Keep an eye on the produce as it nears the end of its drying cycle to avoid scorching.

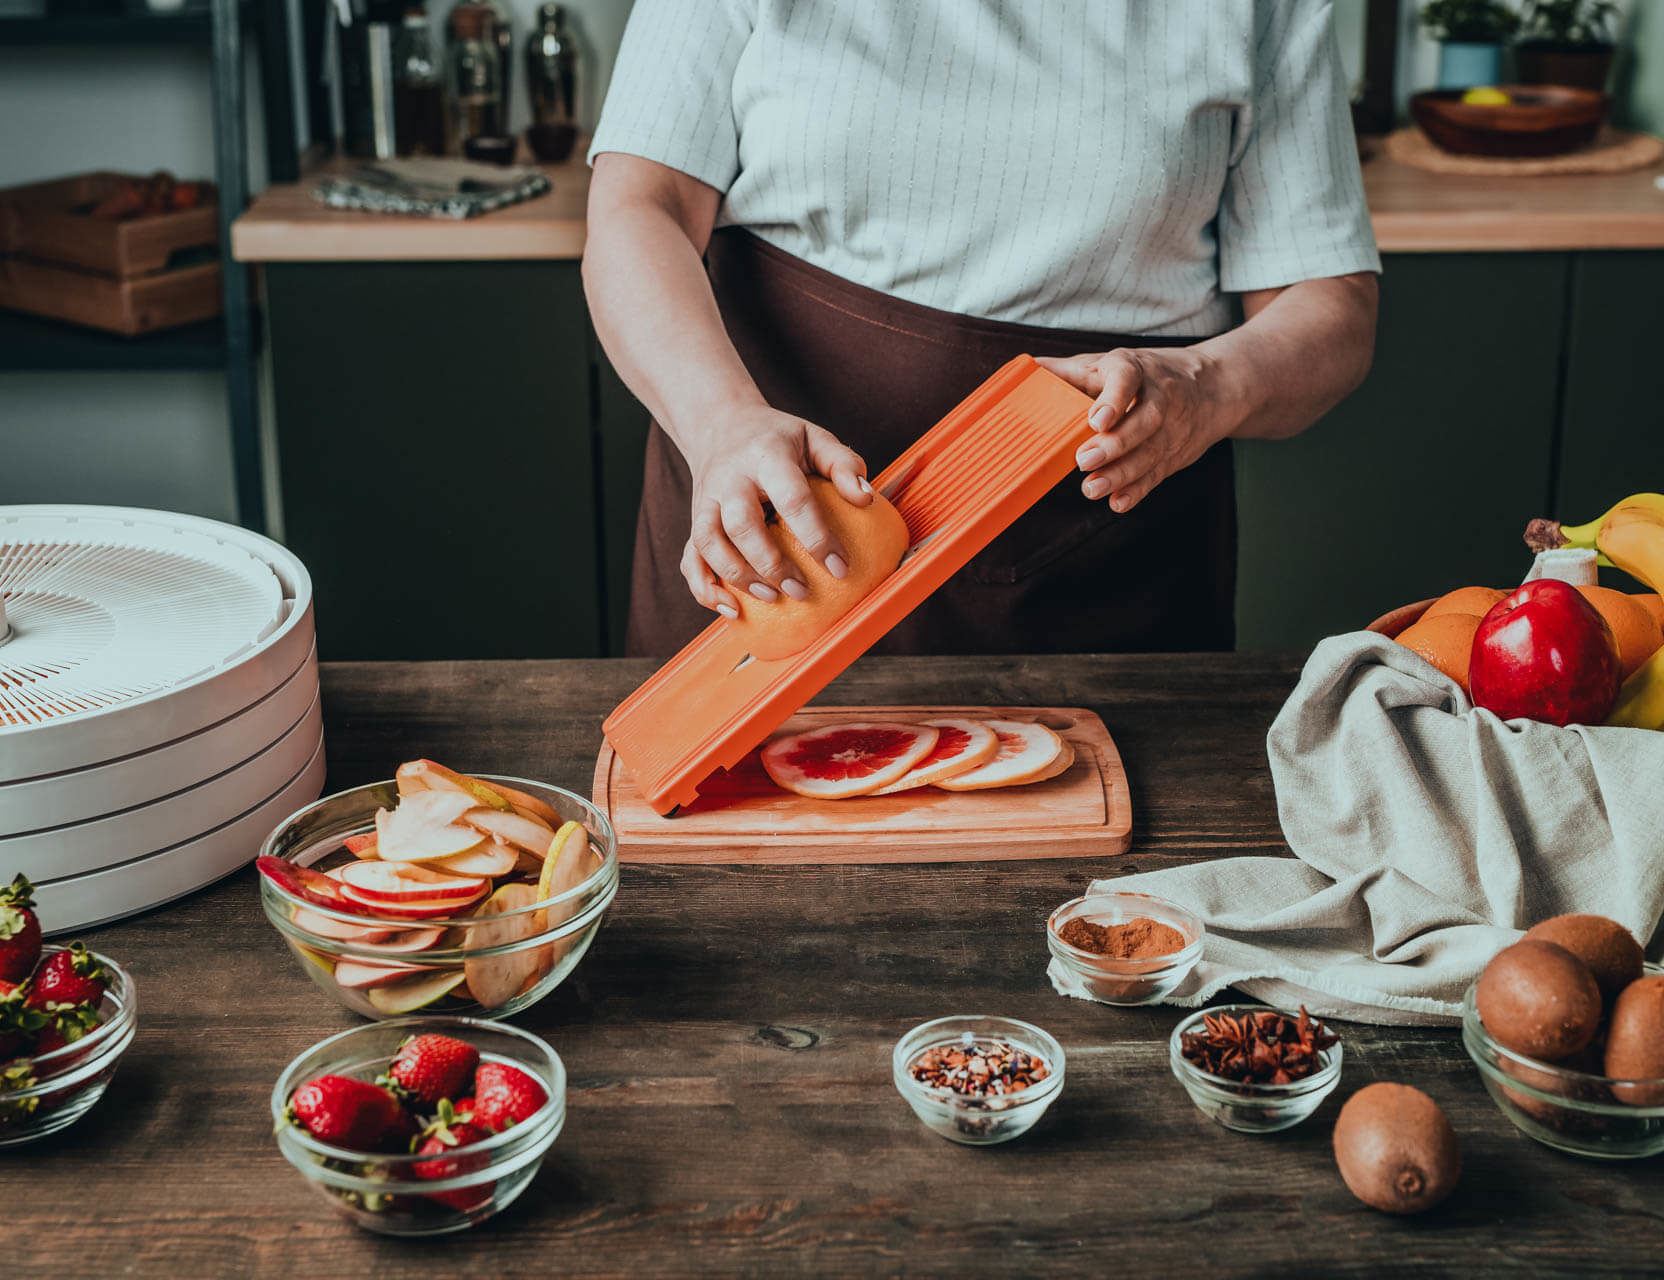
Getting Your Food Ready for the Drying Process
Properly preparing your produce not only facilitates the drying process, but also ensures that it is safe to eat.
First, go out into your garden and carefully gather the ripest produce into your basket. After picking, sort through your produce and select the most blemished pieces.
Wash your fresh produce thoroughly to remove dirt and bugs. Allow vegetables like broccoli, cauliflower, and lettuce to soak in the sink for a few minutes. Rinse them again after soaking to remove any remaining dirt. Finally, pat them dry and set them aside to dry.
Cut your fresh fruit as thinly as possible to avoid breakage. Grapes, peppers, and other small produce items are exceptions because they are dried whole. Cut the vegetables into the desired portions.
It is critical to evenly space your produce pieces when drying on a screen or in an oven tray. Check that none of the edges are touching. After you’ve laid out your pieces, season with sugar, spices, or dried herbs.
Herbs
A variety of herbs improves any dish. Here are a few ideas for drying.
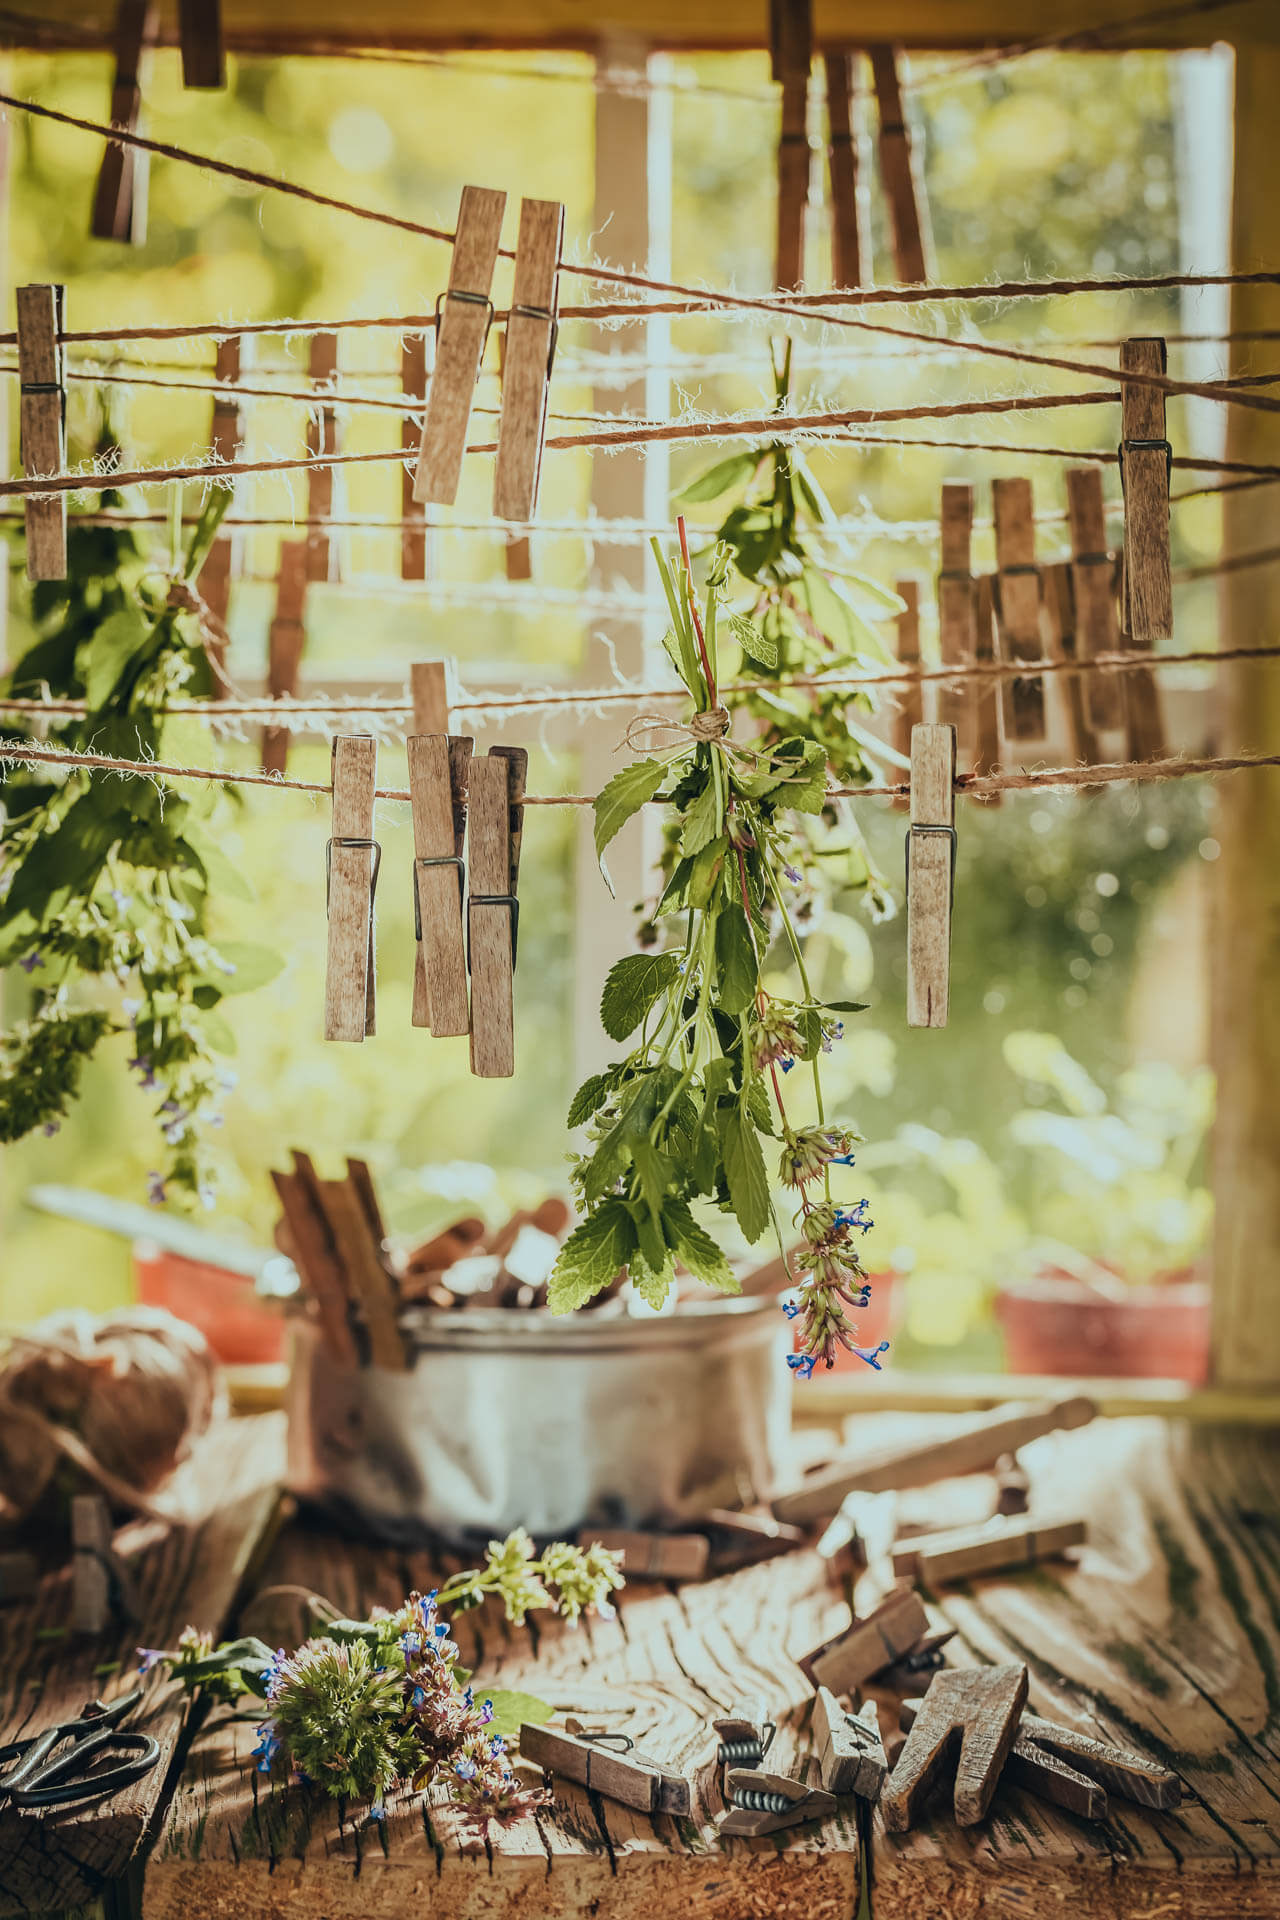
Herbs with Leaves
Drying leafy herbs is by far the most straightforward way to preserve garden treasures.
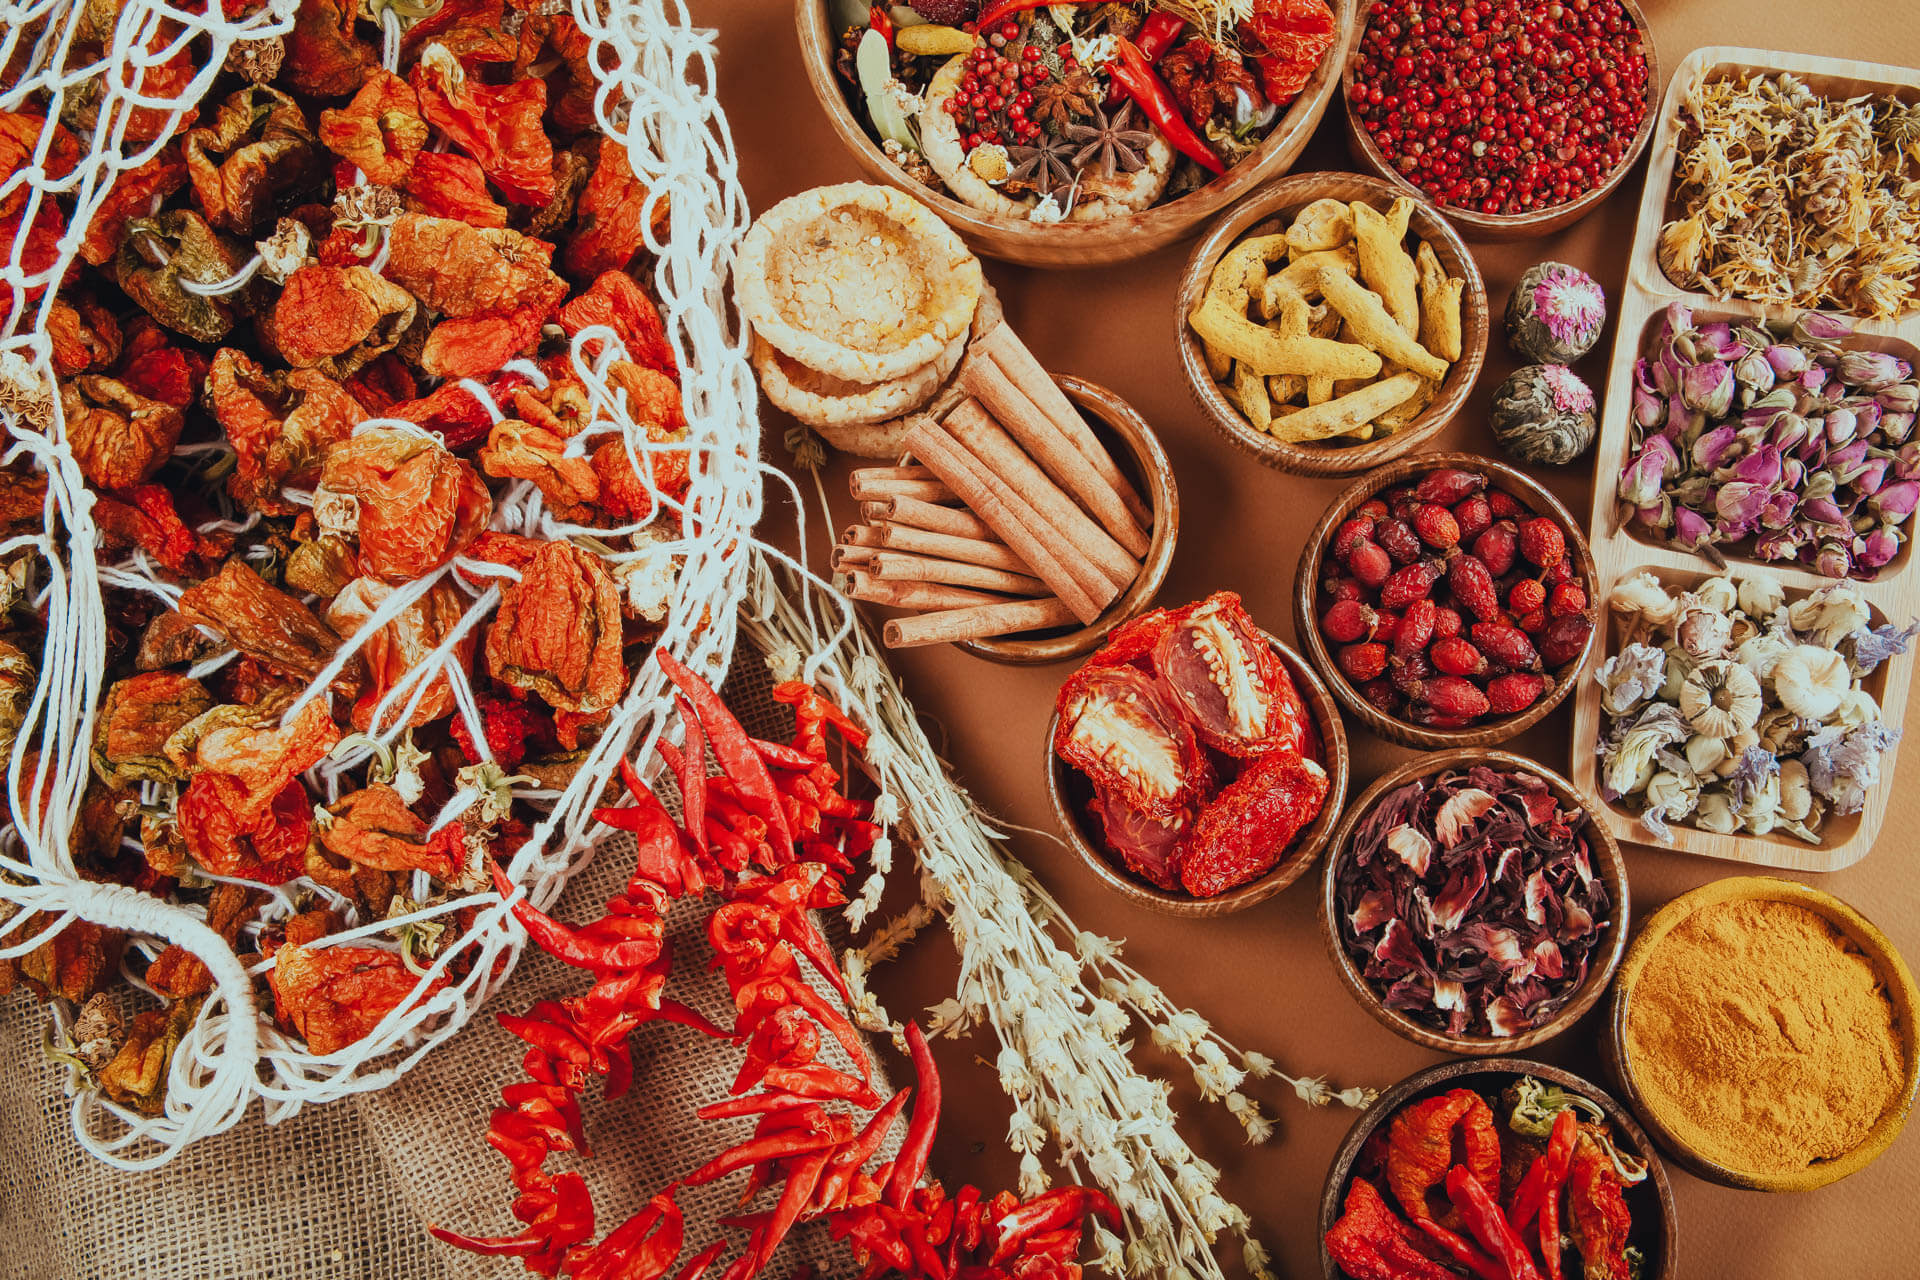
I simply bundle my washed leafy herbs and hang them upside down in the kitchen to air dry. Simply place them in an area where they will not be disturbed during the drying process. The following are popular culinary and medicinal herbs:
It goes with everything.
is a natural antibiotic that is also beneficial to livestock.
It stimulates the brain and improves the flavor of beef.
Taking Lemonade to New Heights
It Aids in Breathing.
is an excellent sleep aid.
enhances the flavor of chicken.
The flowers made a delicious digestive tea.

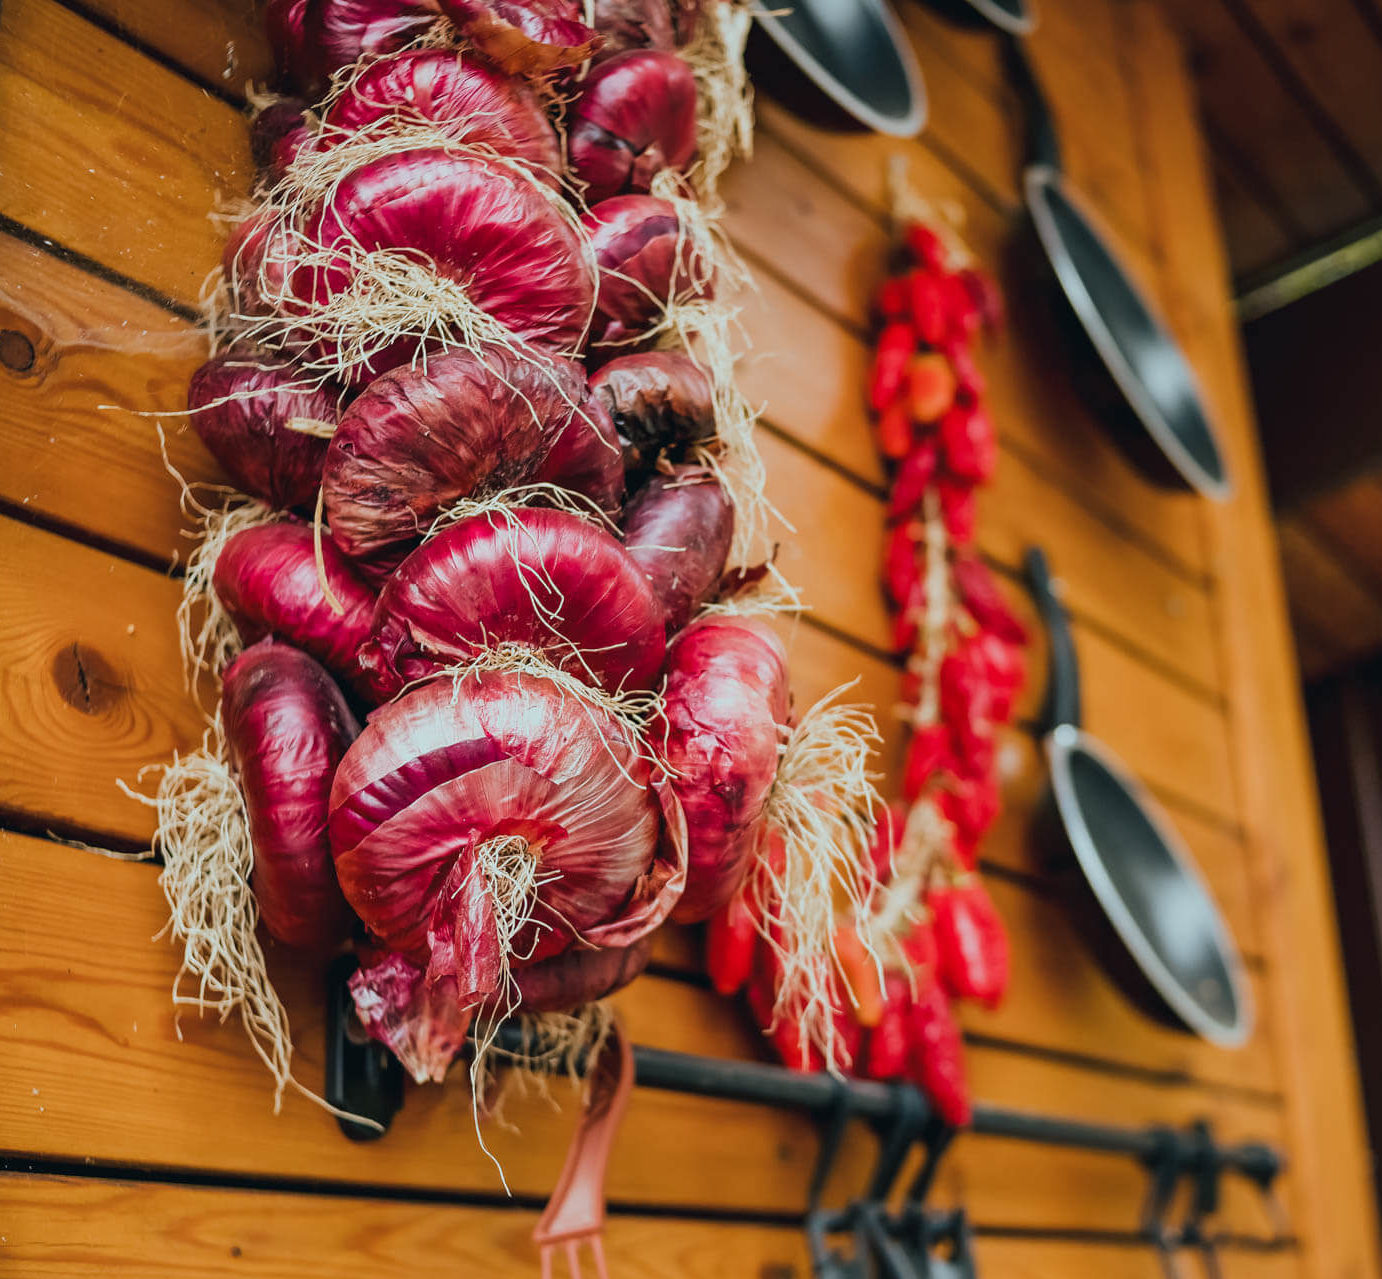

Onion
This popular herb and root vegetable is a delicious addition to stews, dips, sandwiches, and salads. It is also very simple to dry.
Onions can be dried completely and used as a herb, or they can go through a process known as “curing.” The latter allows the entire root to be stored in your pantry for an extended period of time. Fresh bulbs are bagged and left in the field for 5 days during the curing process. It is important to note that there is no need to wash or remove the stems. Onions can also be hung up to dry in bunches. The onions are ready for long-term storage once the roots and outer skin have dried.
Clean and prepare your onions before dehydrating them. Then, set the temperature to 52°F and dry them for 3 to 9 hours.
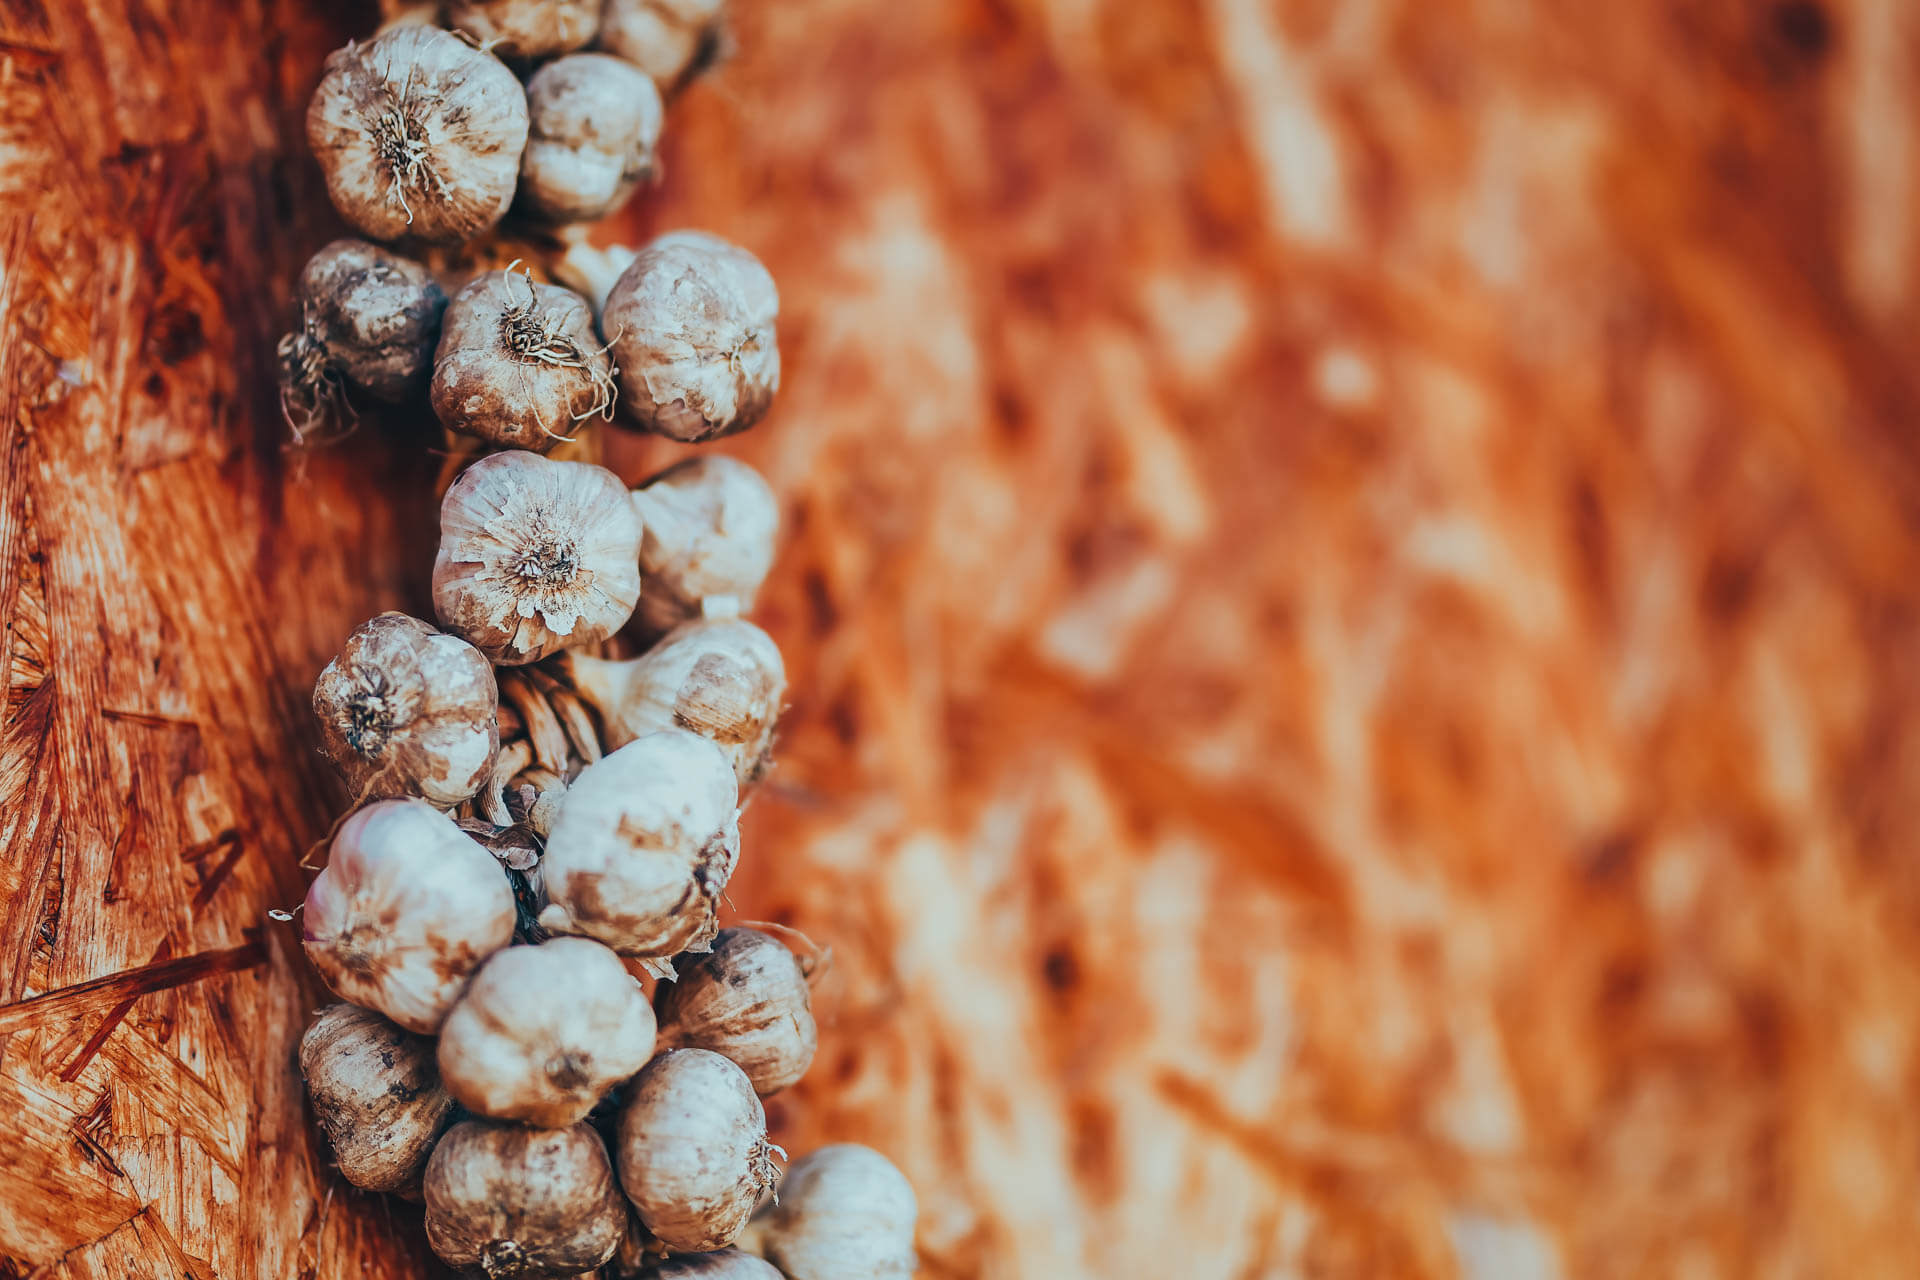
Garlic
Garlic is not only extremely healthy for us, but it is also delicious. Indeed, many people all over the world enjoy adding it to almost everything, from hummus to toast to butter.
Only soft-neck garlic can be cured, and the process is similar to that of onions. Your garlic is sufficiently cured and ready for storage when the roots are dry and the papery outer skins are brittle.
Peel this wonderful garden root and place it in a dehydrator to completely dry it out. Set your machine to C F) and air dry your garlic for 8 to 10 hours.
Set your oven to 77° C (170° F) and bake for 30 minutes to dry your garlic.

Fruits that are delicious
Dehydrating nearly any firm fruit is possible. Some of the best candidates are listed below. However, feel free to experiment with different types to find out which ones you prefer!
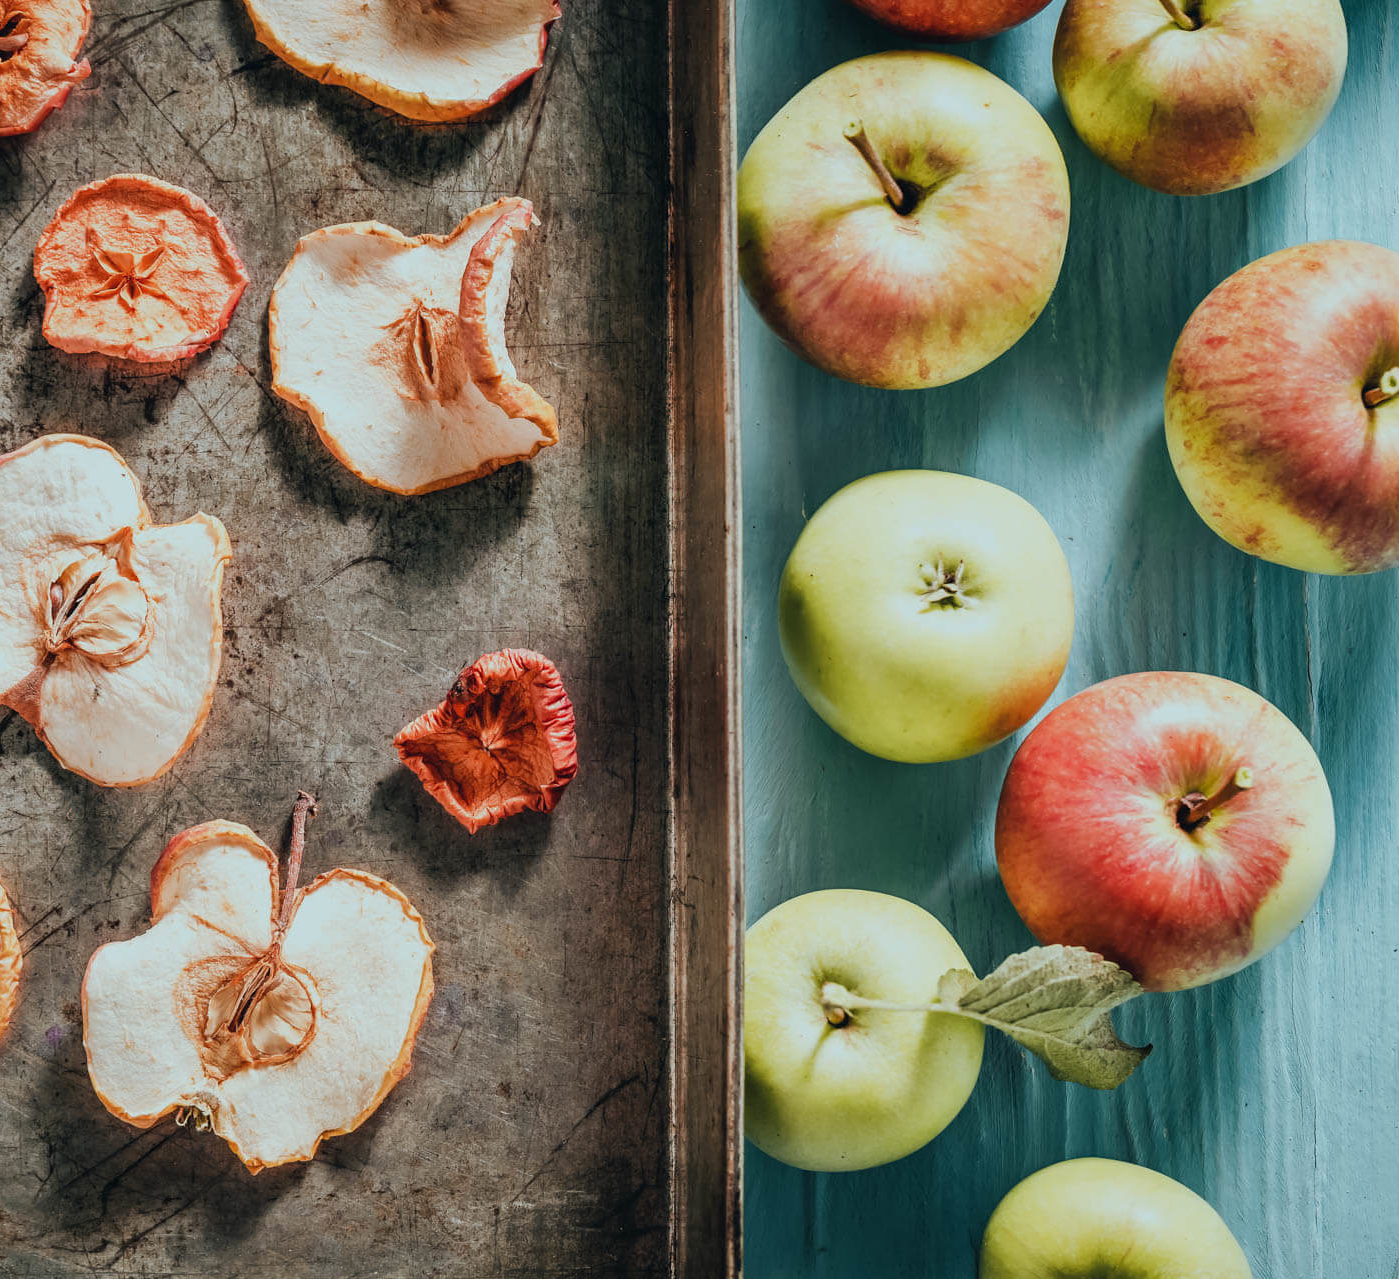

Apples
Apples deserve special mention because they are one of Italy’s most important crops. “An apple a day keeps the doctor away,” as the saying goes.
Allow your apples to dry in the sun for about 2 days.
To use the oven method, core your apples, thinly slice them, and drizzle them with diluted lemon juice (to keep the color) before placing them in an oven pan. Make sure they are evenly spaced and roast them for 2 to 3 hours at 66 °C (150 °F).
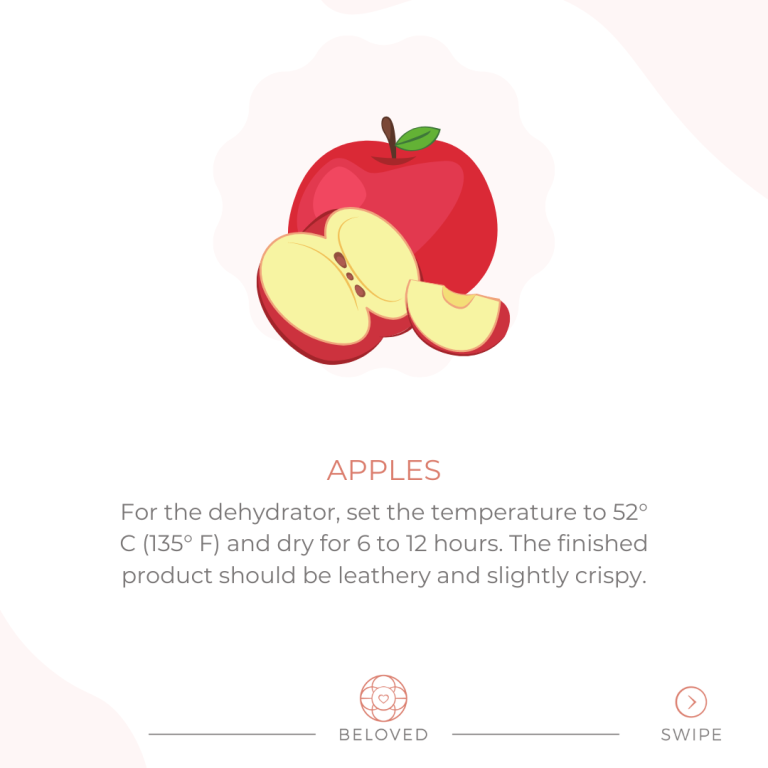
Set the dehydrator to 52° C (135° F) and let it dry for 6 to 12 hours. The finished product should have a leathery texture and be slightly crispy.
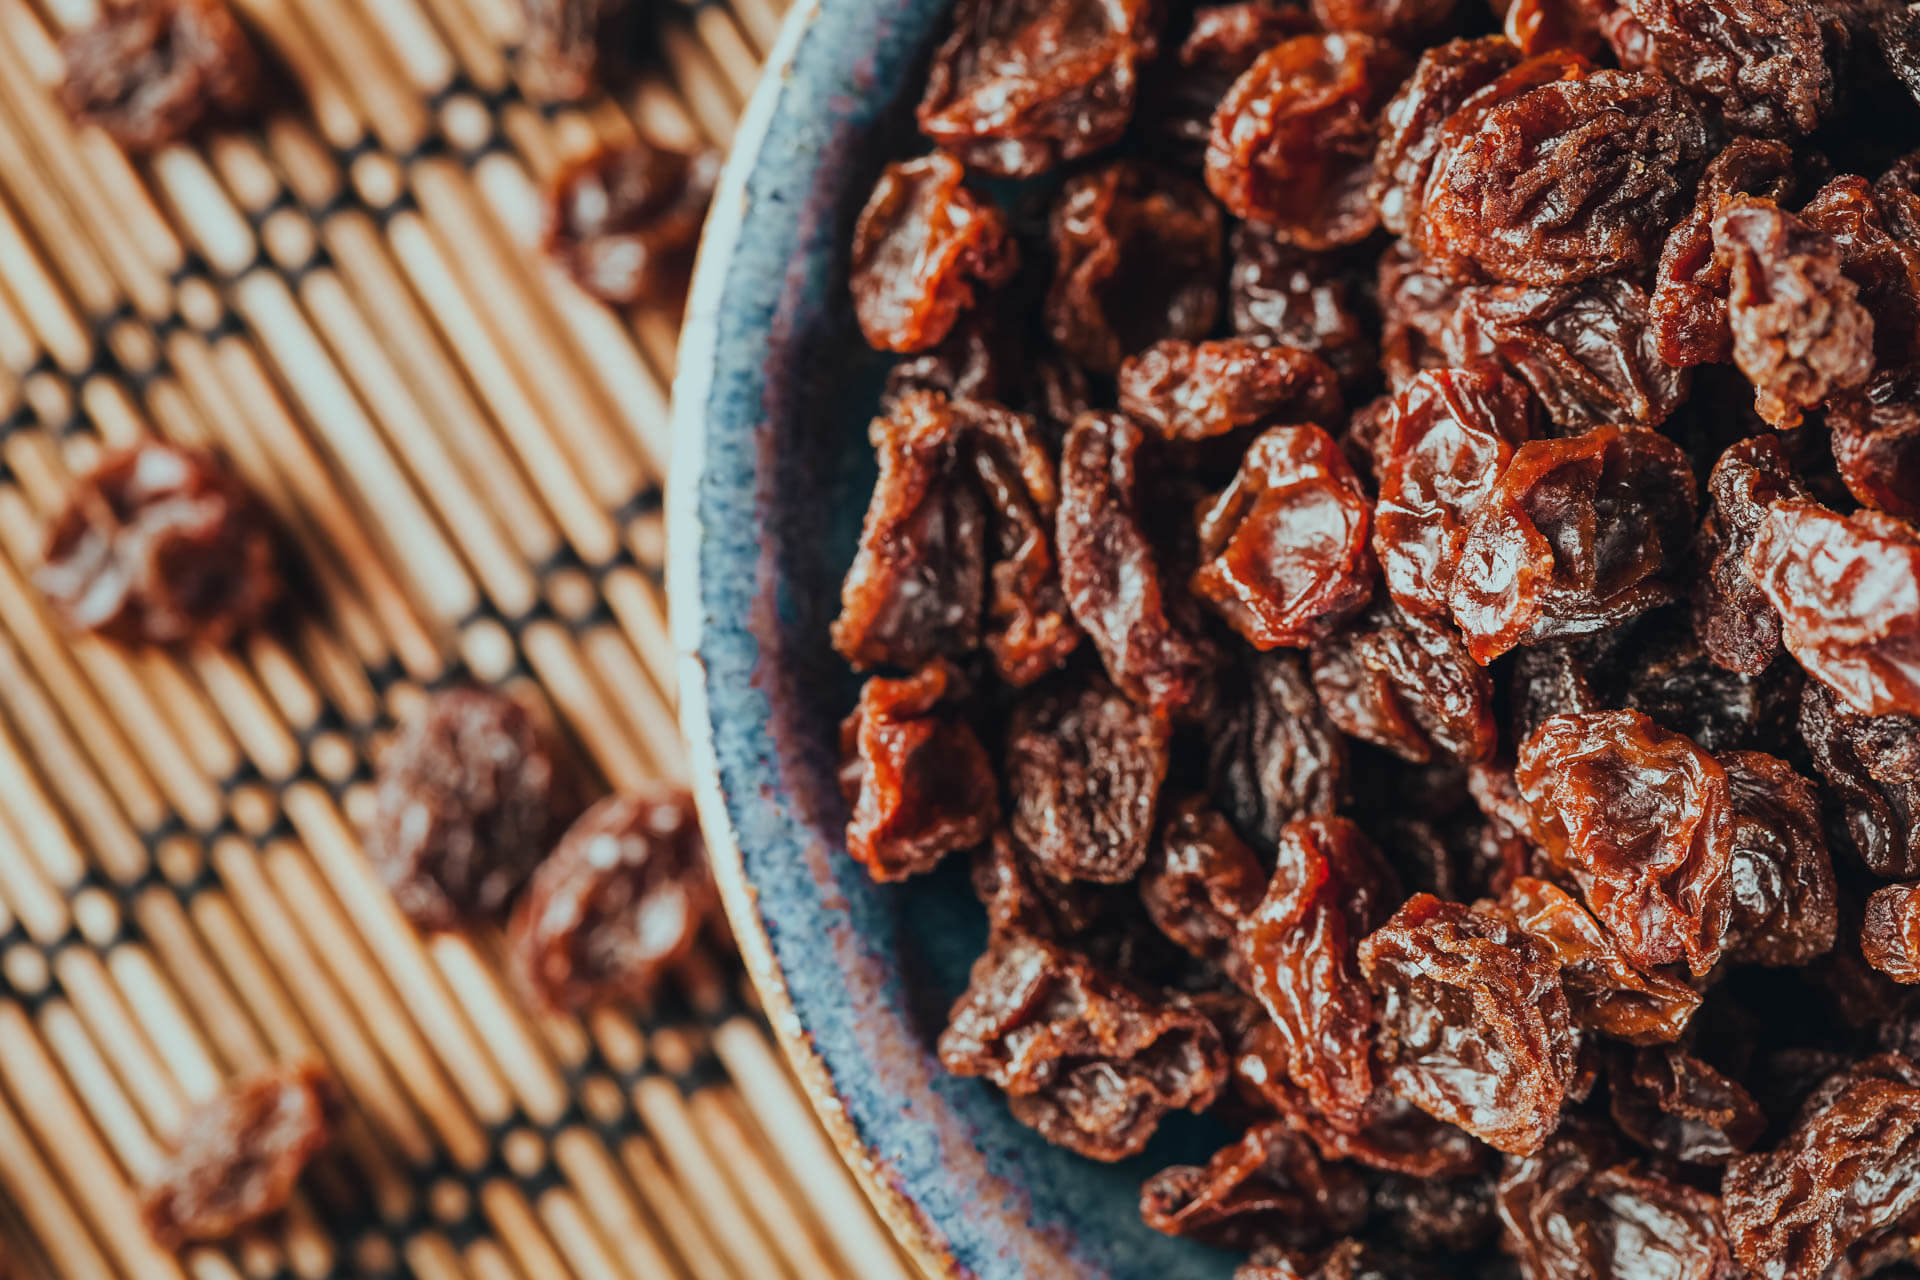
Grapes
Children all over the world adore raisins. This delicious treat is also one of the simplest fruits to preserve. Grapes are traditionally dried by placing them in the sun. After about 3 days of full sun drying, you should have a lovely stash of delicious raisins. If, for whatever reason, a few grapes rot, discard them from the batch.
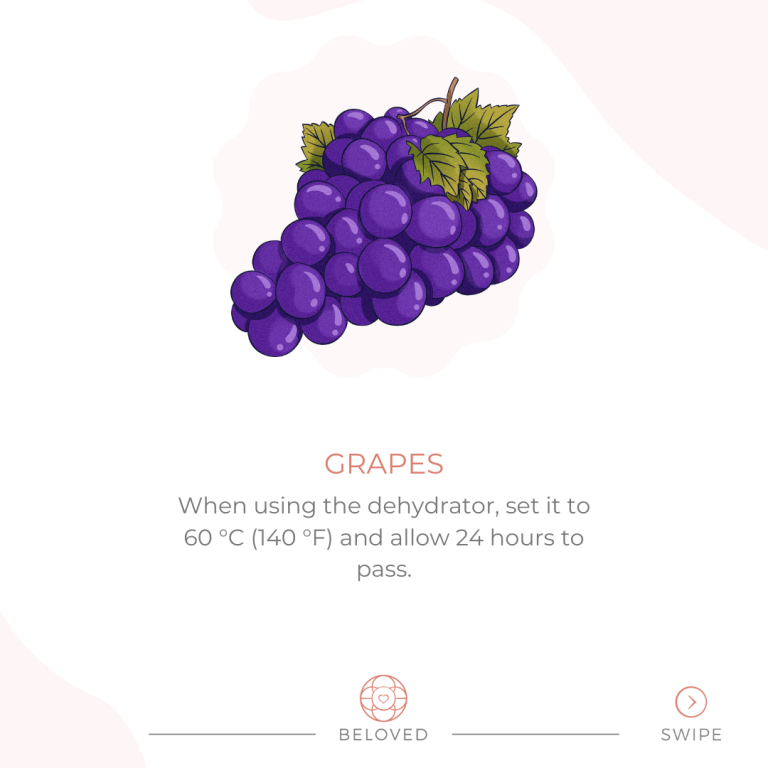
You can, of course, dry your grapes in a dehydrator or oven if you prefer. Set your oven to 100° Celsius (212° Fahrenheit) and allow 4 hours for drying. Set the dehydrator to 60 °C (140 °F) and leave it on for 24 hours.

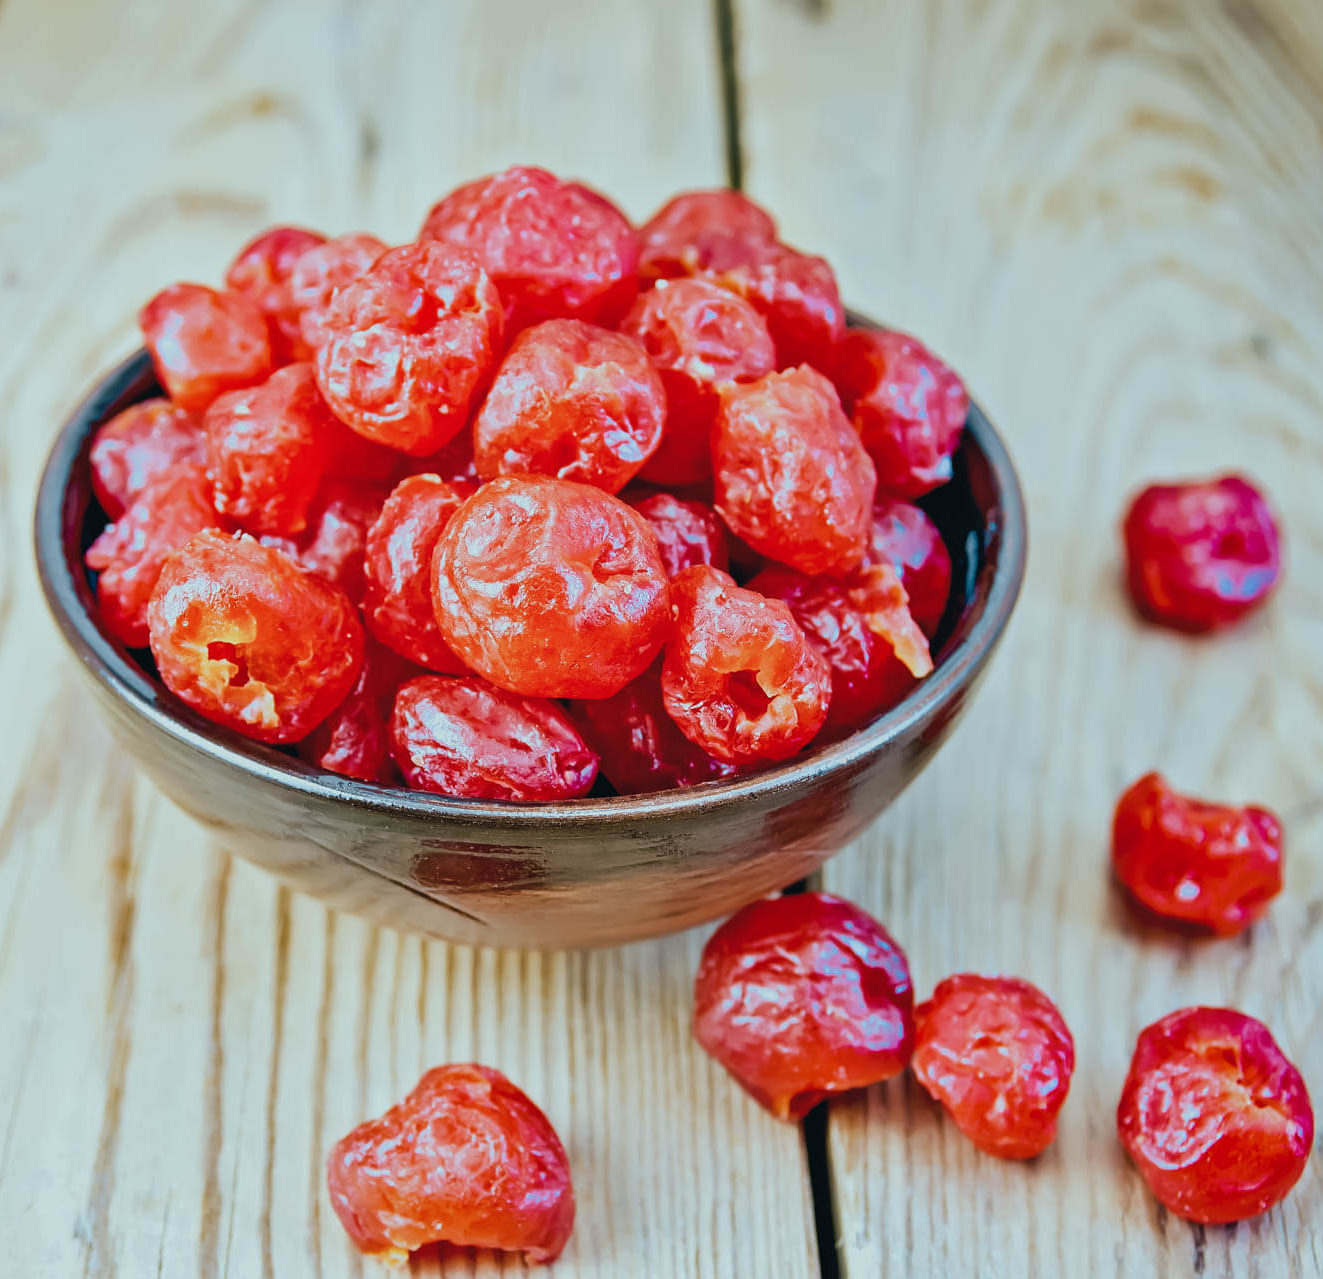

Cherries
When cherry season arrives, you can begin drying cherries whole, quartered, sliced, or pureed to make fruit leathers. Just make sure to remove the pits and stems first.
Place your cherries in the sun for about 3 days to sun dry.
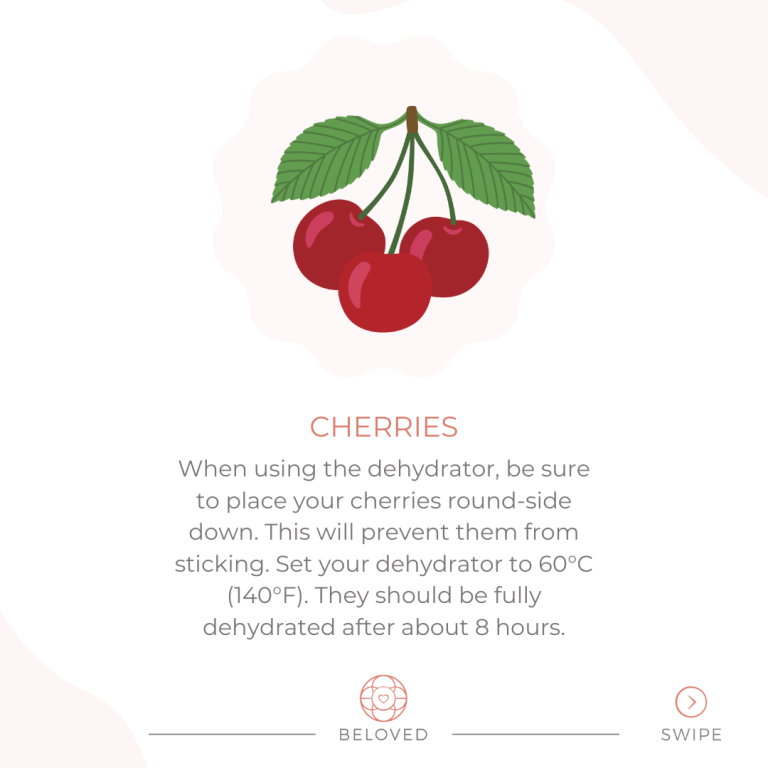
When dehydrating cherries, make sure to place them round-side down. This will keep them from sticking together. Set your dehydrator to C F (degrees Fahrenheit). After about 8 hours, they should be completely dehydrated.
Set your oven to 65° C (150° F) and roast for about 10 hours if using the oven method. When they are leathery but pliable, they are finished. Take one of the cherries out, let it cool, and test its texture to see if it is sufficiently dehydrated.
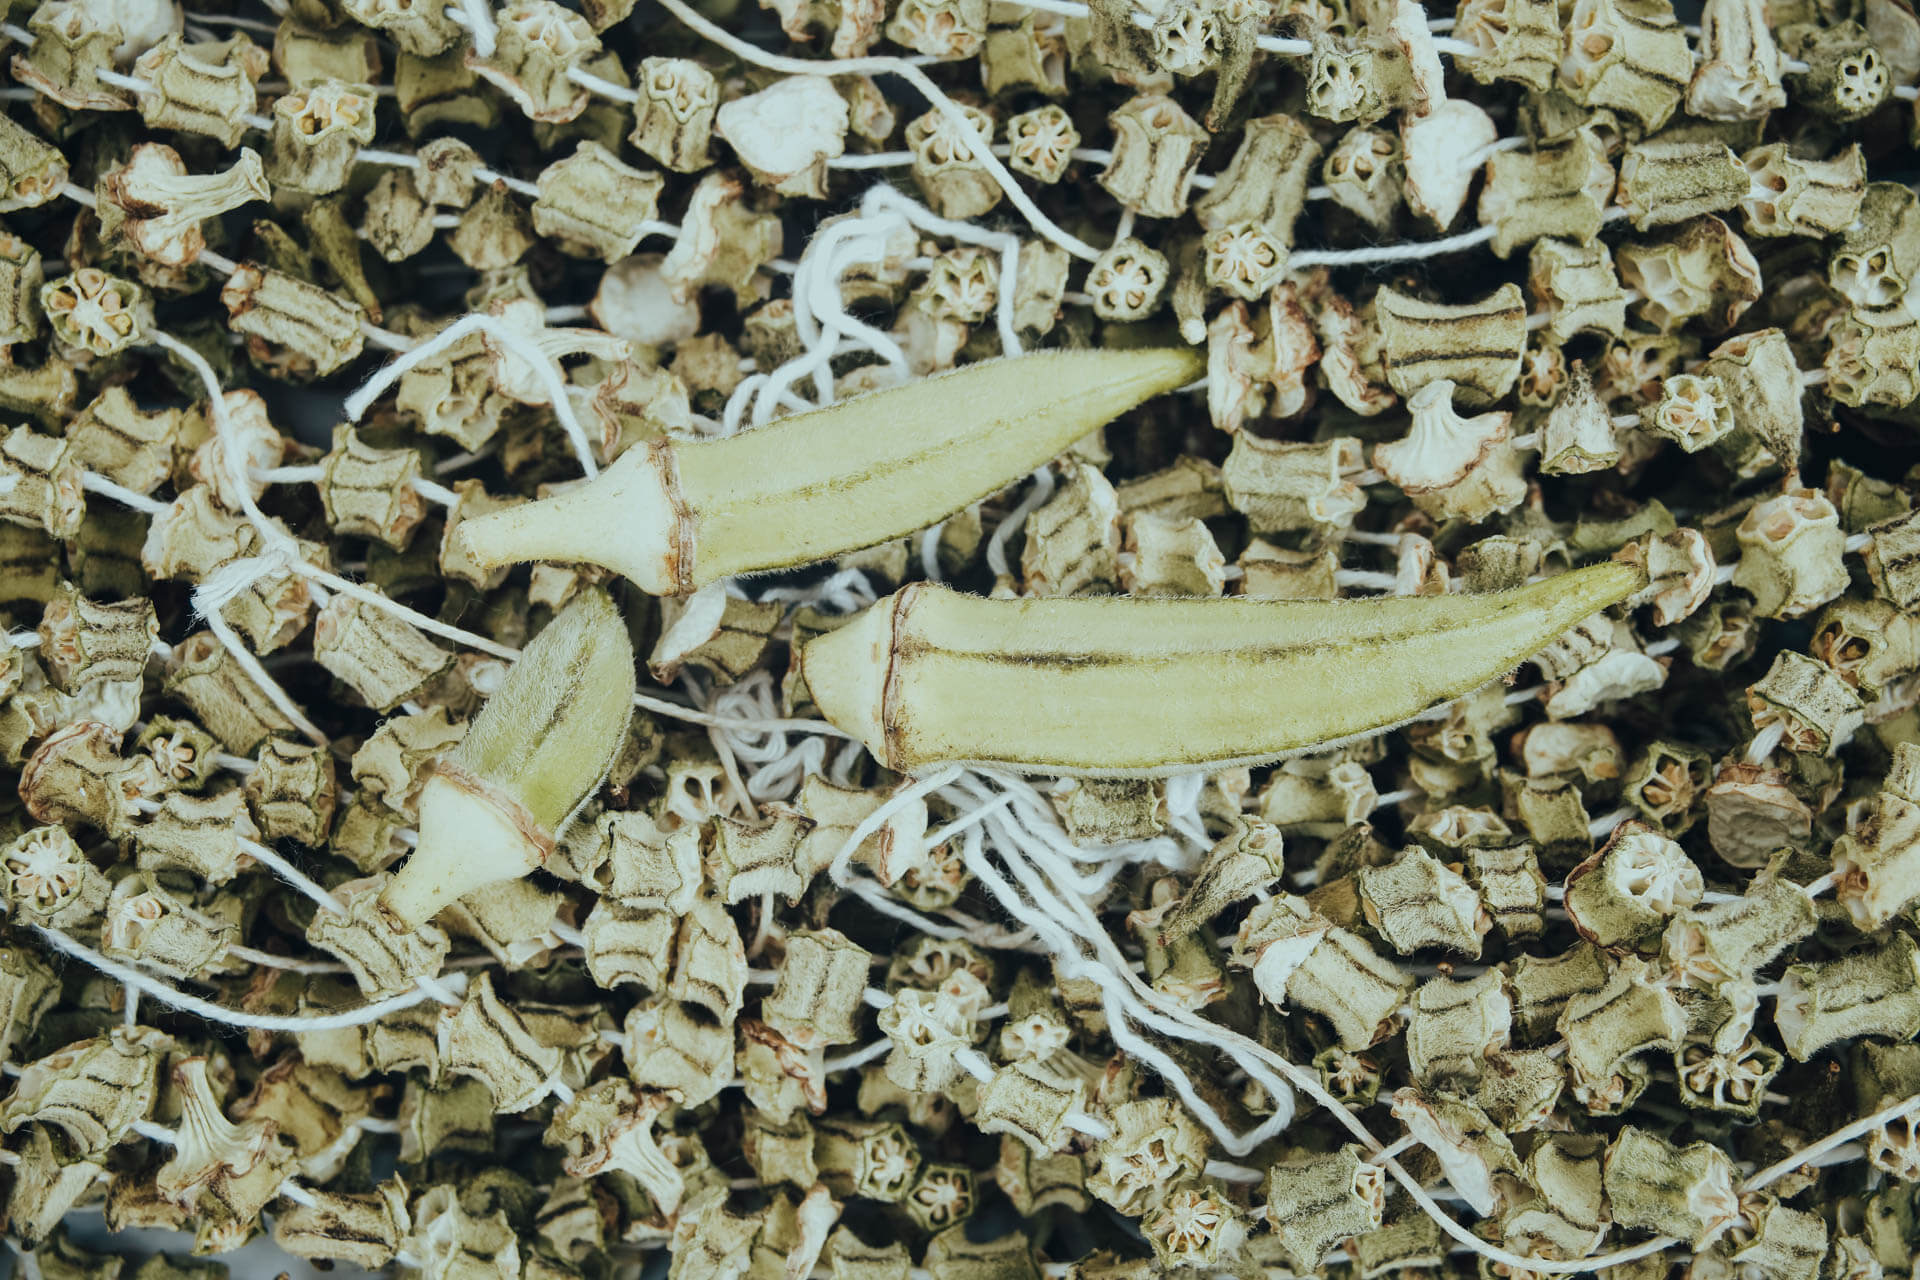
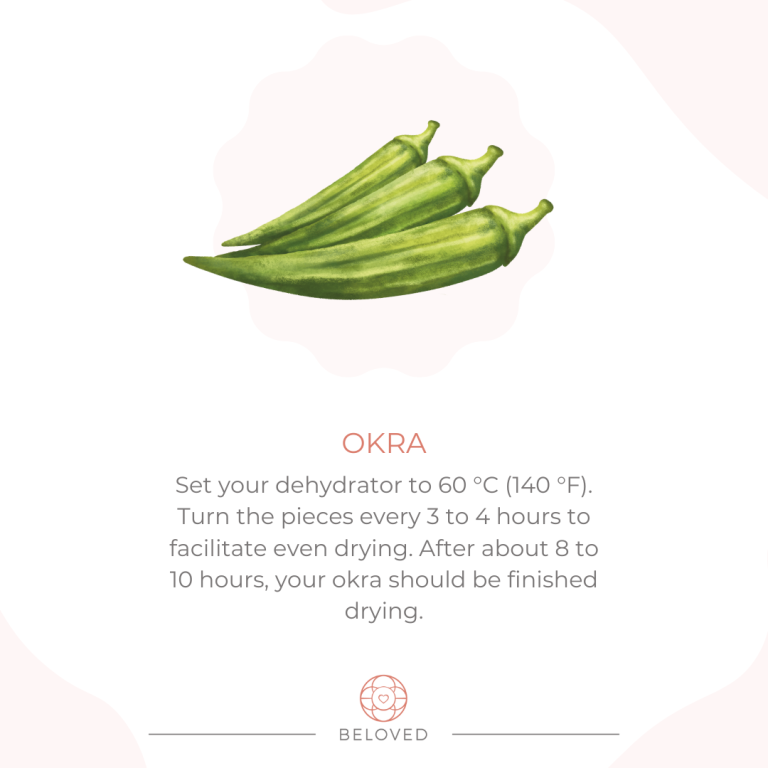
Okra
Okra is a delicious fruit. When dried and seasoned with herbs, it tastes fantastic.
Arrange your okra, whole or sliced, in a single layer on your dehydrator trays. Set your dehydrator to 60 degrees Celsius (140 degrees Fahrenheit). To ensure even drying, turn the pieces every 3 to 4 hours. Your okra should be completely dry after 8 to 10 hours. When it’s brittle, you’ll know it’s done. Sprinkle it with garlic salt and serve warm, right out of the dehydrator!

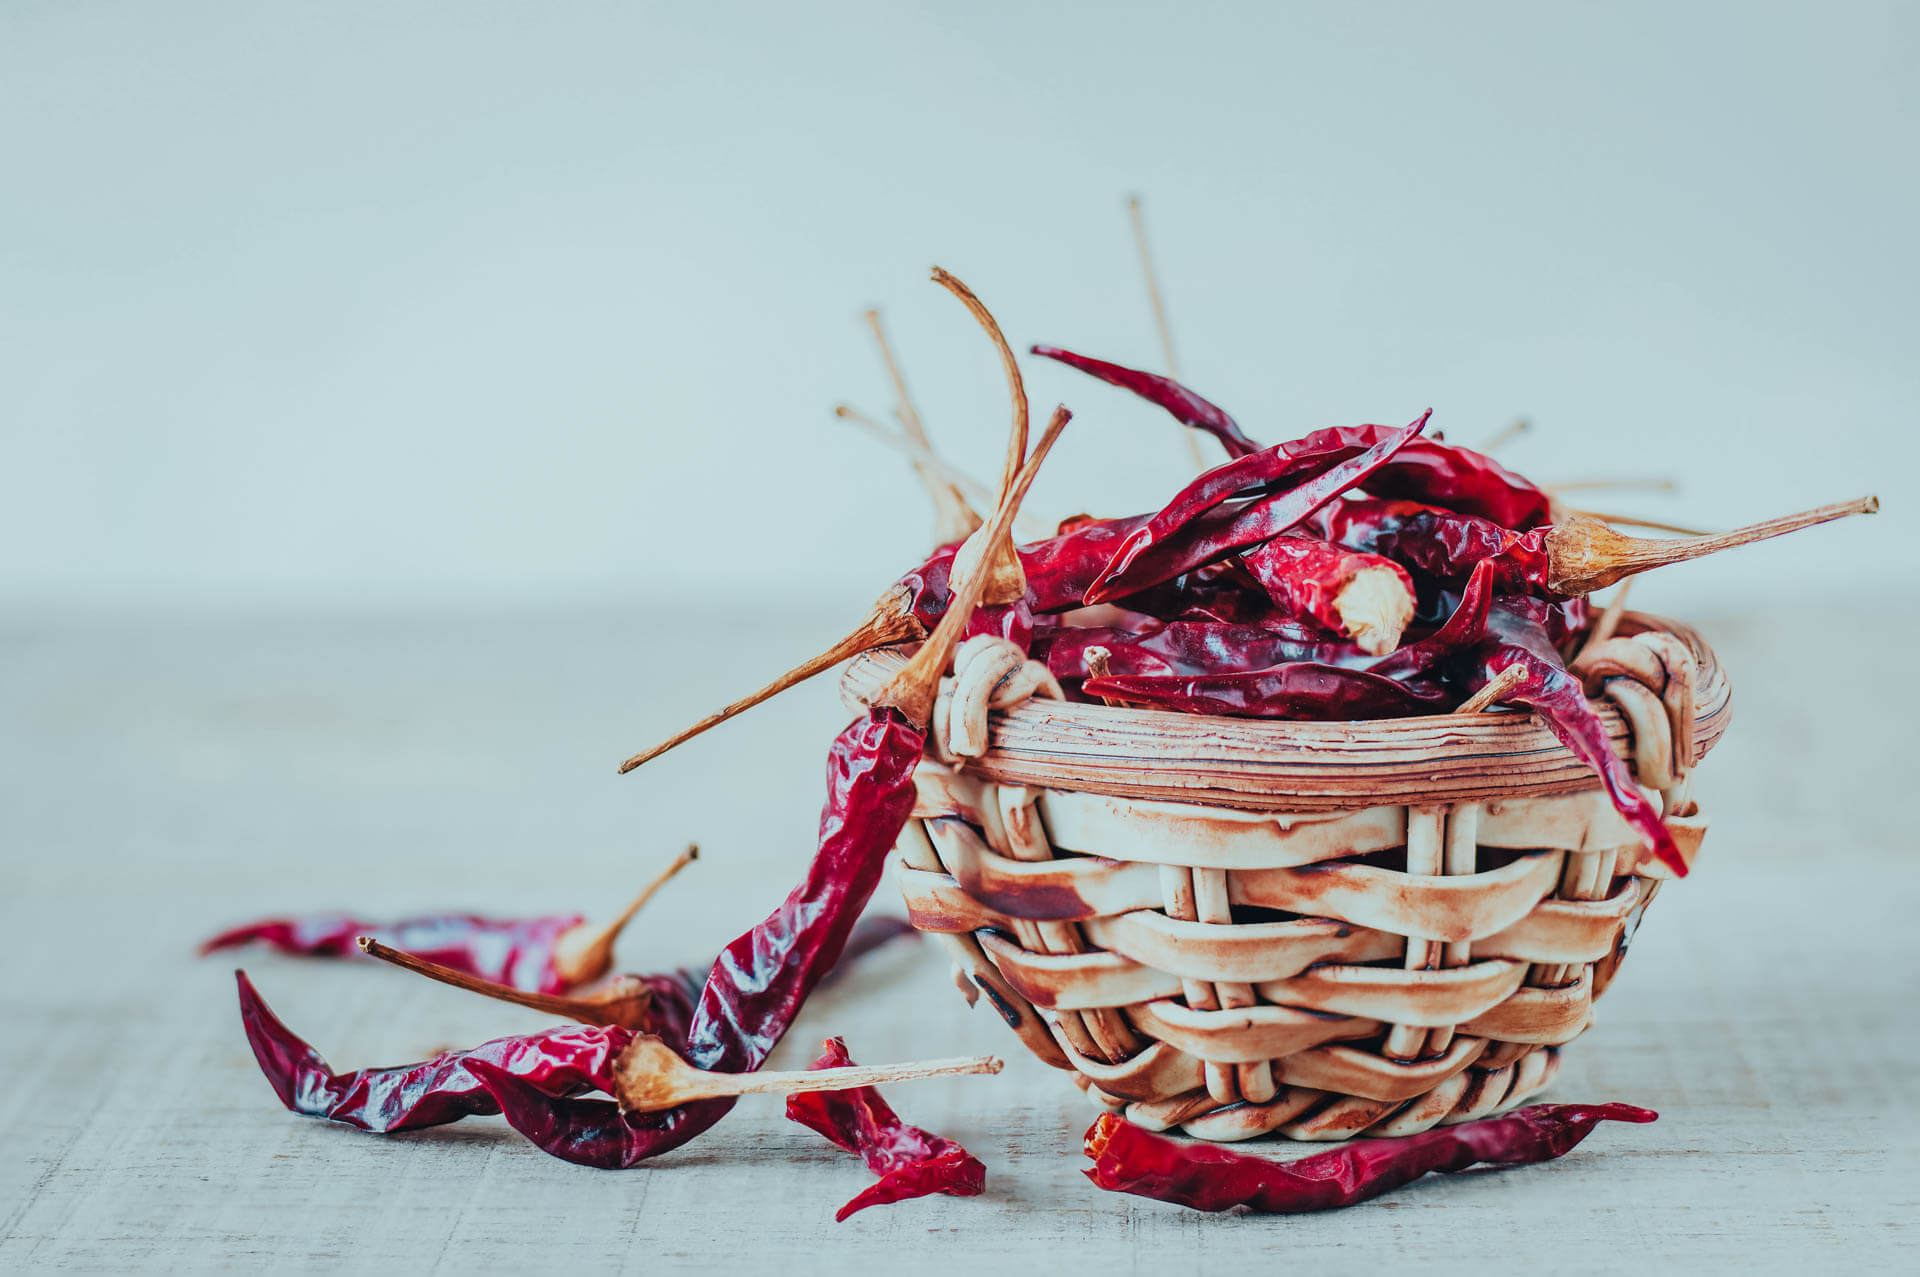

Chili Peppers
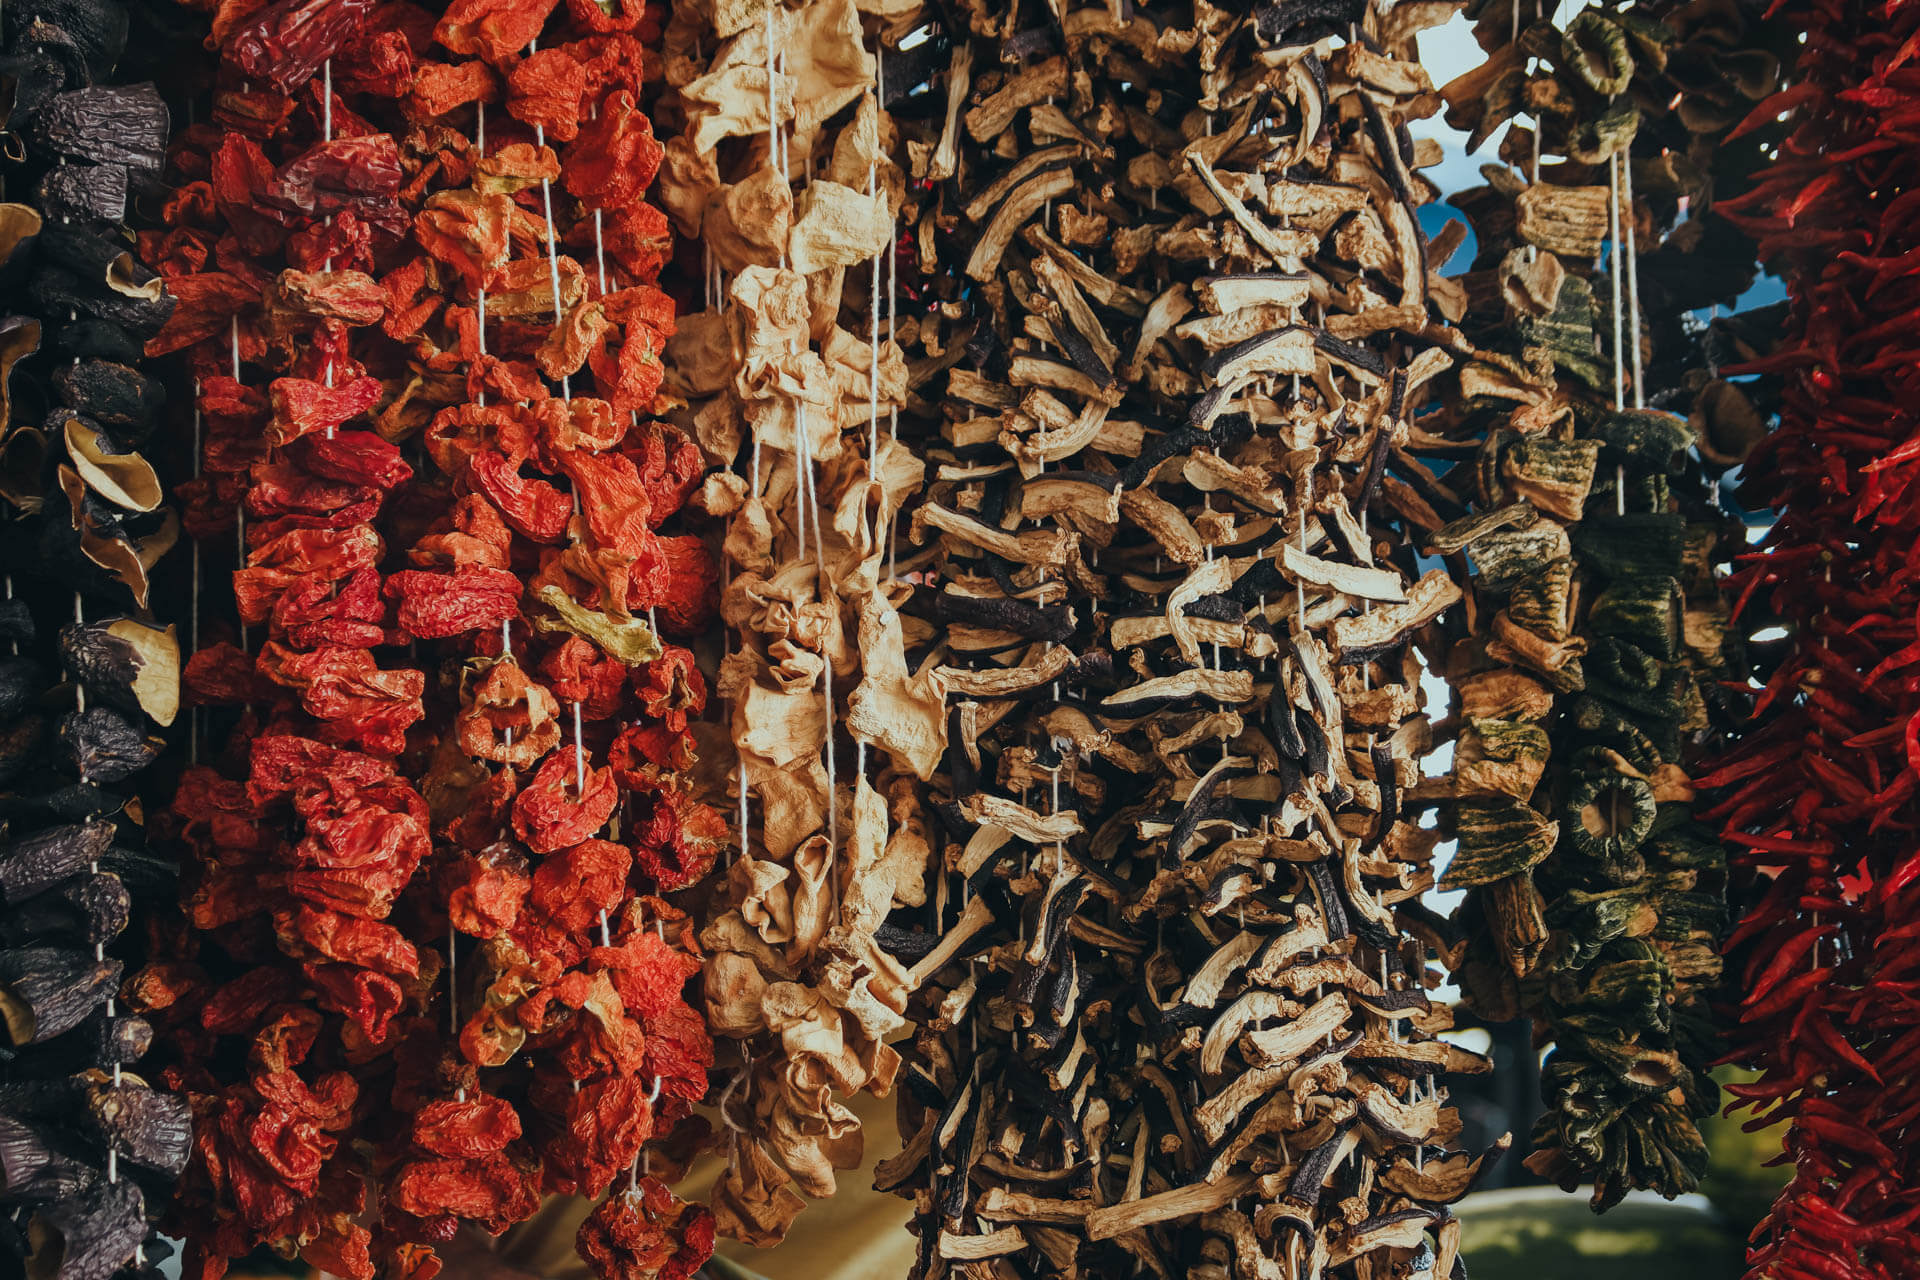
Most peppers can be air dried, but sun drying is also an option if you want to speed up the process. I simply bundle my peppers and hang them until they are completely dried, which can take several weeks.
Vegetables That Are Popular
It is critical to consume an adequate amount of vegetables. Here are a few examples of the best vegetables to eat that are also suitable for drying.
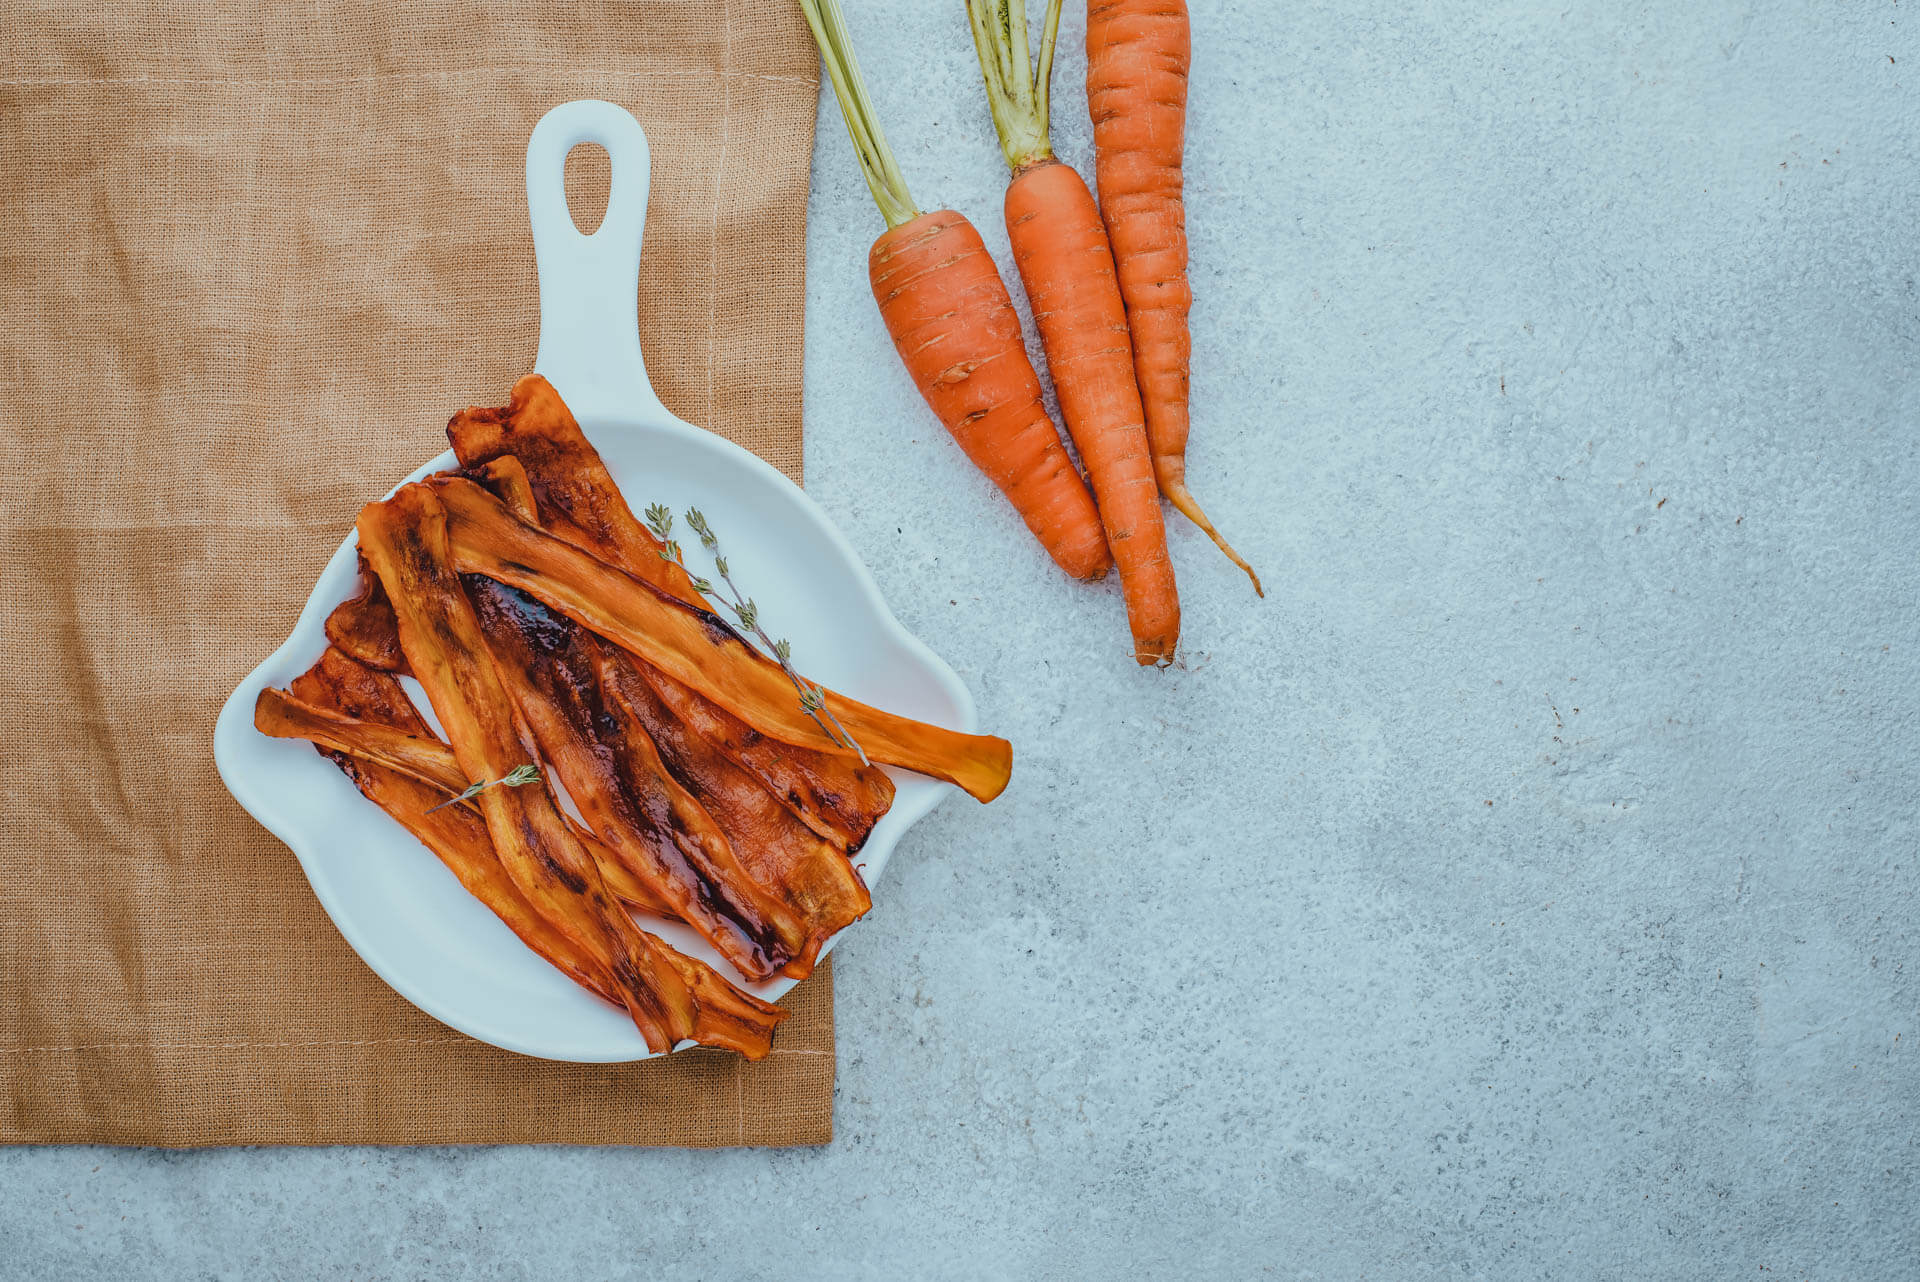
Carrots
These tasty root vegetables necessitate a little more preparation than other produce. To begin, remove the green tops of your carrots and place them in the compost pile. Peel all of your carrots after washing them.
I like to slice carrots at a 45-degree angle to maximize surface area. You could also cut them into strips. Then, depending on how thickly you cut your carrots, blanch them for 2-4 minutes. Place your carrots evenly on your preserving tray after chilling them in ice water.
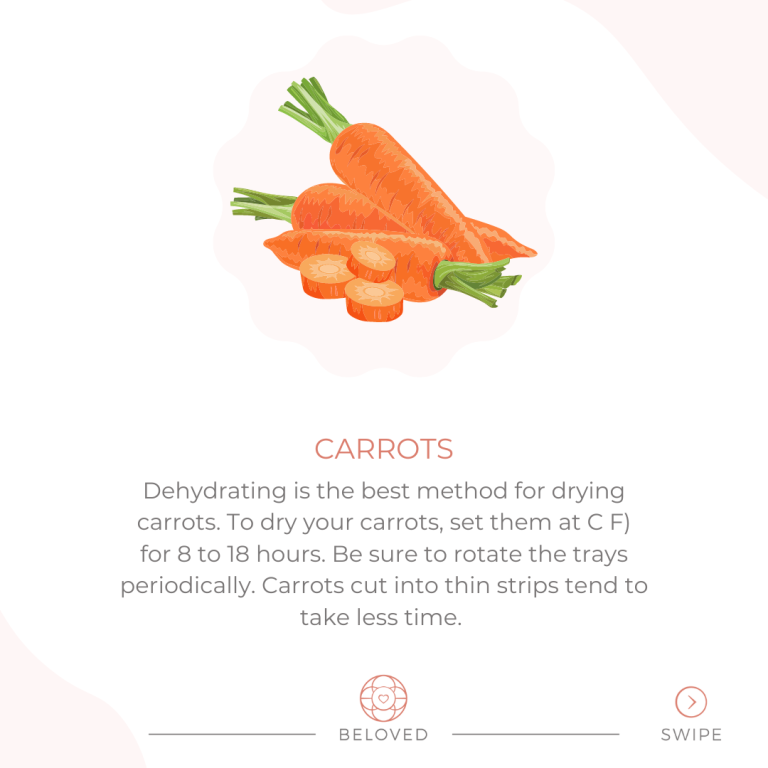
The best way to dry carrots is to dehydrate them. Set your carrots to dry at C F) for 8 to 18 hours. Make sure to rotate the trays on a regular basis. Carrots cut into thin strips take less time to cook. When your carrots are hard and break easily, they are done.

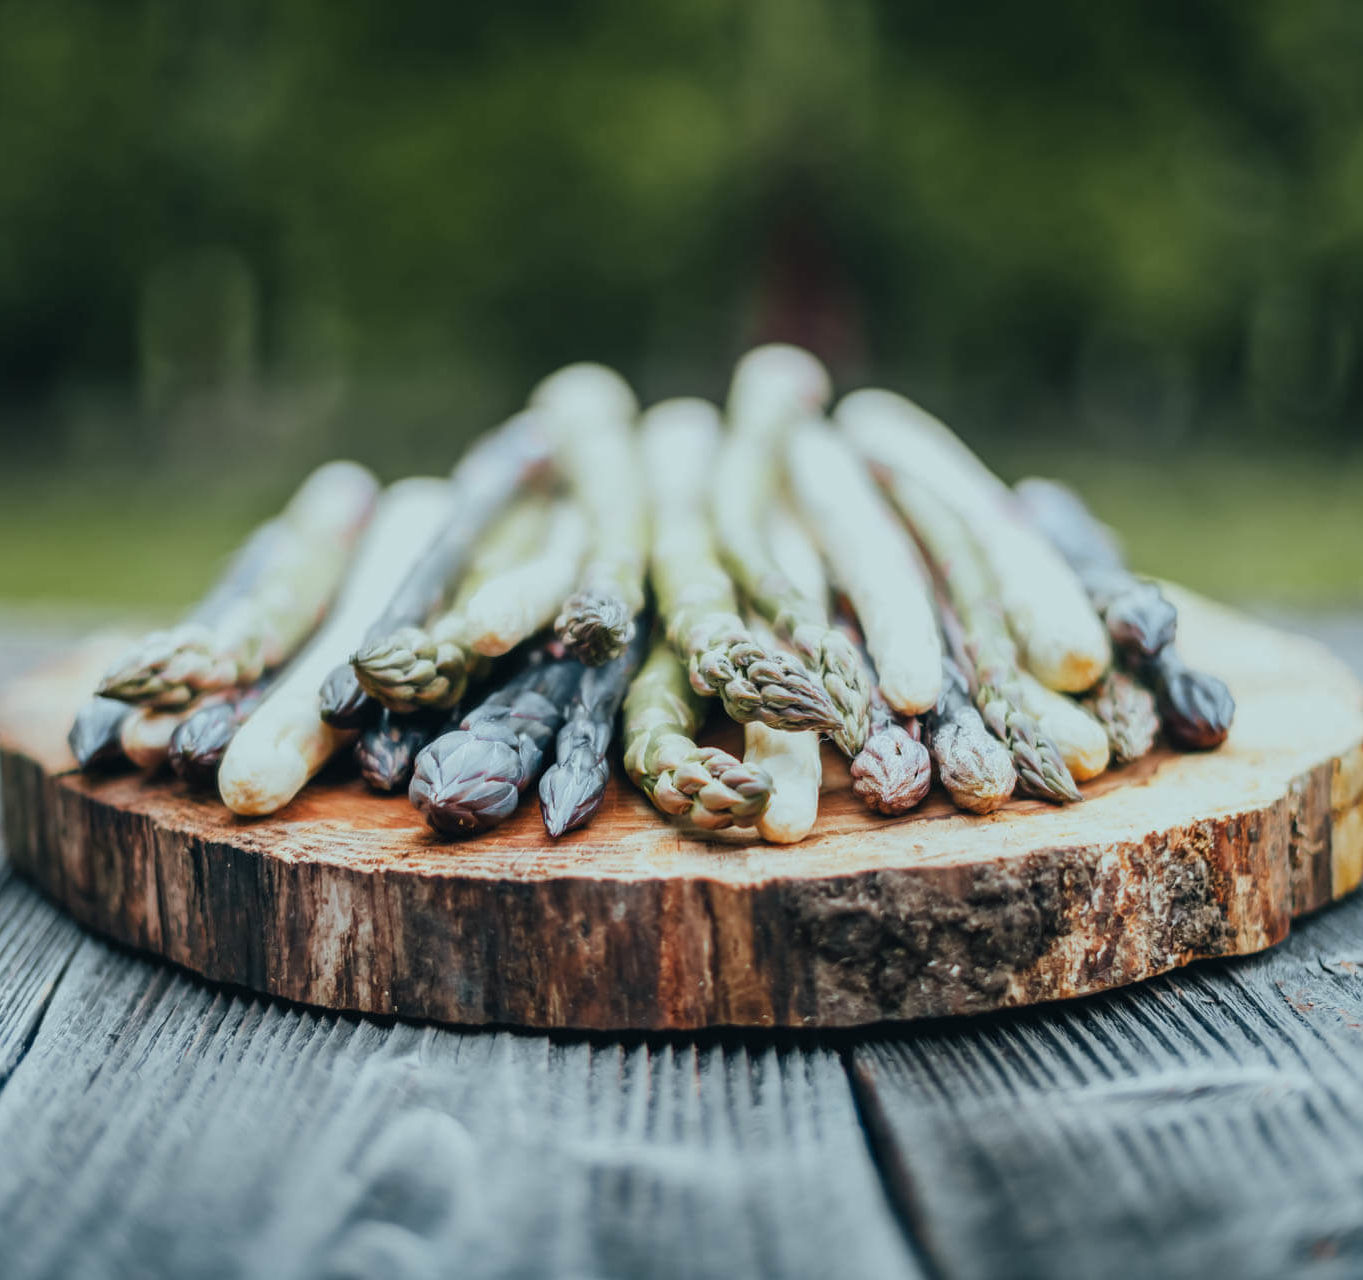

Asparagus
After cleaning your asparagus, cut off the tough end pieces and discard them in the compost pile. Asparagus should be cut into 2-inch pieces, or whatever size you prefer. Blanch them for 4 to 5 minutes, then cool them in an ice water bath. Arrange your asparagus pieces on your preserving tray in an even and single layer.
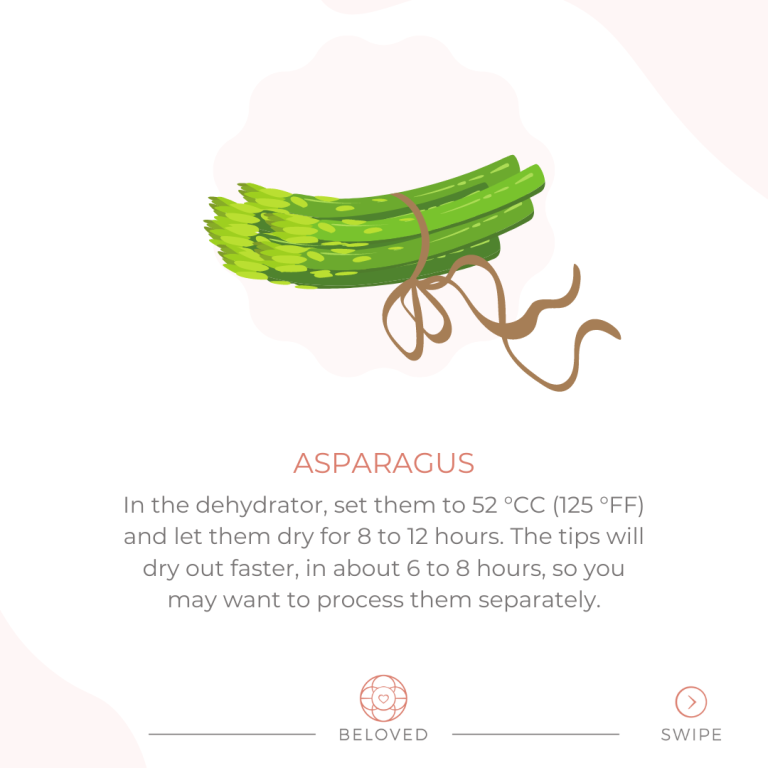
Set the dehydrator to 52 °CC (125 °FF) and leave them to dry for 8 to 12 hours. Because the tips will dry faster, in 6 to 8 hours, you may want to process them separately.
When baking at 60 °CC (140 °FF), you can expect your asparagus to be dry after 4 to 6 hours. When your asparagus is crisp and easily broken, it is done.

Broccoli
Dehydrating broccoli is an excellent way to get your daily vegetable serving. To begin preparing your broccoli, cut it into small pieces. Then blanch the pieces for 3 minutes before plunging them into an icy water bath. Blanching aids in the preservation of color and nutrition. Then, place it on a towel to dry and cool. You can season your broccoli right away or after it has dried.
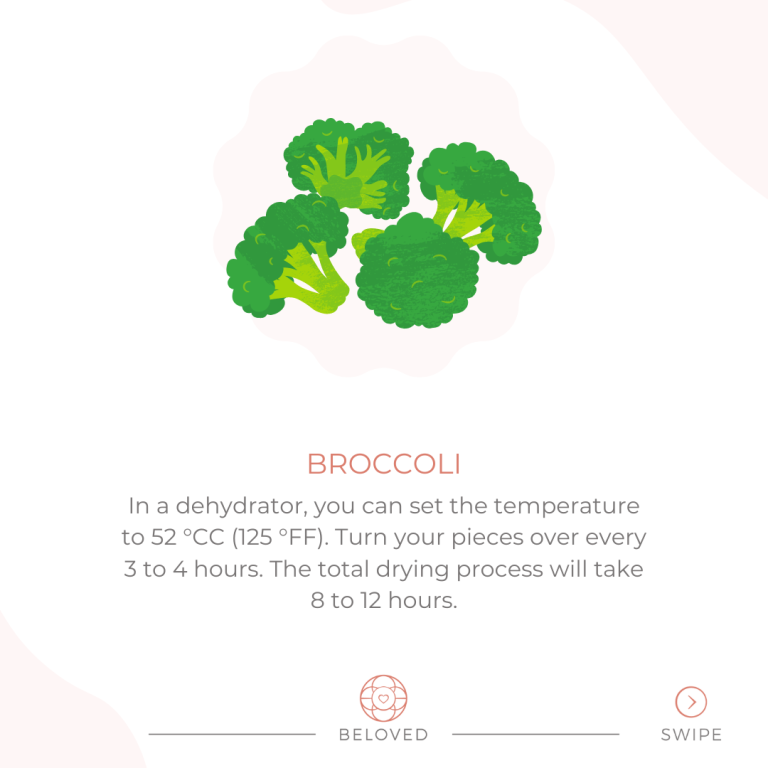
Set the temperature of a dehydrator to 52 °CC (125 °FF). Every 3 to 4 hours, flip your pieces over. The drying time will range between 8 and 12 hours.
Set your oven temperature to 60 °CC (140 °FF) or lower if possible. Prop the oven door open partially. After 6 to 8 hours, your broccoli should be done. To avoid burning, keep an eye on your broccoli as it nears the end of its drying process. When your broccoli is brittle and crisp, it is sufficiently dry. Enjoy!


Storage
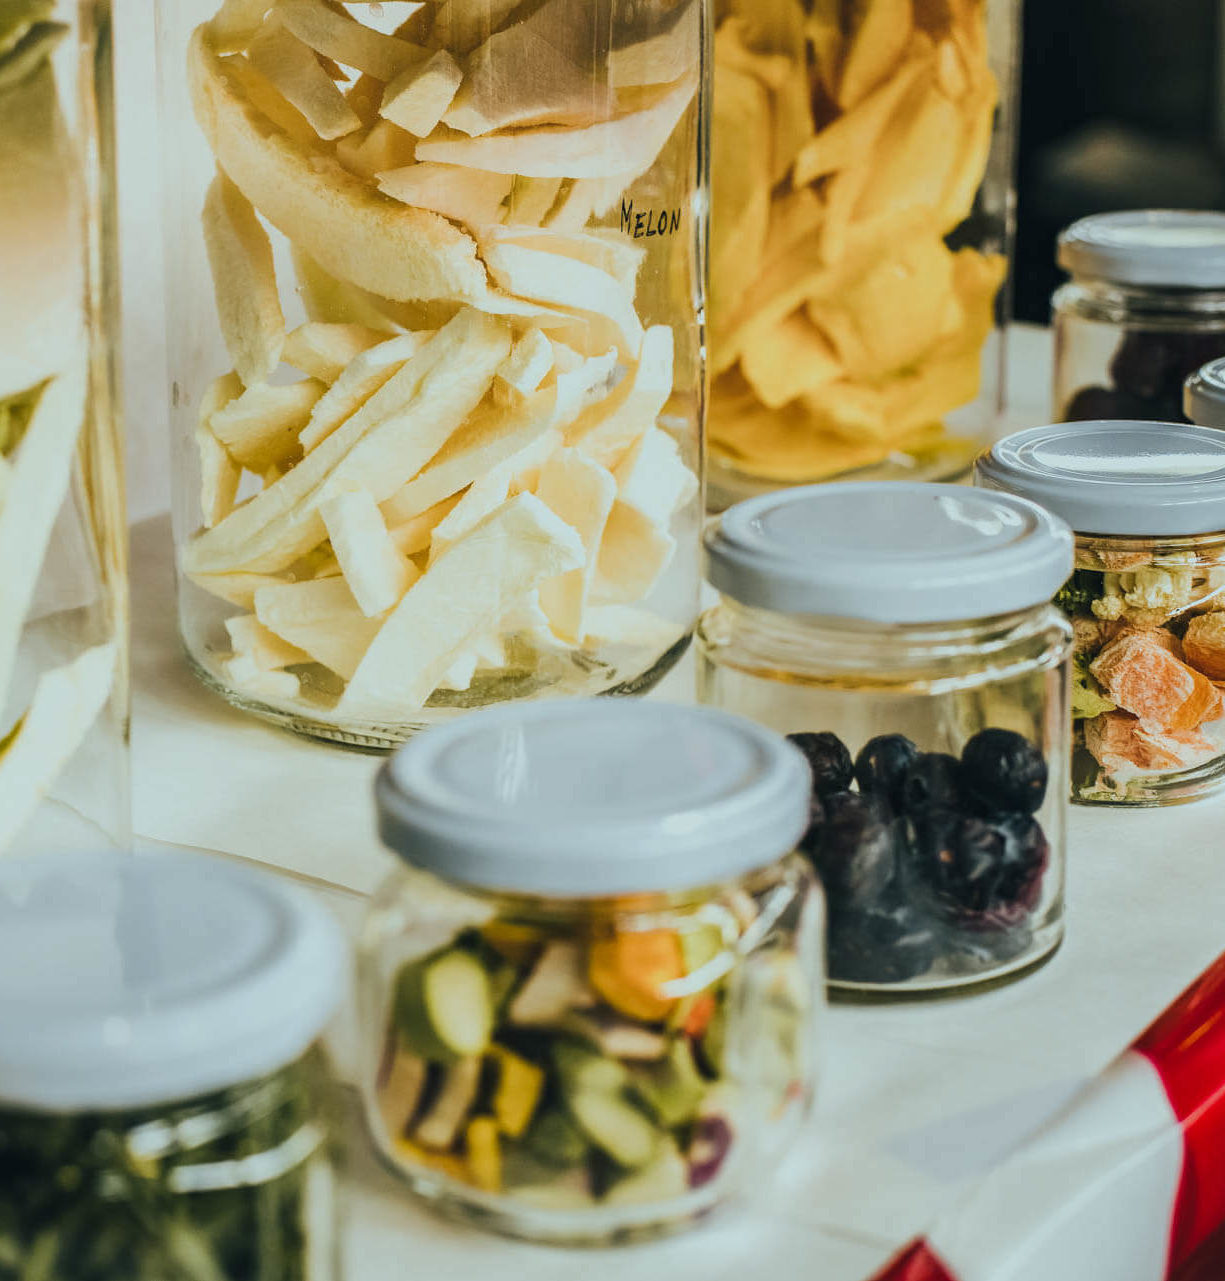
Make sure to keep your newly dried produce in airtight, labeled containers. Include the name and date. Jars and mylar bags can be used, or they can be vacuum sealed for even longer storage.
Additionally, store your fruits and vegetables in small batches. This will save the entire batch if one “bad apple” is present and mold develops.
Shake your jars occasionally to help disperse any moisture buildup and prevent mold. This should be done every day for the first five days after drying. If your food is sticking, you may need to dry it for a longer period of time. If mold is found, discard the batch.
A desiccant packet is another method for controlling moisture.
Also, keep your items away from direct sunlight and heat.
Conclusion
Drying your garden produce is an excellent way to preserve it. Because the drying process concentrates the flavor of the food, dried fruit, vegetables, and herbs make some of the most delicious snacks for you and your family.
By following the steps outlined above, you will discover that drying your own fruit is now easier than ever.
Check out our other articles to learn about other methods of preservation. We discuss fermentation, water-bath canning, and pressure cooking.


Summary
Drying is an ancient preservation method that involves removing moisture from food. It has been used to extend the shelf life of both garden produce and animal-based foods, as well as ensure a consistent food supply during long voyages, times of scarcity, and when growing food is not an option. There are four drying methods available to preserve fresh garden produce: drying by air, using the sun to dry, and dehydrating. Drying by air is the most traditional and simple method, taking a few days or weeks to complete. Sun drying is similar to air drying in those herbs and/or produce are placed between two screens and dried outside in the sun.
Dehydrating involves drying herbs or produce in a low-temperature dehydrator machine for a few hours until all moisture is removed. Roasting in the oven is the quickest and easiest way to remove moisture from food. Properly preparing your produce is key to ensuring it is safe to eat. Choose your approach and season with sugar, spices, or dried herbs. Herbs with leaves can be dried upside down in the kitchen to preserve garden treasures.
Basil, Oregano, Rosemary, Mint, Thyme, Lavender, Sage, and Chamomile are popular culinary and medicinal herbs. Onion is a popular herb and root vegetable that can be dried completely and used as a herb, or they can go through a process known as “curing” to store the entire root for an extended period of time. Garlic can also be dried, but only soft-neck garlic can be cured. Fruits can also be dehydrated, but experiment with different types to find out which ones you prefer. Apples are one of Italy’s most important crops, and can be dried in the sun or oven.
Grapes can be dried in a dehydrator or oven, and can be dried whole, quartered, sliced, or pureed. Cherries can be dried whole, quartered, sliced, or pureed, and can be dried in a dehydrator or oven. When they are leathery but pliable, they are finished. Okra is a delicious fruit that can be dried and seasoned with herbs. Chili peppers can be air dried or sun dried.

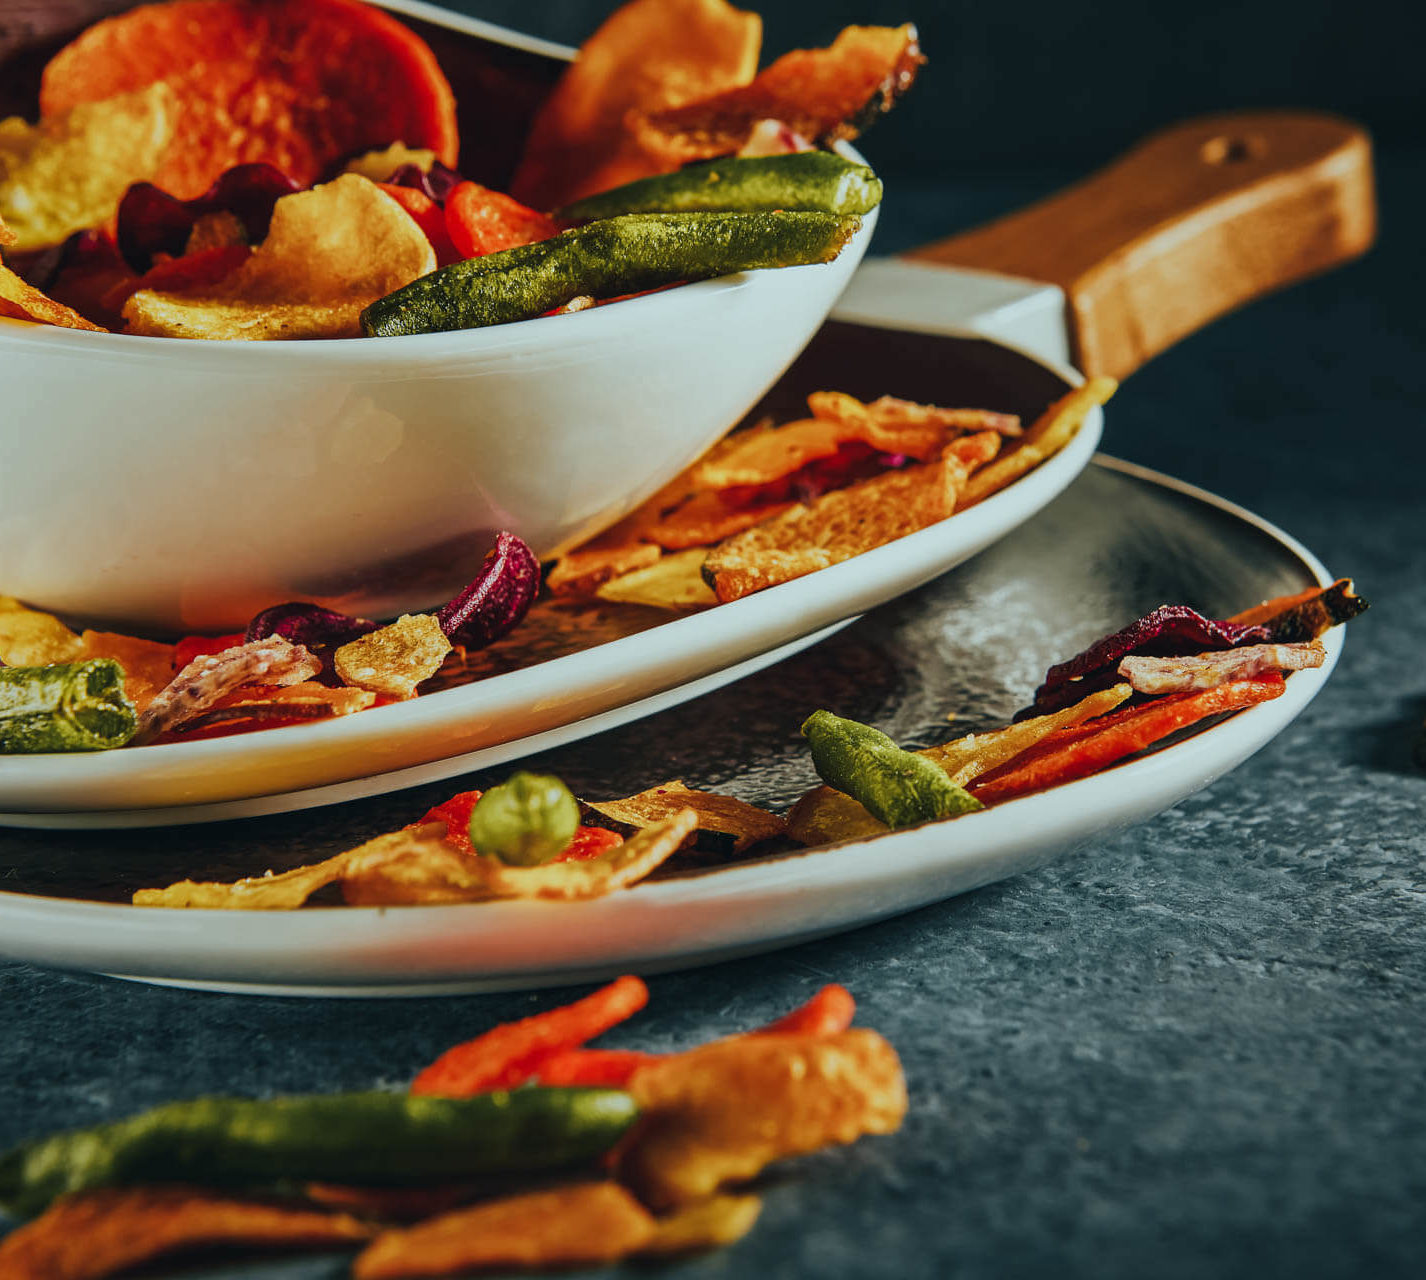

Carrots are also suitable for drying. To prepare them, remove the green tops and place them in the compost pile, peel them, slice them at a 45-degree angle, blanch them for 2-4 minutes, and place them evenly on a preserving tray after chilling them in ice water. Rotate the trays on a regular basis to ensure even drying. Asparagus should be cut into 2-inch pieces and blanched for 4 to 5 minutes. Broccoli should be cut into small pieces and blanched for 3 minutes before placing them in an icy water bath.
Dehydrating broccoli should be done at 52 °CC (125 °FF) and every 3 to 4 hours, flipping the pieces over. The drying time ranges between 8 and 12 hours. Drying garden produce is an excellent way to preserve it, as it concentrates the flavor of the food and makes delicious snacks. To do this, set the oven temperature to 60 °CC (140 °FF) or lower, prop the oven door open partially, and wait 6-8 hours for the broccoli to be done. Store the produce in airtight, labeled containers, and shake the jars occasionally. If mold is found, discard the batch and use a desiccant packet.
